0:00
Think buttercream is just for frosting
0:01
cakes. In this tutorial, I'm sharing 10
0:04
creative, unexpected, and fun things to
0:06
do with buttercream. From painting and
0:08
stamping to sculpting figures and more,
0:10
these techniques are beginner friendly
0:11
and will help you decorate cakes with
0:13
more color, texture, and confidence.
0:15
Buttercream has a unique quality that
0:17
makes it perfect for this first trick.
0:19
When it's cold, it firms up enough to
0:21
hold its shape, which means you can pipe
0:23
decorations. This is a 2D tip for these
0:25
flowers with layered colors of
0:27
buttercream in a piping bag to get this
0:28
multicolored effect. Put it into the
0:30
freezer for 10 minutes to freeze the
0:32
buttercream and then just pick them up
0:33
and press them onto your cake. I came up
0:35
with a buttercream technique a few years
0:37
ago that I called facelift frosting
0:39
where you pipe onto a crumbcoated cake
0:41
and then freeze those decorations and
0:44
then frost the cake over them and freeze
0:45
again just for 20 minutes to set the
0:47
frosting. Then use a warm cake comb to
0:49
scrape around the cake several times.
0:51
And you can warm the comb by holding it
0:53
under running water. Or if you have a
0:55
metal cake comb, use a blowtorrch or a
0:57
hair dryer to heat it. You'll scrape off
0:59
the outer layer of frosting to reveal
1:01
the colorful piping underneath. This is
1:03
an unusual effect because typically
1:05
buttercream patterns are textured and
1:07
they stick out from a cake, but with
1:09
facelift frosting, they're completely
1:10
flat. Okay. Messages. You can pipe them
1:13
onto buttercream cakes, but you can also
1:15
imprint them using lettering sets like
1:17
this one by Sweet Stamp. For best
1:19
results on buttercream, chill the cake
1:21
for at least an hour to set the
1:23
frosting. Then let it sit at room
1:25
temperature for about 30 minutes so the
1:27
frosting is still firm but slightly
1:29
softened. Gently press the letters into
1:31
the buttercream, pushing all over to
1:32
make sure the whole letter imprints and
1:34
lift them off carefully to leave a
1:35
clean, neat message. You can paint into
1:38
the letters using edible metallic paint.
1:40
Storebought or make it yourself with
1:42
vodka and gold luster dust and use a
1:44
tiny brush for the neatest results.
1:46
Create sculpted cakes that look like
1:48
fondant but are made with buttercream
1:50
using a piece of acetate, which is a
1:52
flexible sheet of plastic that wraps
1:54
around curved edges to smooth the
1:55
buttercream without leaving trails along
1:57
the sides. Pro tip: dip the acetate in
2:00
warm water if you're struggling with air
2:02
bubbles in frosting or if the frosting
2:04
is starting to set against the cold cake
2:06
before you finish smoothing it. Another
2:08
thing you might not know you can do with
2:09
buttercream is use it like paint. You
2:11
can use piping bags or a pallet knife or
2:14
just a knife, a fork, and a spoon like
2:16
I'm using on this cake. Chill the cake
2:18
first so the frosting is firm and then
2:20
tint small amounts of buttercream with
2:22
gel colors and use utensils to spread,
2:24
dab, swipe, or press it onto the cake to
2:27
create flower petals, stems, and leaves.
2:30
Instead of using hard fondant or
2:32
chocolate for figures, you can use
2:34
shaped buttercream. You'll need silicon
2:36
molds. And then you can just spoon the
2:37
buttercream into the molds, pressing it
2:39
down with the back of a spoon or an
2:40
offset spatula to make sure it fills
2:42
every detail. Smooth the surface so the
2:44
back of your topper will be flat and
2:46
even. Then freeze the molds for at least
2:48
30 minutes. When they're completely
2:50
firm, gently peel back the silicon to
2:52
release the shapes. Handle them quickly
2:54
because they'll warm up and soften fast.
2:56
Press them onto a frosted cake to attach
2:58
them. If a piece snaps, just press the
3:00
broken parts gently back together. As
3:02
the buttercream softens slightly, it
3:04
will stick back to itself. These are
3:06
pretty and delicious. Buttercream melts
3:09
in the heat, which is really useful for
3:11
this next technique. For buttercream
3:12
that's too stiff or full of air bubbles,
3:15
scoop out about a third of it and
3:16
microwave it for 10 seconds. Stir this
3:18
melted buttercream back into the main
3:20
bowl of frosting. And as it mixes with
3:22
the room temperature buttercream, it
3:24
will create the perfect consistency for
3:26
spreading and smoothing it onto a cake
3:28
and get rid of any stubborn air bubbles.
3:30
This is so useful if you struggle with
3:32
smooth frosting on cakes. Turn
3:34
buttercream into colorful tiles to make
3:36
an edible mosaic. Spread different
3:38
colors of buttercream onto a piece of
3:39
parchment paper and freeze it until the
3:41
buttercream is hard. Use a sharp knife
3:43
to cut the frozen buttercream into small
3:45
triangles. Outline your shape onto a
3:47
cake with a toothpick and then press the
3:49
frozen triangles on top to create a
3:51
mosaic. The frozen buttercream needs to
3:53
stay cold while you decorate. So,
3:55
ideally, prepare two trays of
3:57
buttercream tiles and rotate them
3:59
between the freezer and your decorating
4:01
space. So, you're always working with
4:03
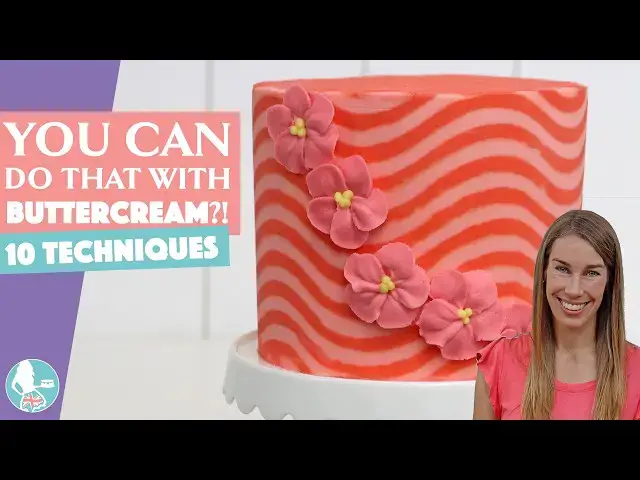
cold buttercream. Wrap a cake in
4:05
buttercream to create fun effects like
4:07
these wavy stripes. And after chilling
4:09
the cake in the fridge for about an
4:10
hour, you'll be able to peel the
4:11
parchment paper away from the design,
4:13
leaving the design behind on the cake.
4:15
You'll need to do some touch-ups to tidy
4:17
up any air pockets or smudges. And I
4:20
teach this whole technique step by step
4:21
in my online course on 10 cake
4:23
decorating techniques and the link for
4:25
that is in the top of the screen and in
4:26
the video description. This last
4:28
buttercream technique is a practical
4:30
one. Did you know that you can freeze
4:32
leftover buttercream in an airtight
4:34
container like a Tupperware or a Ziploc
4:36
bag for a month? So useful if you don't
4:38
use the whole batch or have little bits
4:40
of different colors left over. To
4:41
defrost the buttercream, take it out the
4:43
night before you need it to come to room
4:45
temperature by the next morning. Add
4:47
color if you want to retent it and stir
4:49
it well to knock out any air bubbles.
4:51
And now it's ready to use. This avoids
4:53
so much waste with those small amounts
4:55
of leftover buttercream and saves you
4:57
time when you can use the leftovers
4:59
instead of making a new batch of
5:00
buttercream. I hope you've seen some
5:02
techniques you'd like to try. Tell me in
5:04
the comments which is your favorite and
5:05
visit my cake school on
5:06
britishgirlbakes.com to learn hundreds
5:08
more cake decorating techniques and
5:10
designs. See you there.