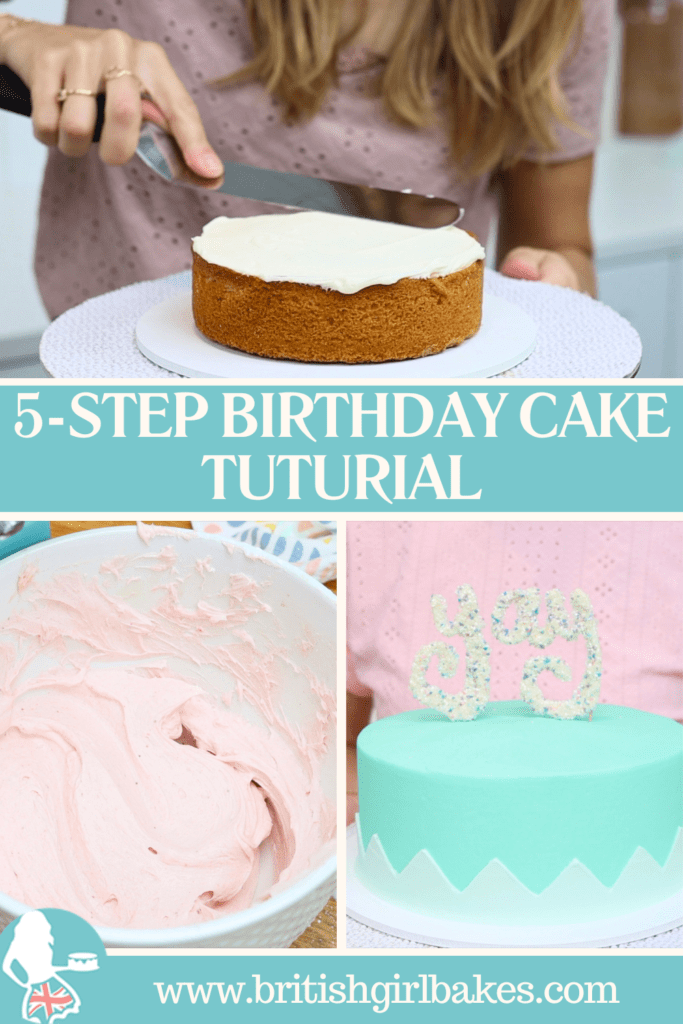
This tutorial will show you how to make a birthday cake in 5 simple steps!
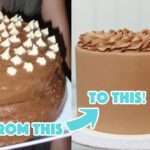
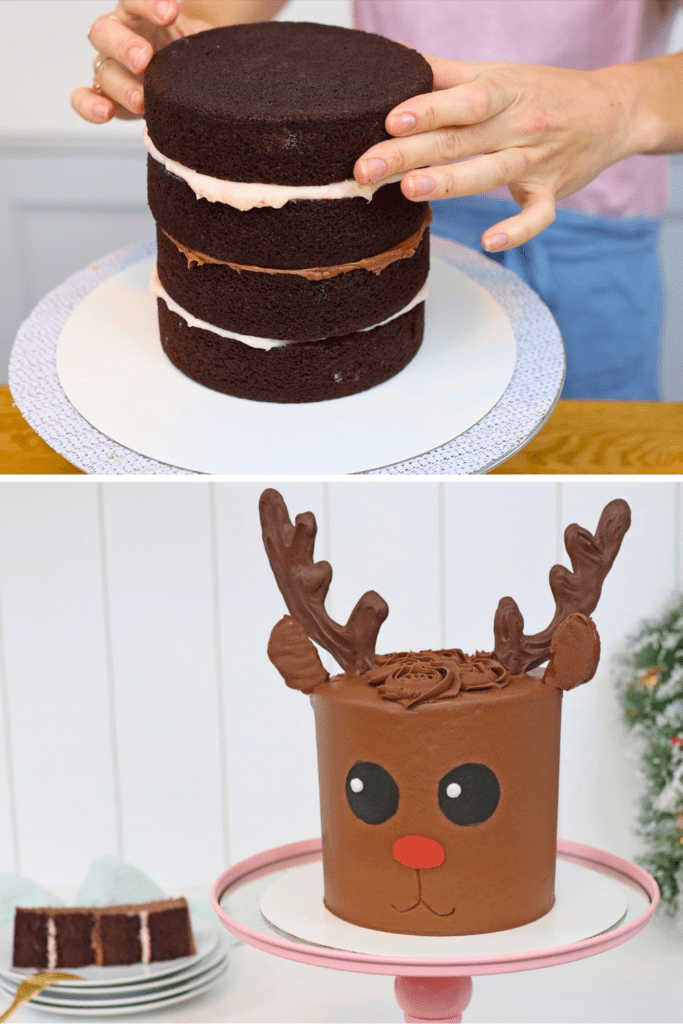
To choose the size of your cake, consider how many people you're serving and how you plan to decorate it. For example, a 6 inch cake serves 12-18 people and an 8 inch cake serves 28-32 people. But your cake design or how you decorate it will factor in too. Let's say you’re serving 30 people so you need an 8 inch cake recipe. If you want to put a design on the side of a cake you’ll need a tall cake, for example the reindeer cake in th photo below. I baked my three-layer 8 inch Perfect Chocolate Cake batter in four 6 inch pans instead. You'll get the same amount of cake but with much taller sides to make space for your design.
You might need to adjust the baking time stated on the recipe if you change the size of the pans. I start checking the layers five minutes before the time on the recipe. Look for layers that spring back up the you poke them, which shows that they're baked.
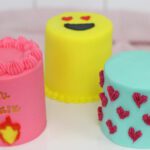
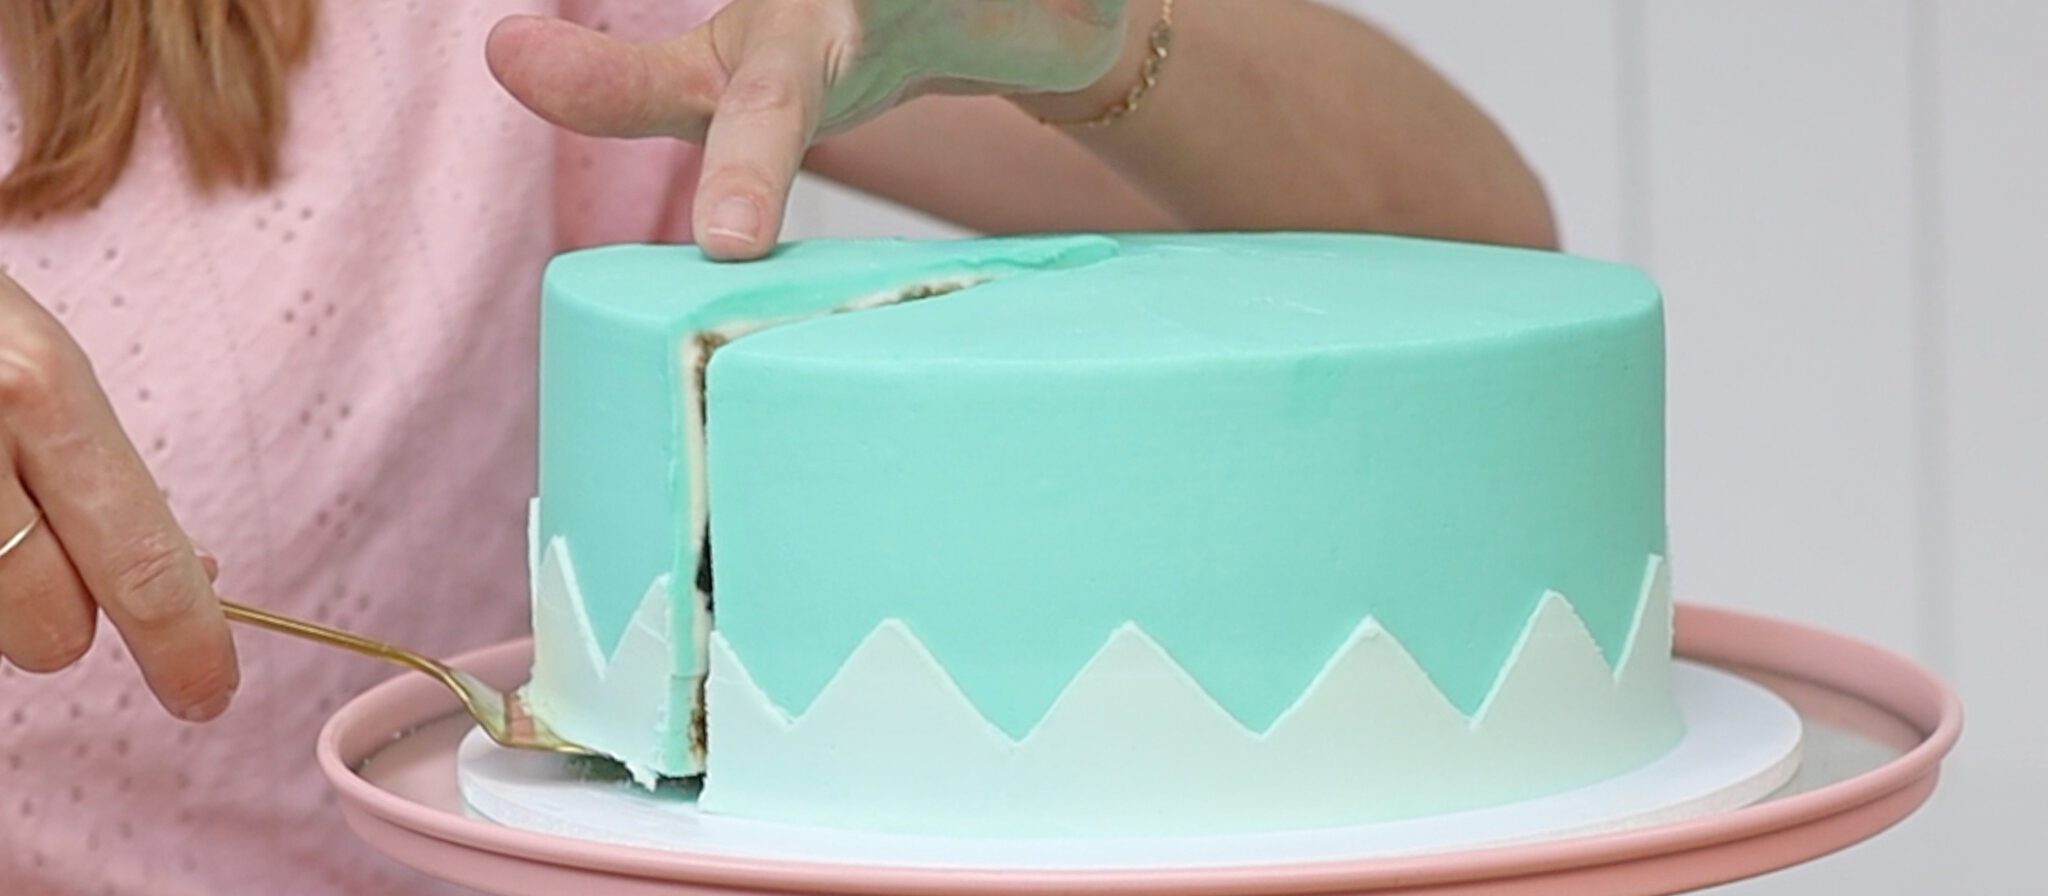
Which designs work best of the sides of cakes? I almost always put decorations on the sides of cakes because they’re more visible than on the top. When the cake is on a dessert table or you’re singing happy birthday or cutting the cake it’s the sides, not the top, that you’re looking at.
However, some designs need less space on the sides of the cake, for example piped details on a vintage cake. And some messages require more space on top of the cake that others. For those designs I would choose a wider, shorter cake.
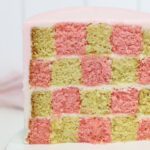
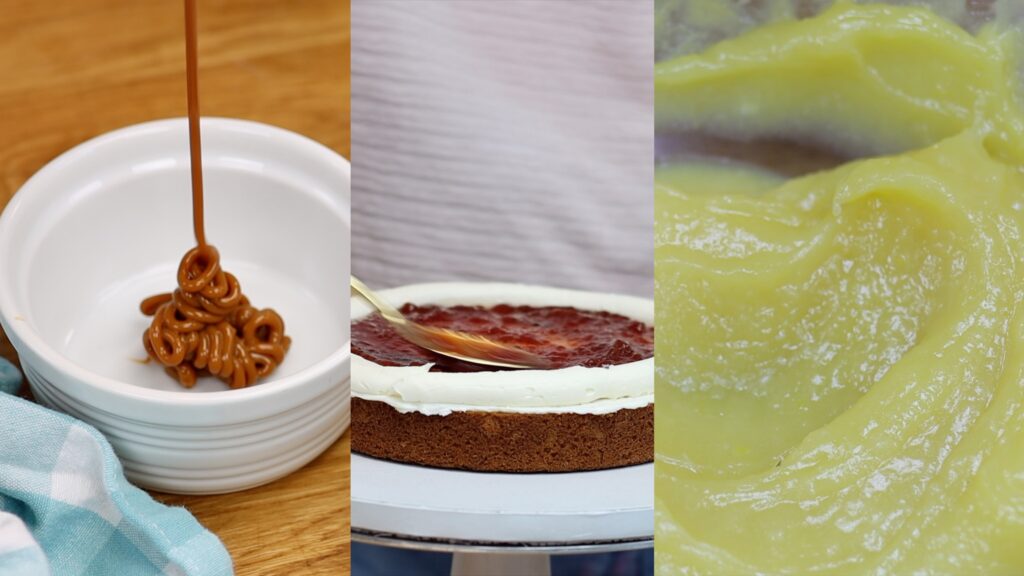
You'll have several flavour choices when you think about how to make a birthday cake. The cake layers, of course, but also the filling and the frosting. Popular fillings include dulce de leche or caramel, strawberry jam, lemon curd, and chocolate chip cookie dough.
Buttercream also works well as a cake filling, flavoured with ingredients like freeze dried strawberries or chocolate or Oreo cookies.
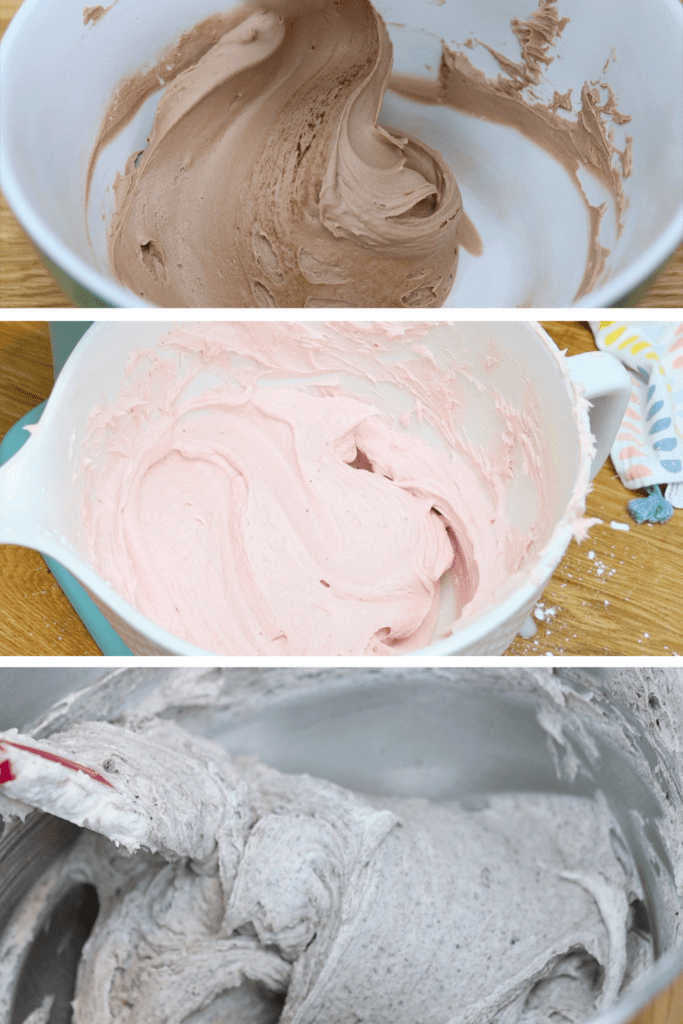
Flavoured buttercream can be used as a frosting, too. Or whipped cream or eggnog frosting… there are so many flavour options! As well as endless combinations of flavours. Some of my favourites are my Lemon and Raspberry Cake and Chocolate Peanut Butter Cake.
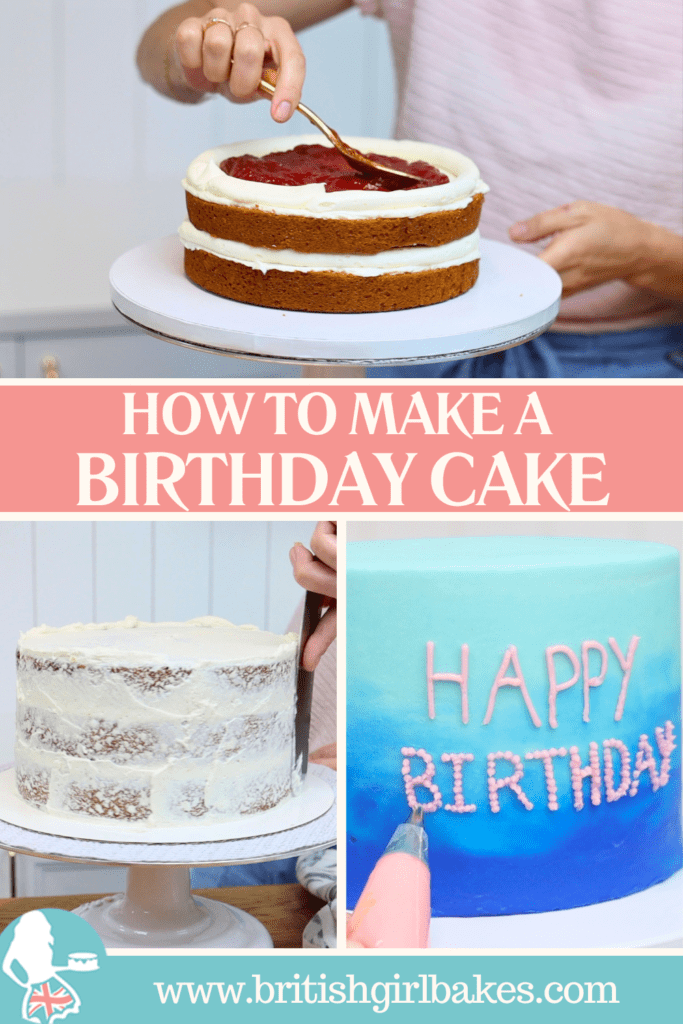
To put these together, choose a cake board at least 2 inches wider than your cake layers. Spread a bit of your frosting onto the middle, to act as glue. Push your first cake layer onto that, to attach it to the board, and then spread on your filling.
If it’s buttercream you can spread it right up to the edges but for runny fillings there's an extra step. Spread a thin layer of buttercream onto each cake layer first, to prevent the filling from absorbing into the cake. Then you’ll need to pipe a ring of buttercream around the edge of the cake, using a piping bag. This is called a buttercream dam and it acts as a wall to hold the filling within it, so it doesn’t ooze out from between the cake layers.
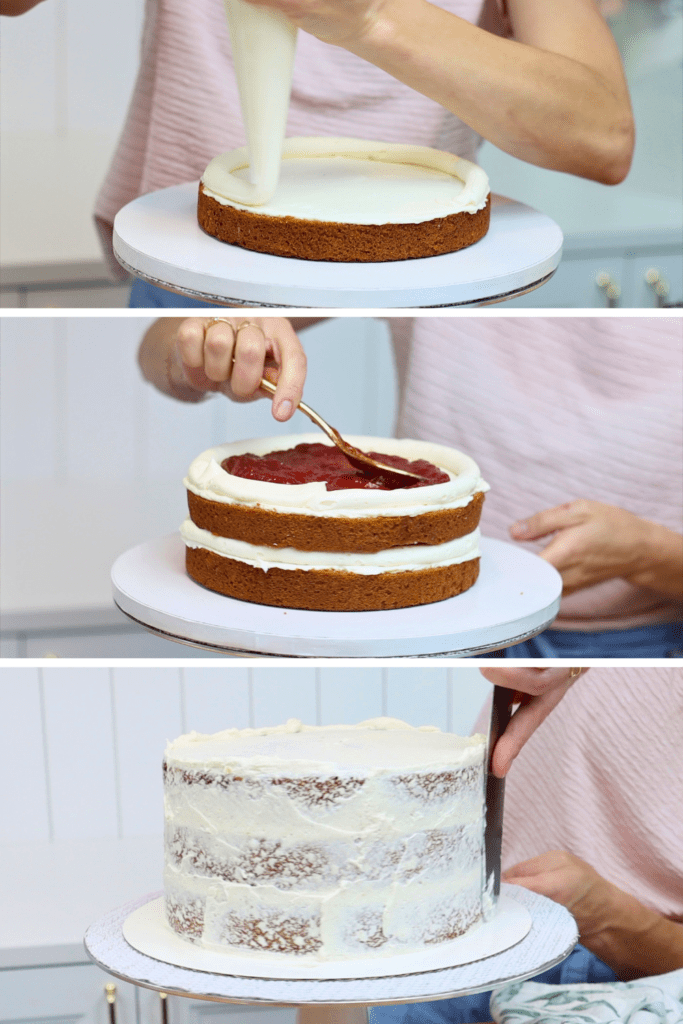
Once the cake is assembled you’ll need a crumb coat. This is a thin layer of frosting to completely cover the cake and trap any crumbs that come off the cake while you’re spreading the frosting on. It’s best to do this after chilling the cakewin the fridge for 30 minutes or the freezer for 15 minutes. Now it will be firm and won't slide or wobble or lean as you frost it. You’ll typically use the same flavour and colour as your final coat of frosting. It doesn’t need to be neat because it’s going to be covered up in a minute.
Now you’re ready for the fun part! Step 3 is to choose a frosting technique. Smooth it with a cake comb or use any of these techniques from my FREE course on 10 Frosting Techniques. Each step is broken down step by step so you can follow along and create stunning cakes!
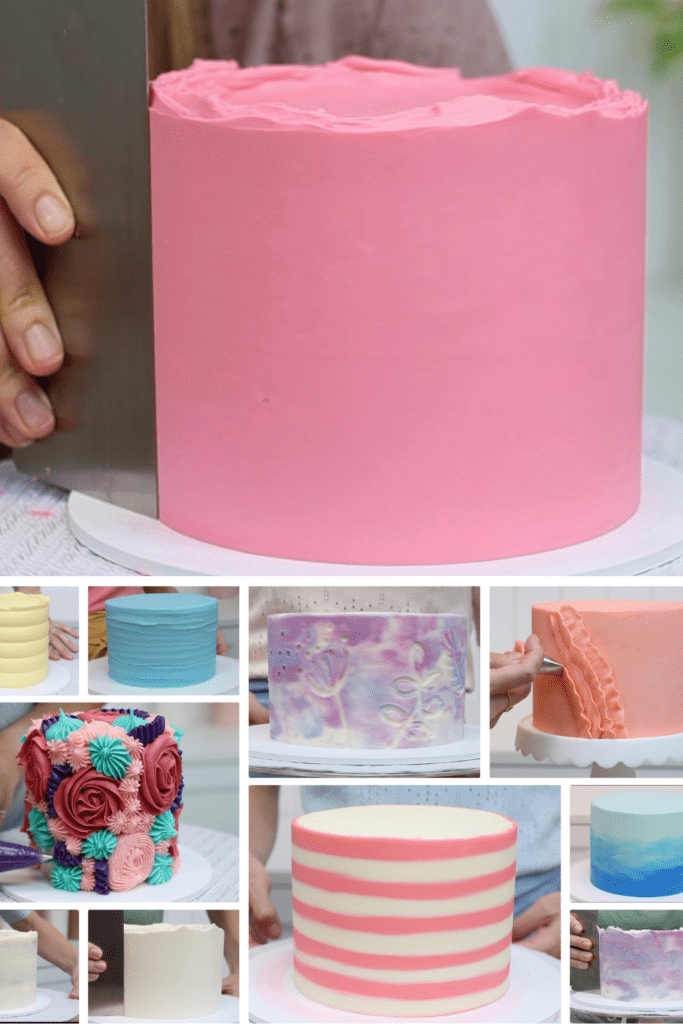
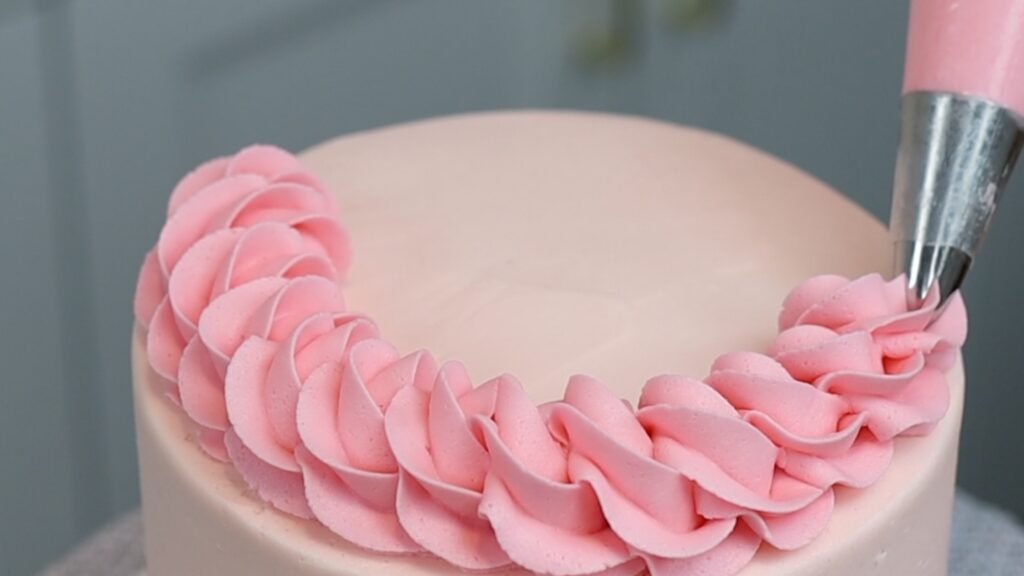
The next step for how to make a birthday cake is to choose a decorating technique. I have an online course on 10 Decorating Techniques, too, all of which you can do with just an offset spatula or palette knife, or a piping bag, or parchment paper or wax paper, or sprinkles!
To write a message you can use a piping bag with a small round piping tip like a #3. Pipe lines or pipe tiny dots to make each line, called pointillism. I think this is easier than piping lines because you don’t need to pipe with consistent pressure or speed. Score the letters with a toothpick before you start to guide you as you pipe lines or dots.

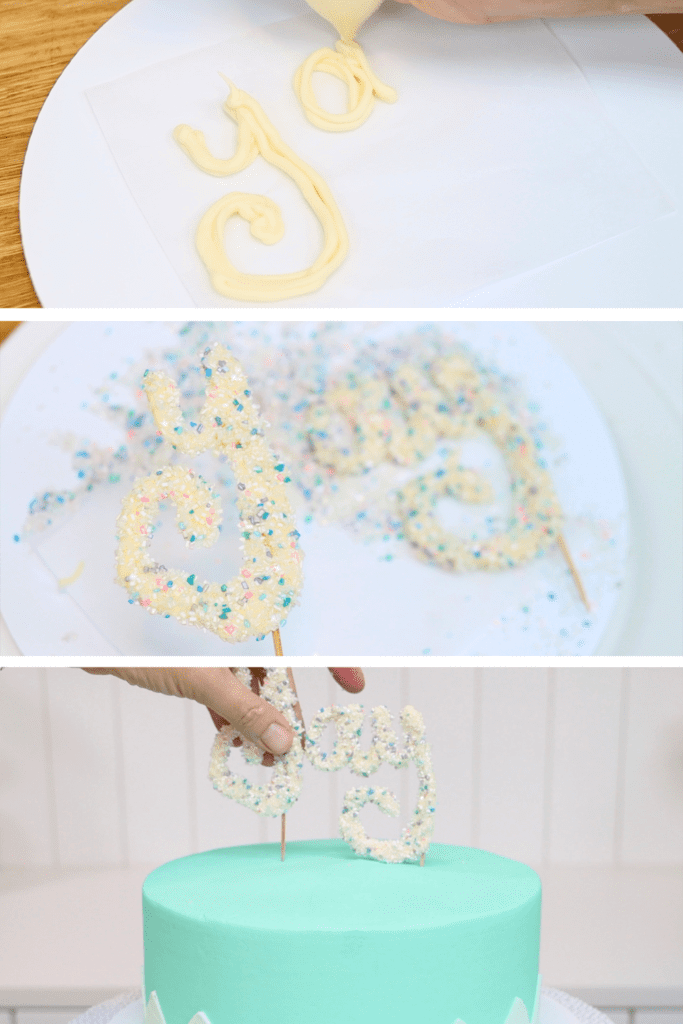
Another way to add a message is to create an edible cake topper message. Melt chocolate and then spoon it into a ziplock bag and cut a tiny piece off one corner. Squeeze the chocolate out through the hole to write the message. Then stick a toothpick into the bottom of each letter or group of letters and pipe over it with more chocolate. You can pour coloured sugar or sprinkles onto the chocolate and it will stick as it sets. After about 30 minutes at room temperature or 15 minutes into the fridge, lift the letters up and push them into your cake! Here are another 10 delicious cake decorations.
So, are you ready to make a birthday cake? Ask me any questions in the comments and remember to take my FREE course on 10 Frosting Techniques! See you there!
You can also watch a video of this tutorial on how to make a birthday cake in 5 steps:
Save this tutorial to Pinterest for later: