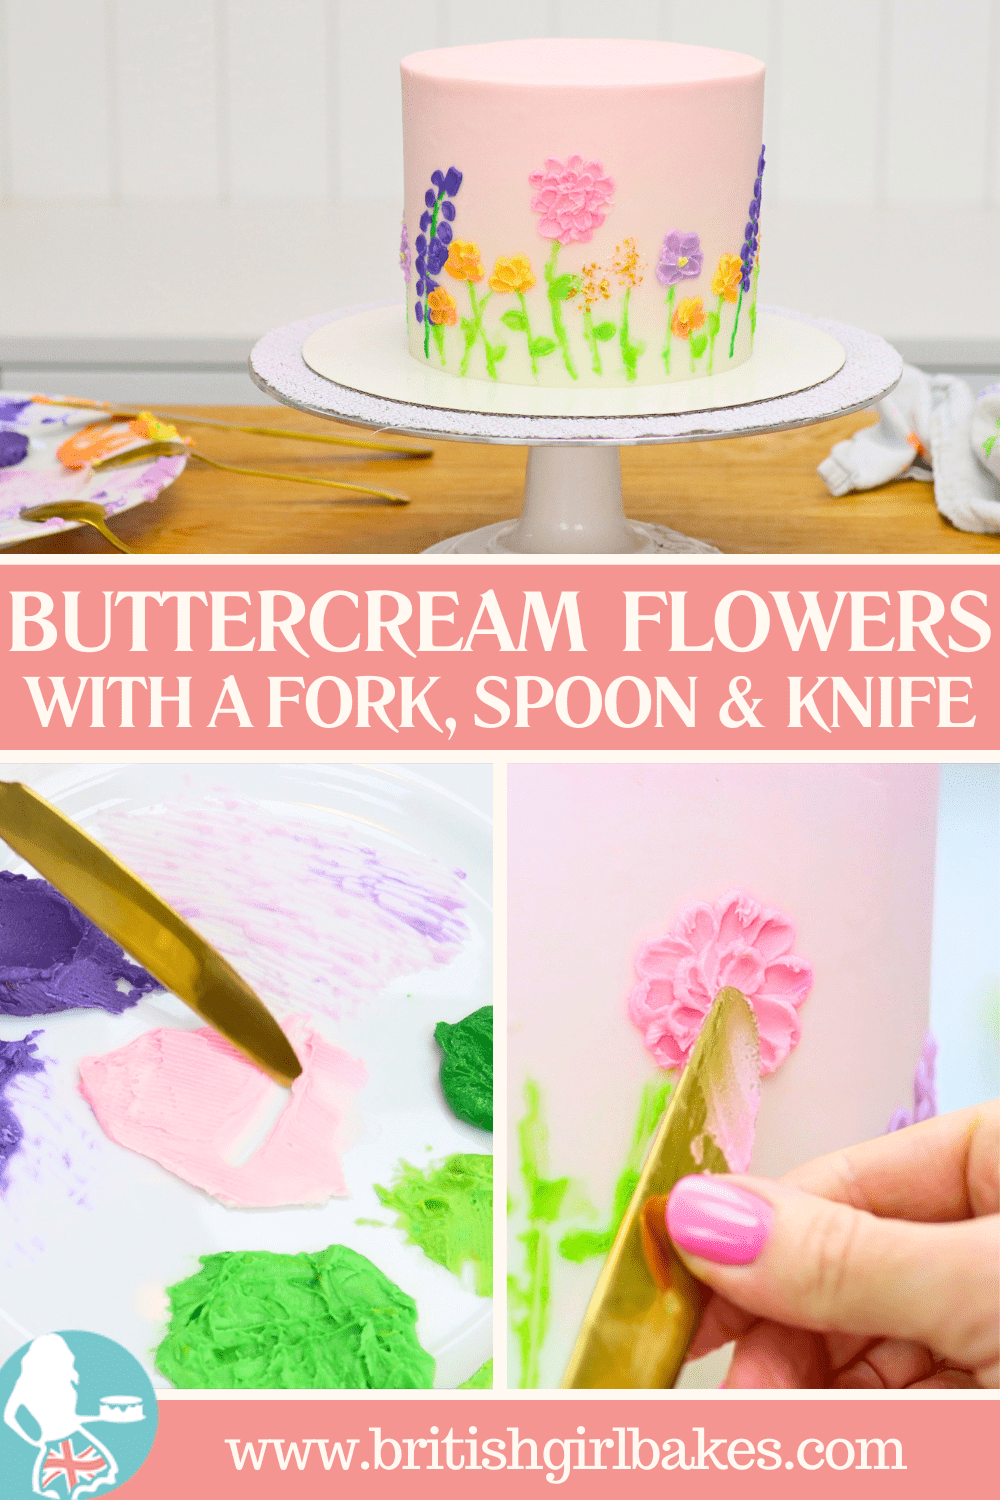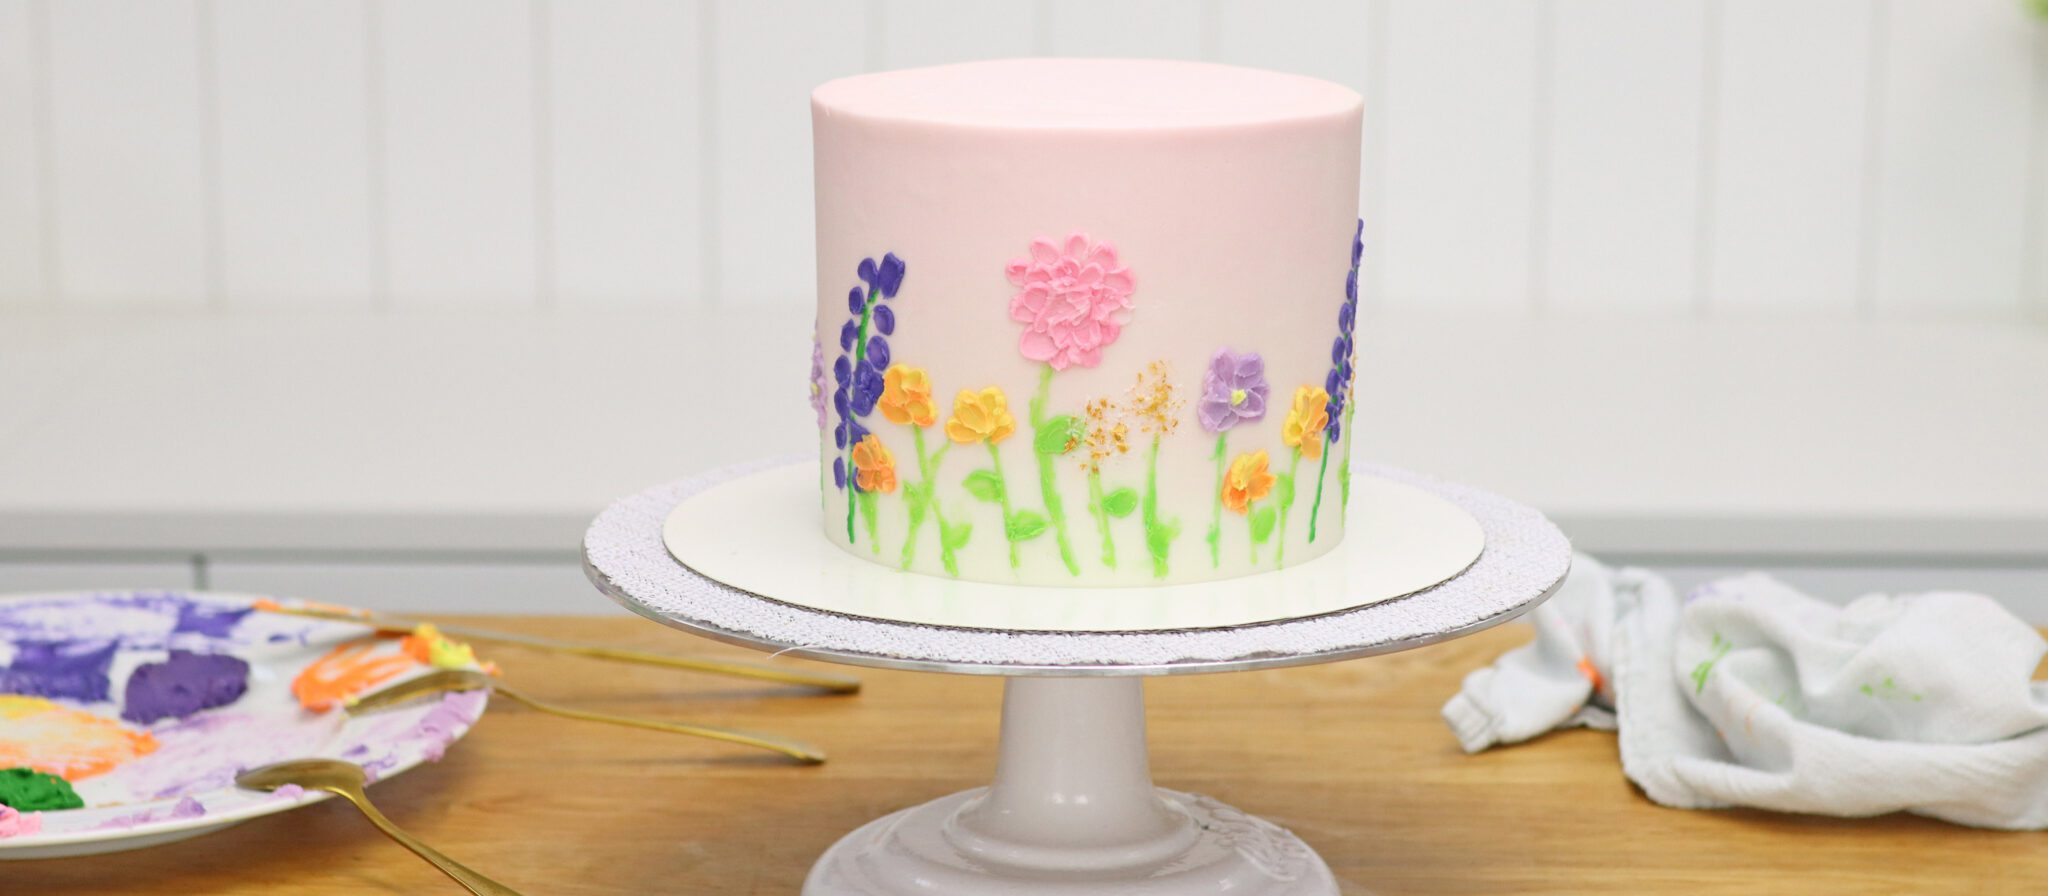
Make a gorgeous buttercream flower cake using just a knife, fork, and spoon! This design uses no fancy tools, just a plate and a bowl and your cutlery!
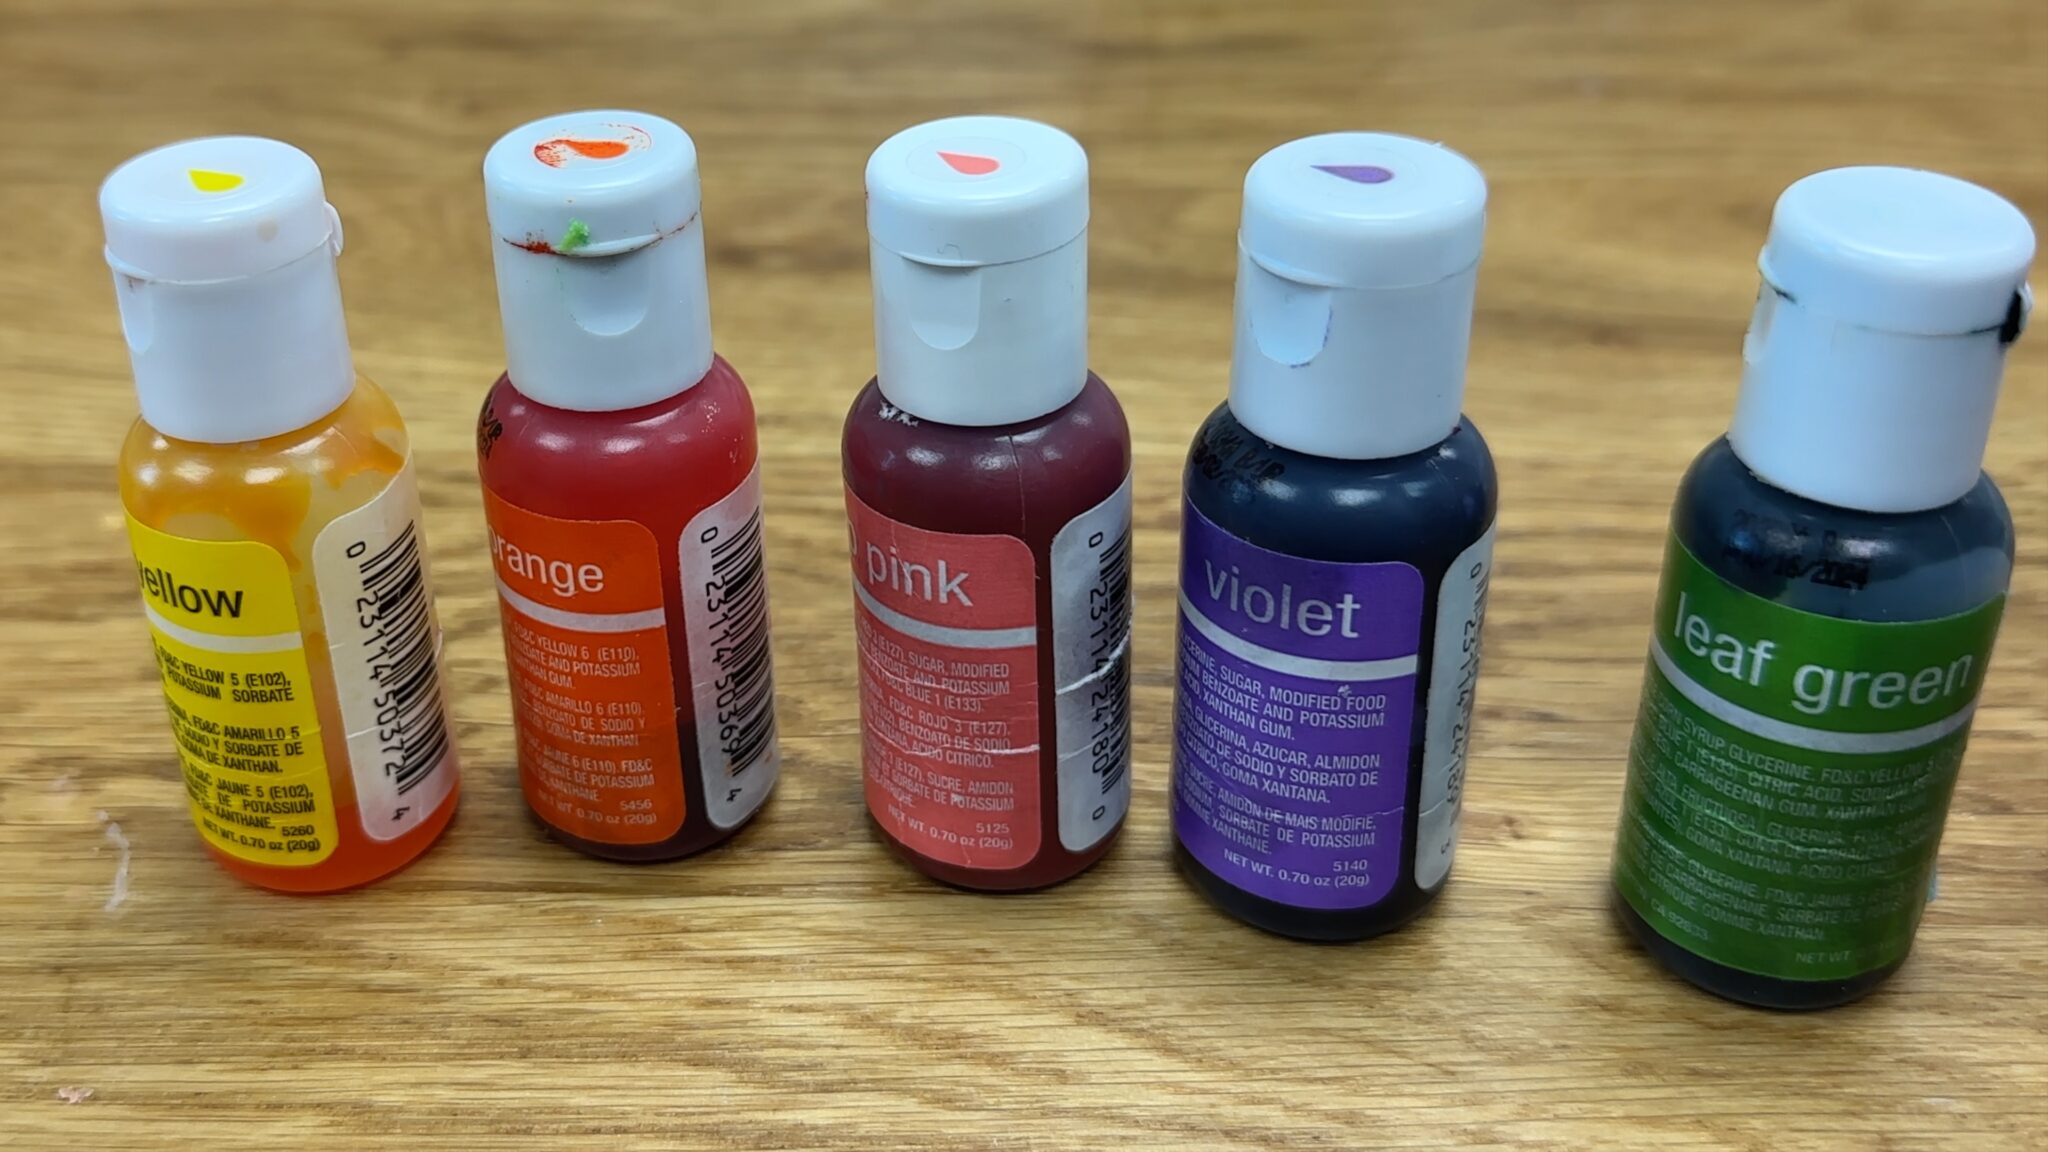
Buttercream works well as paint for these flowers because of its consistency and how well it takes on colour. I'm using my 4 Minute Buttercream with these gel colours to tint it:
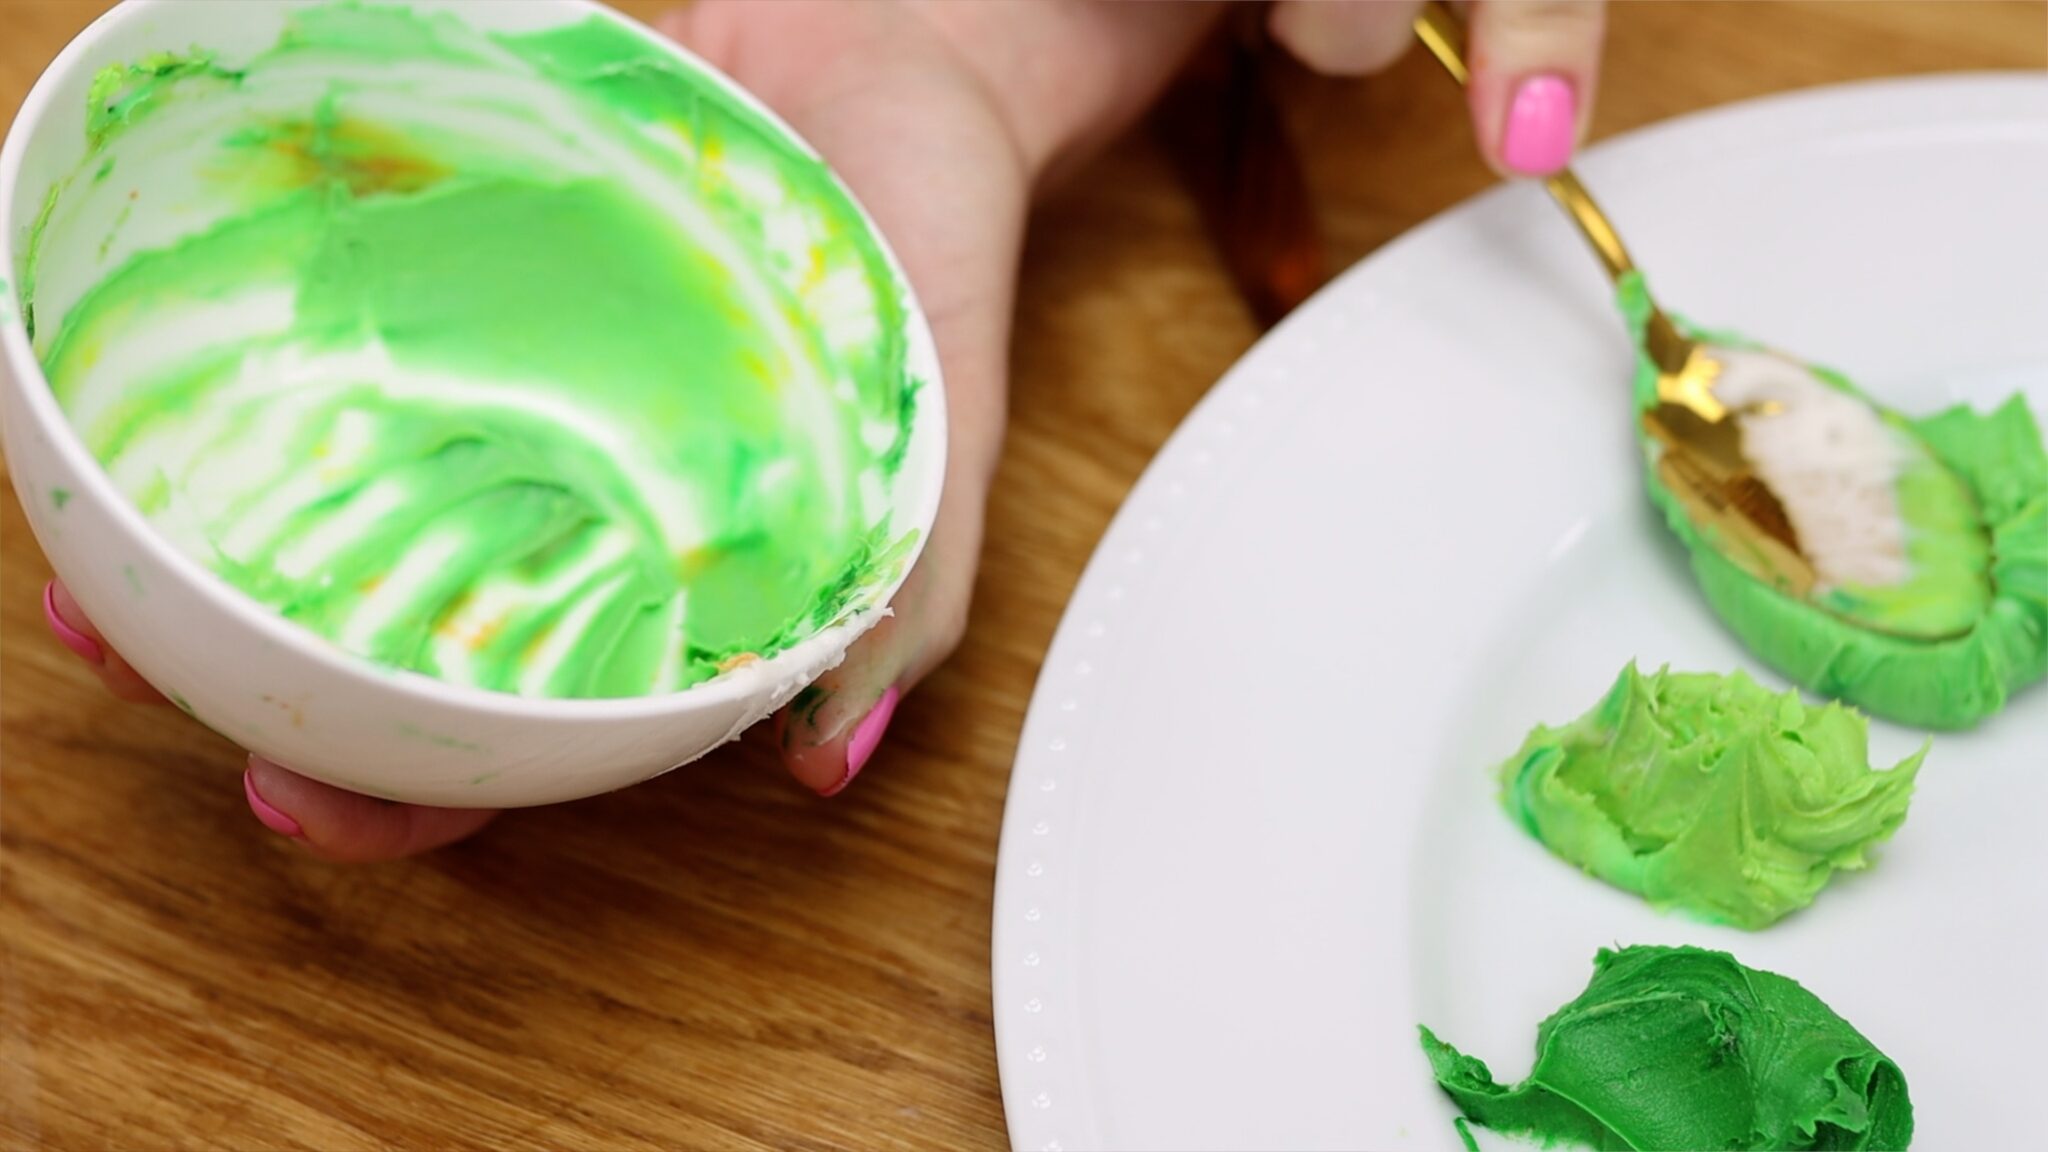
Scoop a spoonful of buttercream into a small bowl and add a drop of green gel. I like to dip toothpicks into yellow and orange gel and add a tiny amount of each to the green. This makes a slightly duller shade that looks more plant-like.
Start by tinting the lightest shade of green in your bowl. Then spoon it onto a plate and add another spoonful of buttercream to the bowl. Add more gel to make the next shade, mixing to incorporate the leftovers of the previous shade. This way you don’t have to wash the bowl in between every single colour.
You only need a very small amount of each colour, especially the greens.
Continue with the rest of your colours, making two or three shades of each colour. Cover the plate (palette) with cling film or Saran Wrap if you prepare it in advance. This will keep the buttercream soft so that it doesn't dry out and crust.
Your cake should be chilled in the fridge for at least an hour before you paint onto it. The frosting needs to be cold and firm so it will hold its shape as you paint.
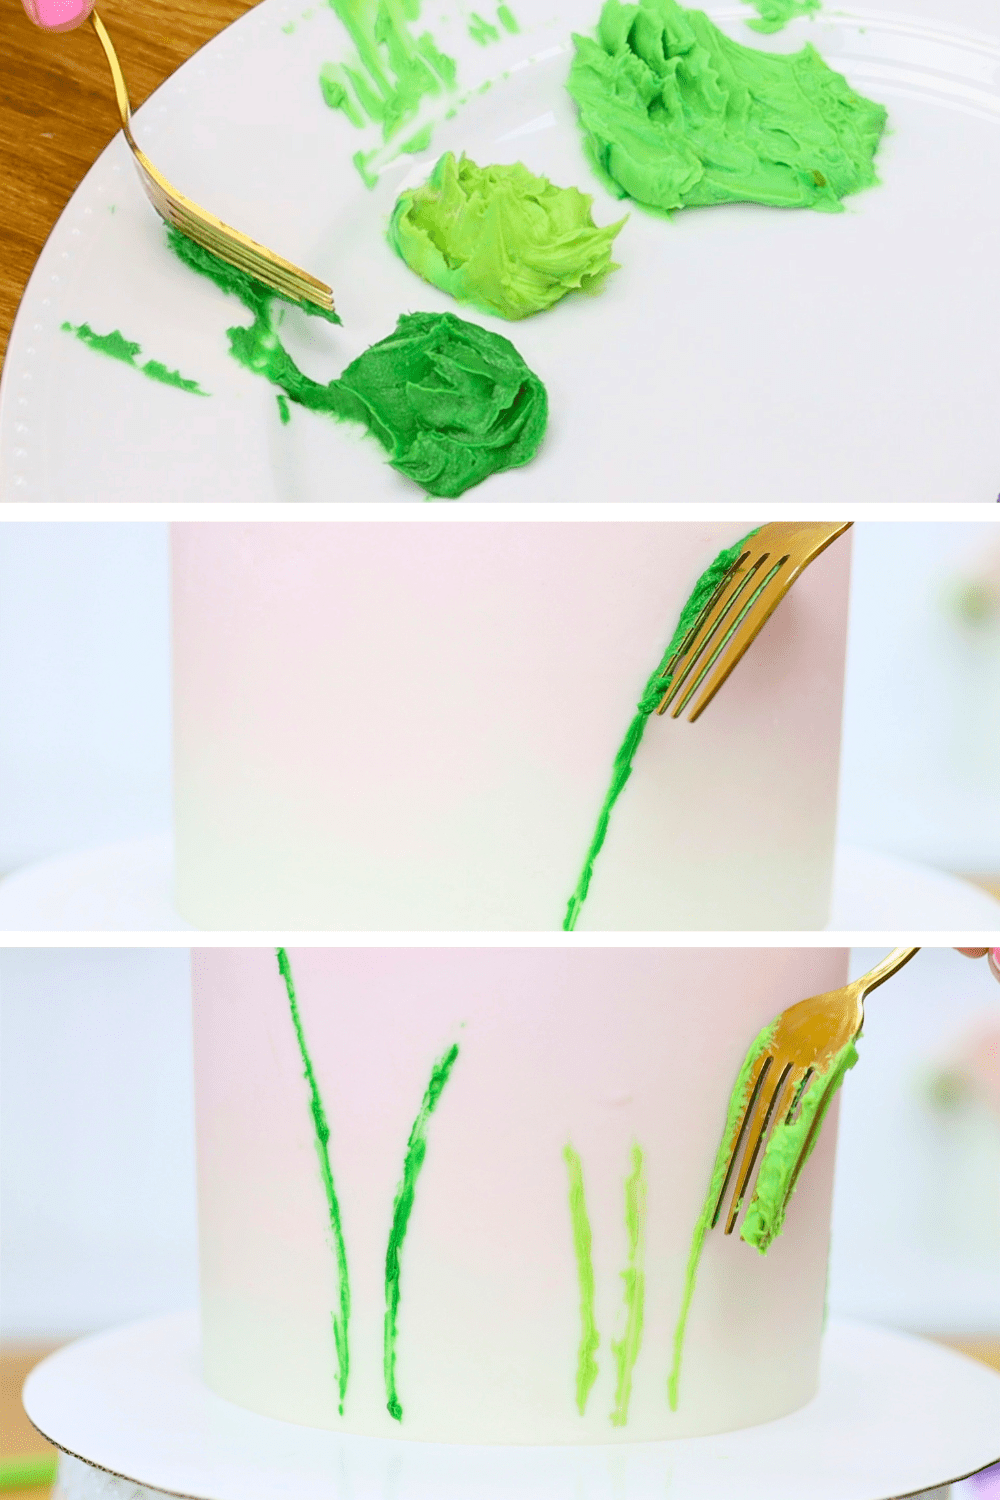
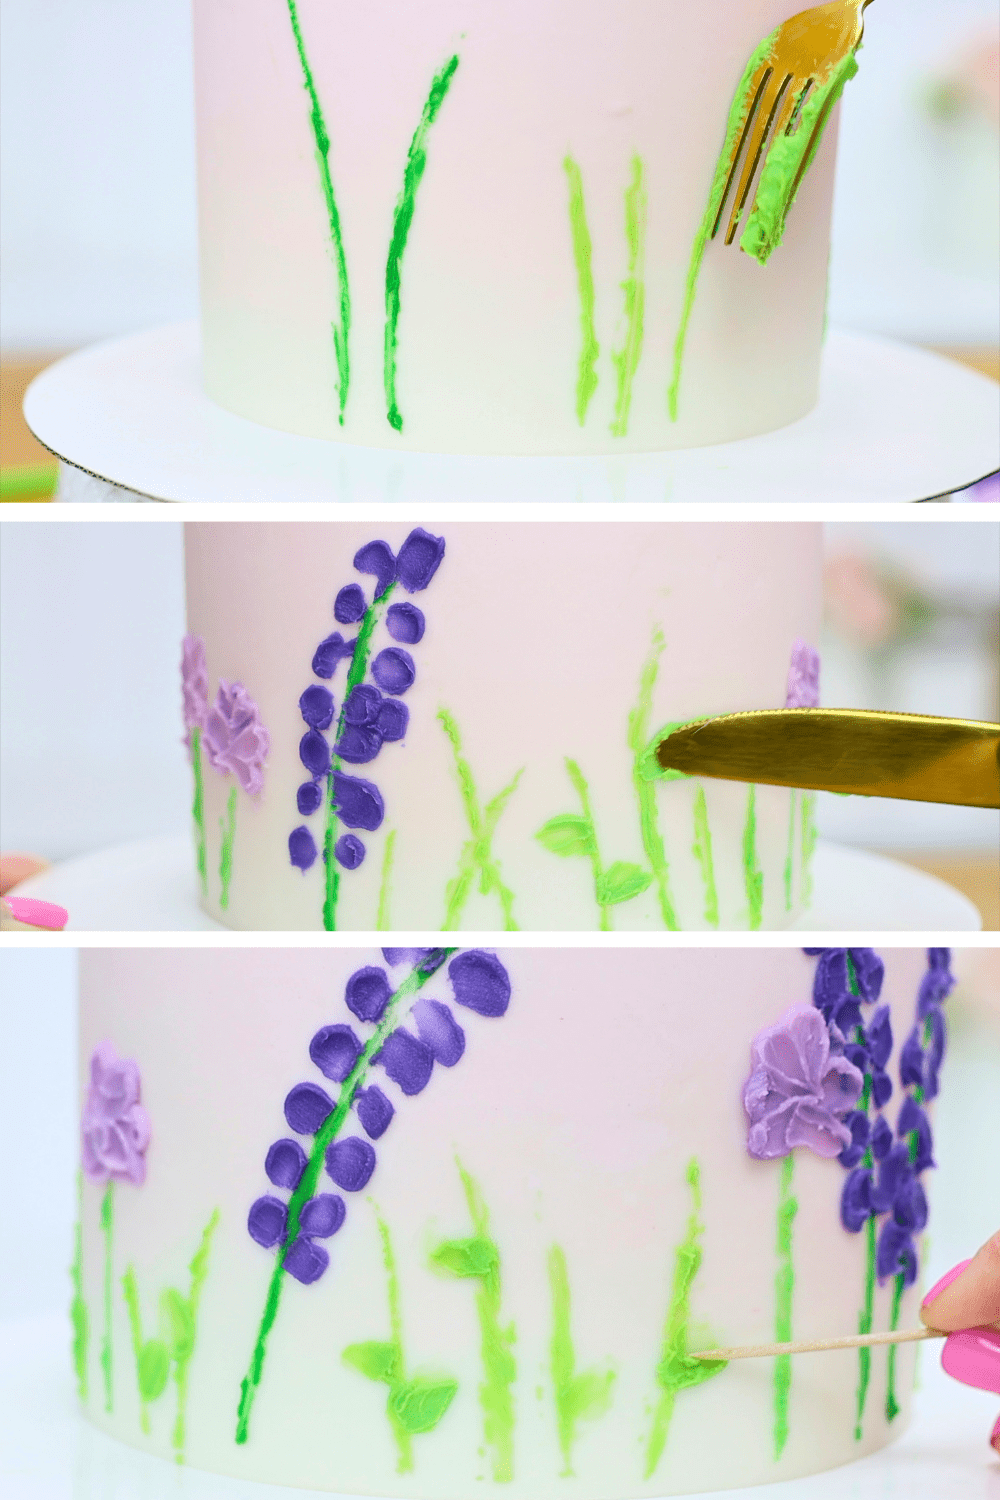
Start with the stems, using a fork. Dip one side of the fork into one of the green buttercreams on your plate. Dab it on the plate a few times to take off the excess buttercream. Then press that edge against the side of the cake to make a stem. For a longer stem, drag the fork upwards, following the curve of the fork.
Flip the fork around to use the other edge to curve the stem in the other direction.
When you change colours, wipe the fork clean before dipping it into the next colour. Using a variety of colours and heights and directions will make the flowers look more realistic and also more interesting.
Now let’s paint some flowers with a knife, fork, and spoon!
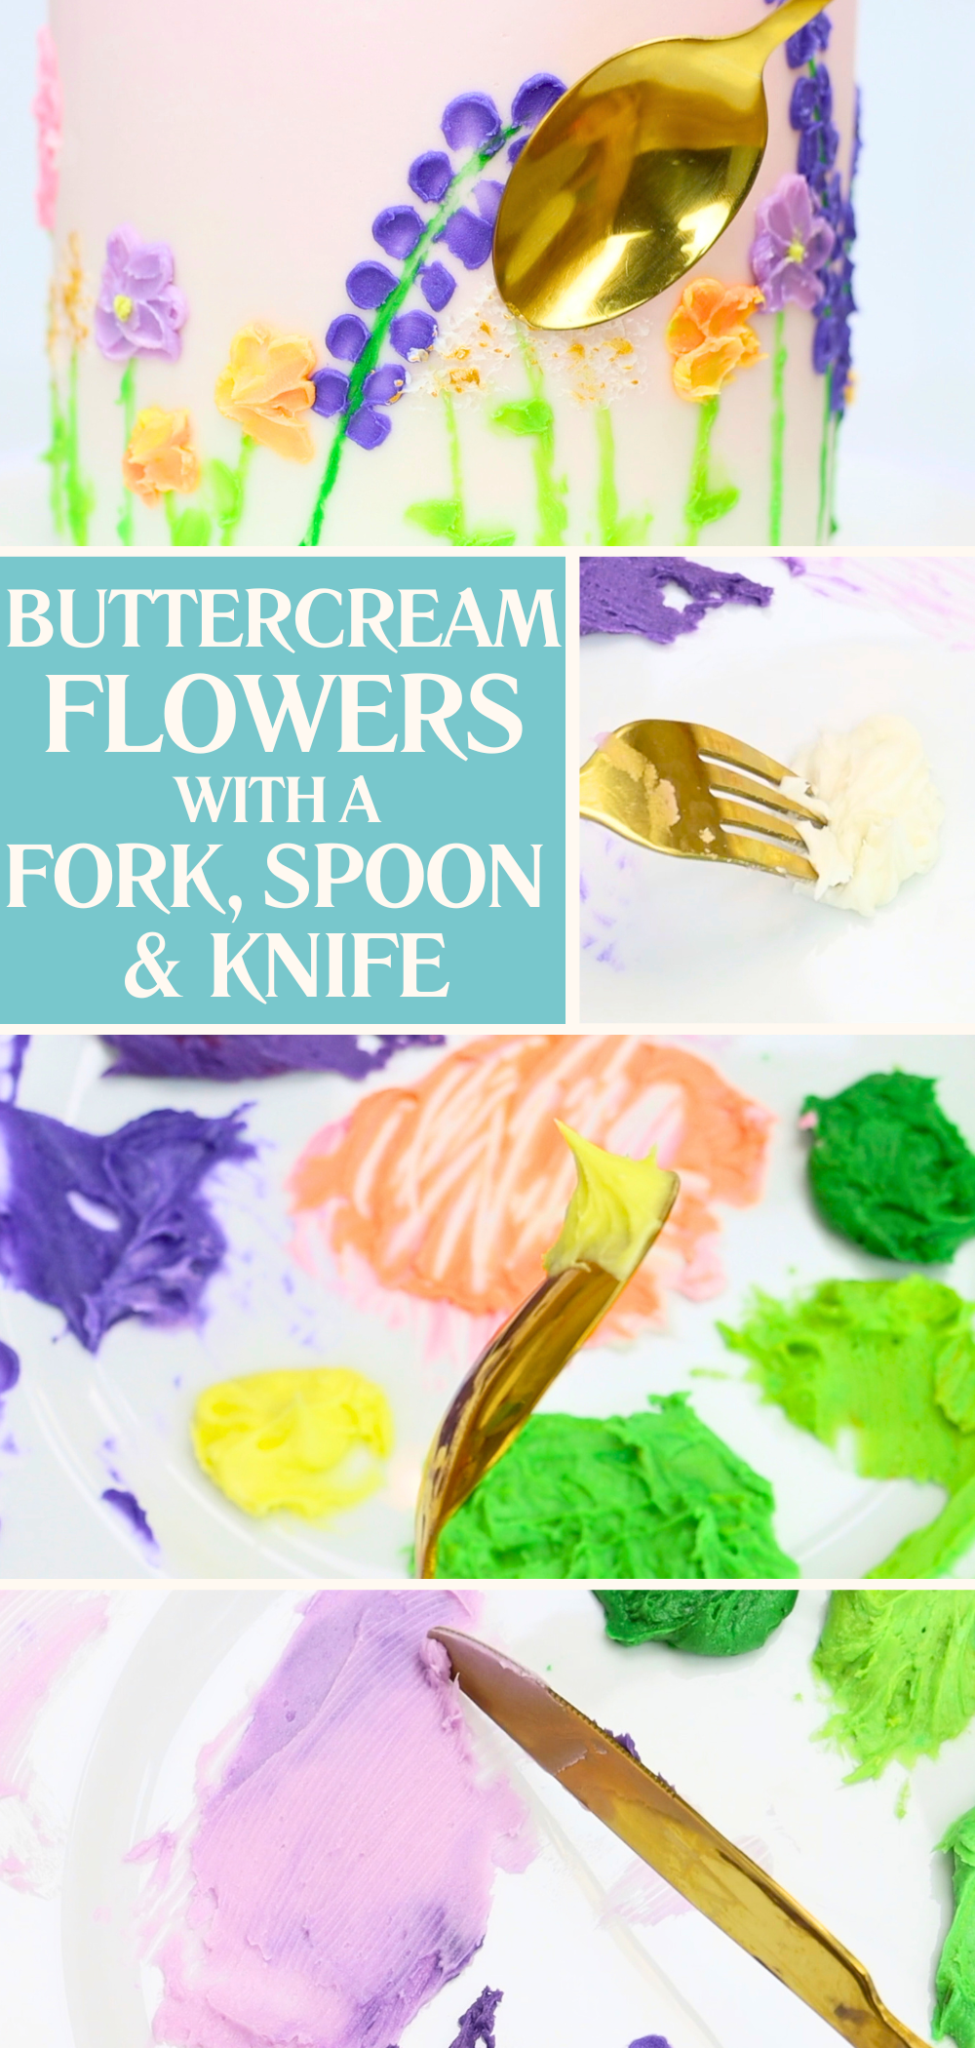
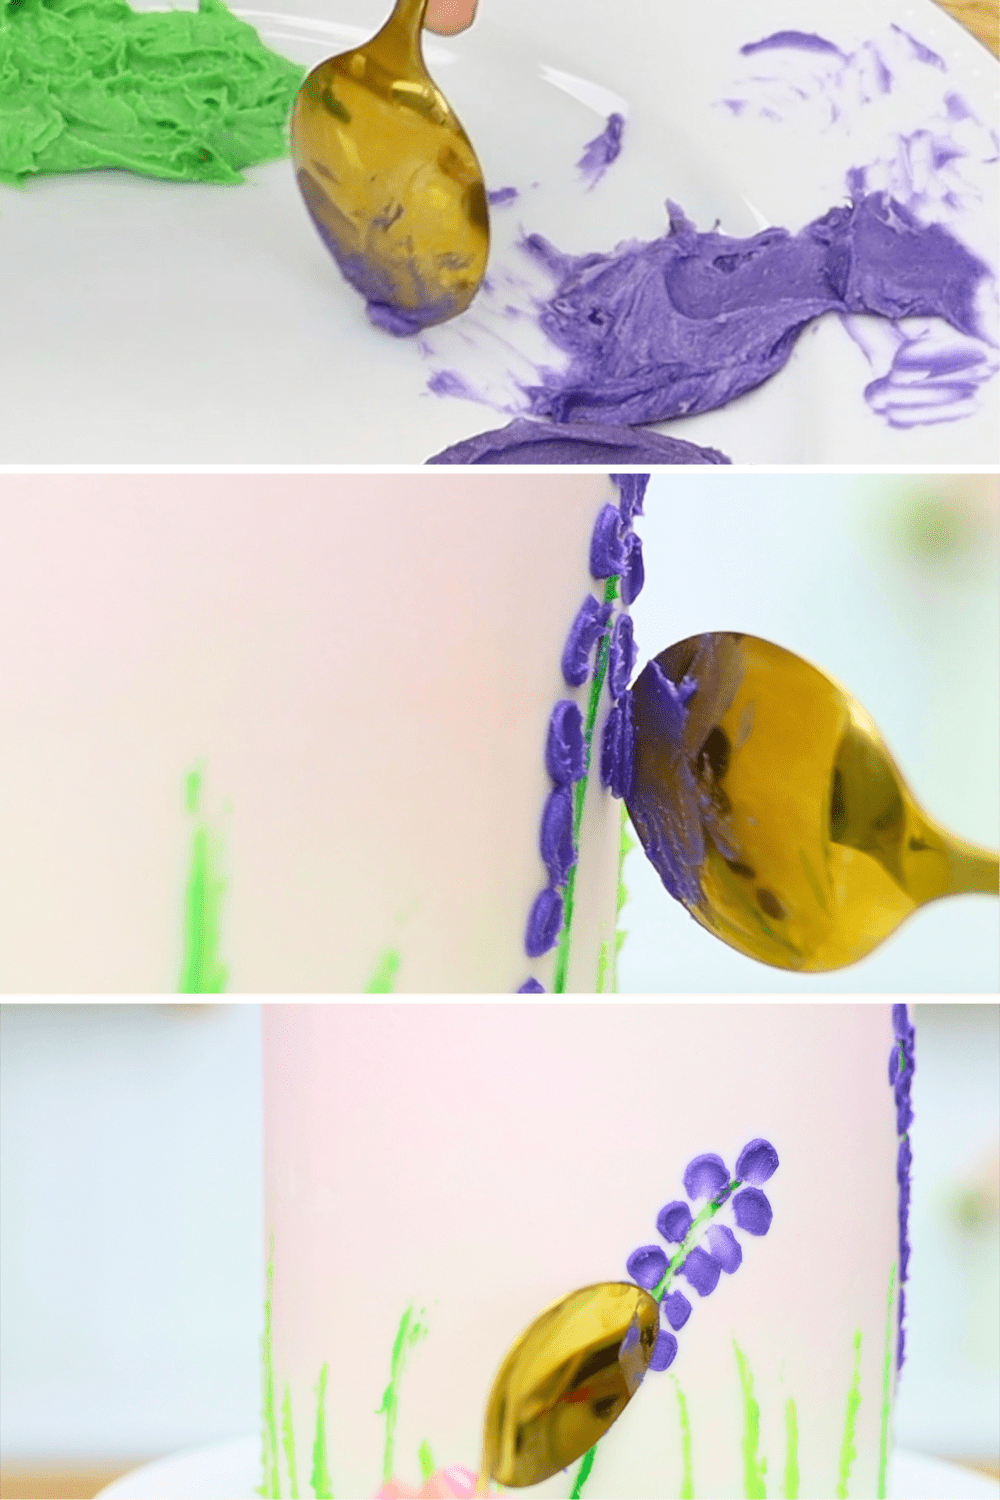
To use a spoon, use small scraping motions across coloured buttercream on your plate. A small ball will build up on the back of the spoon. Spread this buttercream towards a stem to make a flower.
Notice the angle of the spoon, which is somewhere between 45 degrees and upright. Using this angle and lots of little scrapes will create a ball of buttercream on the tip of the spoon.
These flowers look like the bluebonnets where I live in Austin or the bluebells in England. They’re so simple to make with a spoon!
Now let’s use a knife for some flowers with longer petals. Spread the buttercream quite thinly across the plate, mixing different shades together to get those different shades into your petals.
Now use the tip of the knife to scrape sideways to build up a ball of buttercream. To make a petal, press the buttercream against the cake and swipe sideways. Start each petal at the tip and swipe towards where you want the middle of the flower to be. For each petal, scrape again to make a new ball of buttercream on the tip of the knife.
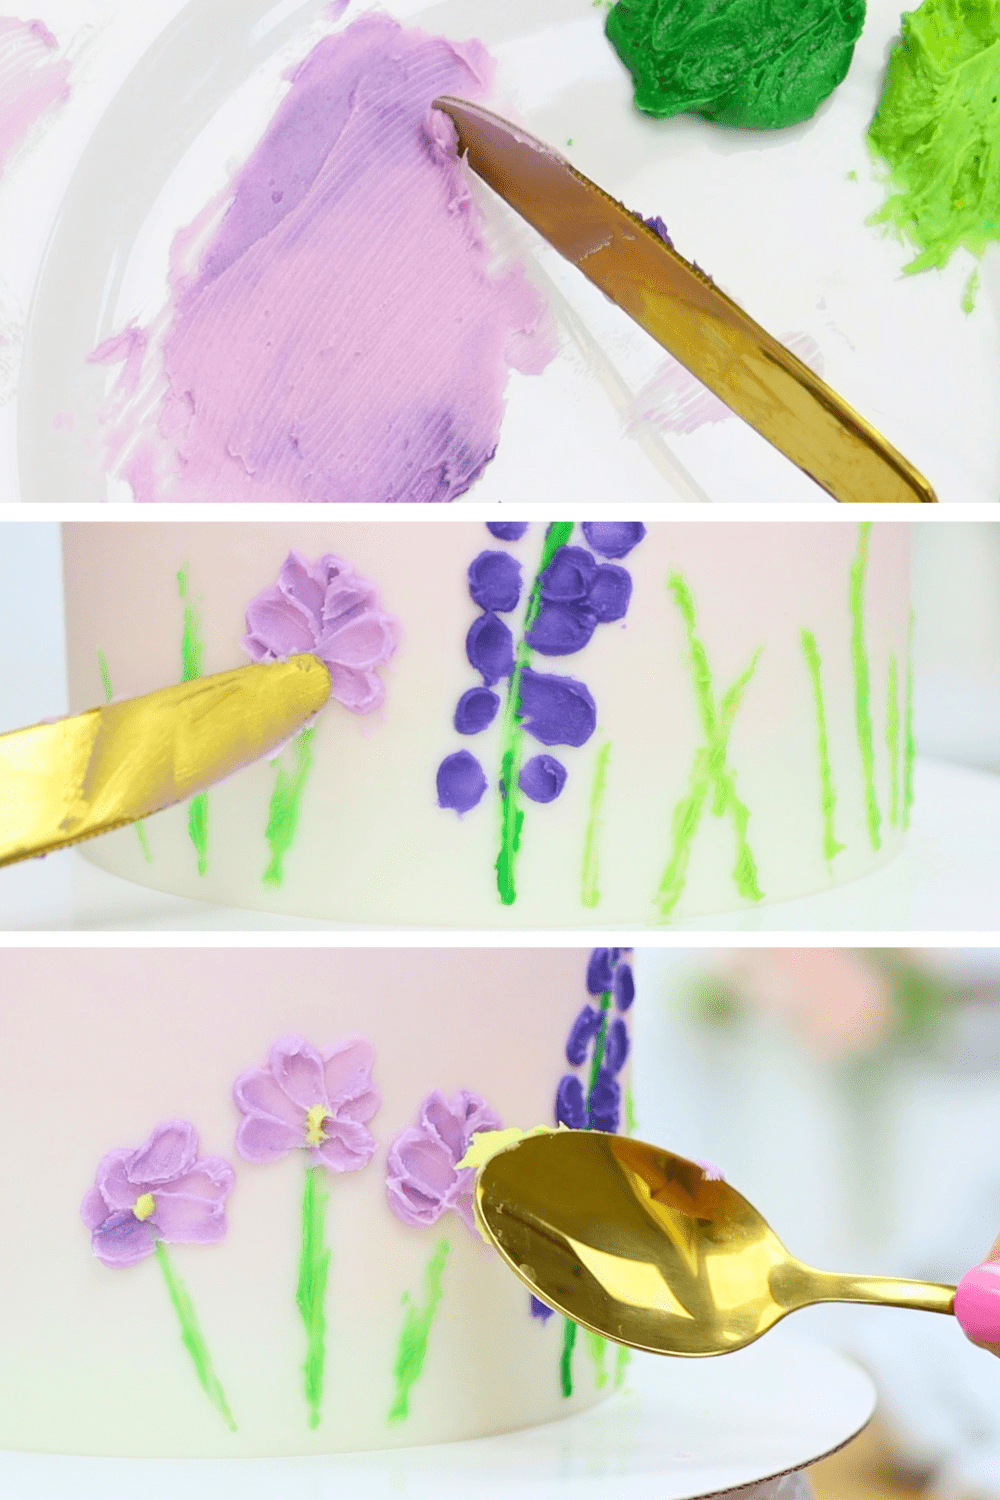
Dip the back of a spoon into yellow buttercream and then press gently against the middle of a flower. Pull away to leave a little yellow dot in the center.
Next, chrysanthemums, which are my favourite on this buttercream flower cake. Score a cross within a circle onto the cake where you want the flower to go. Now use the same knife technique as the previous flowers. Scrape buttercream up with the tip of the knife using several small scrapes. Then swipe inwards from the tip of the petal towards the middle of the flower. Create several rings of petals, starting with the outer ring and working your way in to the middle of the flower.
Dip the back of a spoon into yellow buttercream and then press it against the middle of the flower. You can add texture by poking the yellow buttercream with the prongs of a fork.
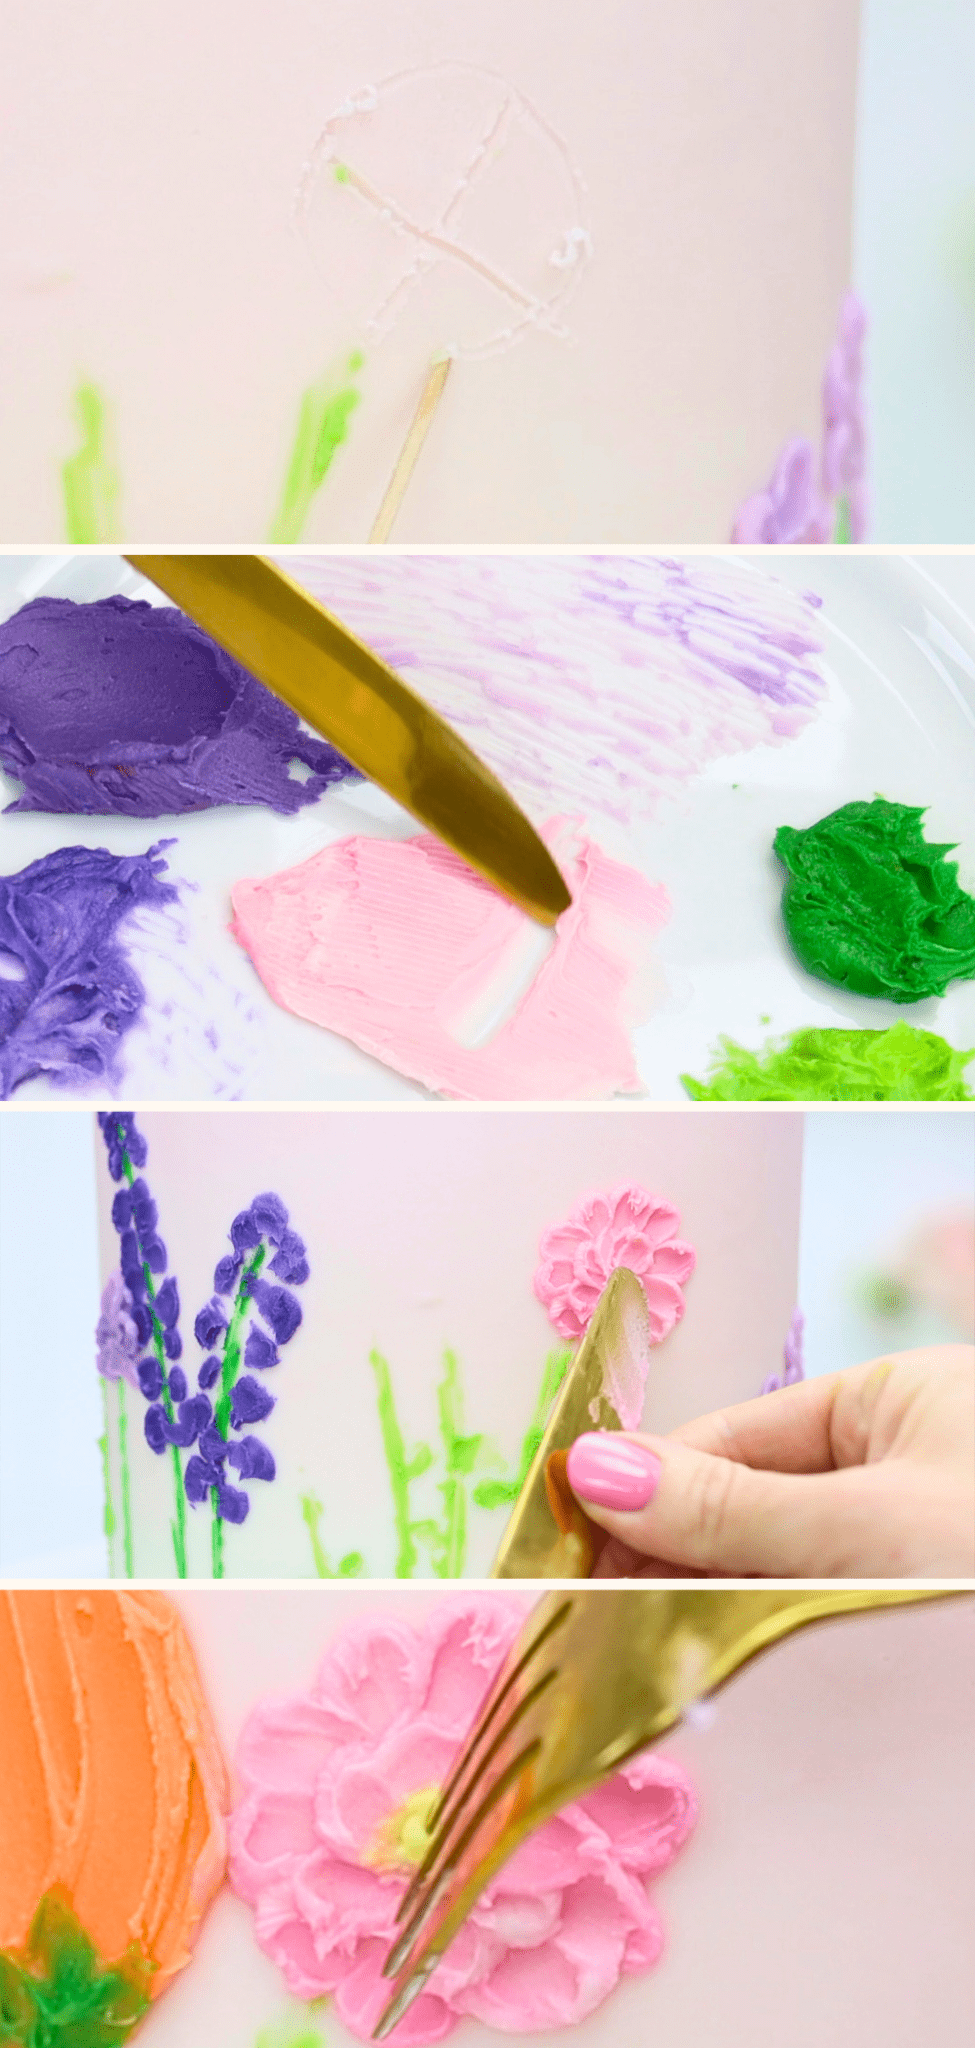
You can use the same knife technique to make leaves. Spread some green buttercream across the plate, mixing different shades if you like. Scrape it up with the tip of a knife with lots of little scrapes to form a small ball of buttercream. Then spread the buttercream onto the cake.
Adjust the shape of these leaves with a toothpick, nudging a point at the tip of the leaf. Since the cake is cold and firm after being in the fridge, you can scrape across the frosting on the cake without damaging it.
We’ve used a spoon and a knife to make flowers but you can use a fork, too. For dandelions, dip the tips of the prongs of a fork into plain white buttercream. Gently push the tip of the fork against the cake and spin the fork to push at different angles. You'll make a circle of tiny white dots like the white puff ball of a dandelion.
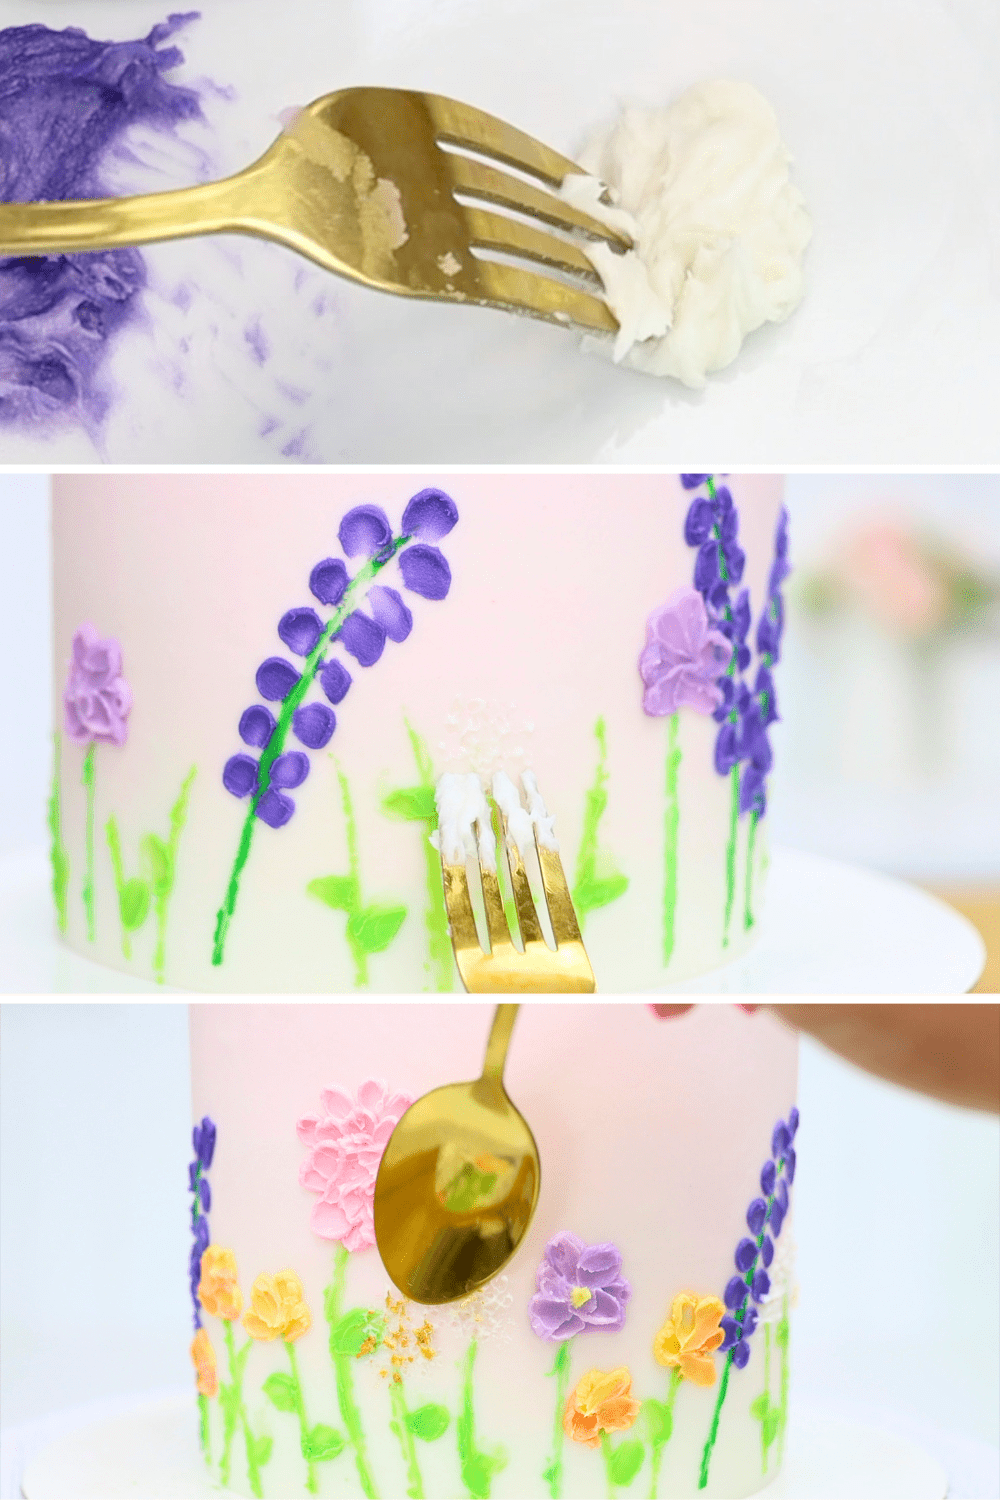
Add this finishing touch to make the dandelions stand out, especially on light coloured frosting backgrounds. Put the cake into the fridge for 15 minutes to set the white buttercream dandelions. Then squeeze a few drops of edible gold paint onto your plate. If you don't have any, make your own with clear alcohol or clear vanilla extract mixed with edible gold luster dust. Dip the back of a spoon into the paint and press it gently against the dandelion, to add gold details.
Repeat any of these flower techniques with different colours to add variety to your buttercream flower cake.
Using just a plate as a palette for buttercream with a knife, fork, and spoon, you can paint gorgeous edible flowers onto a cake! I hope you try this fun technique!

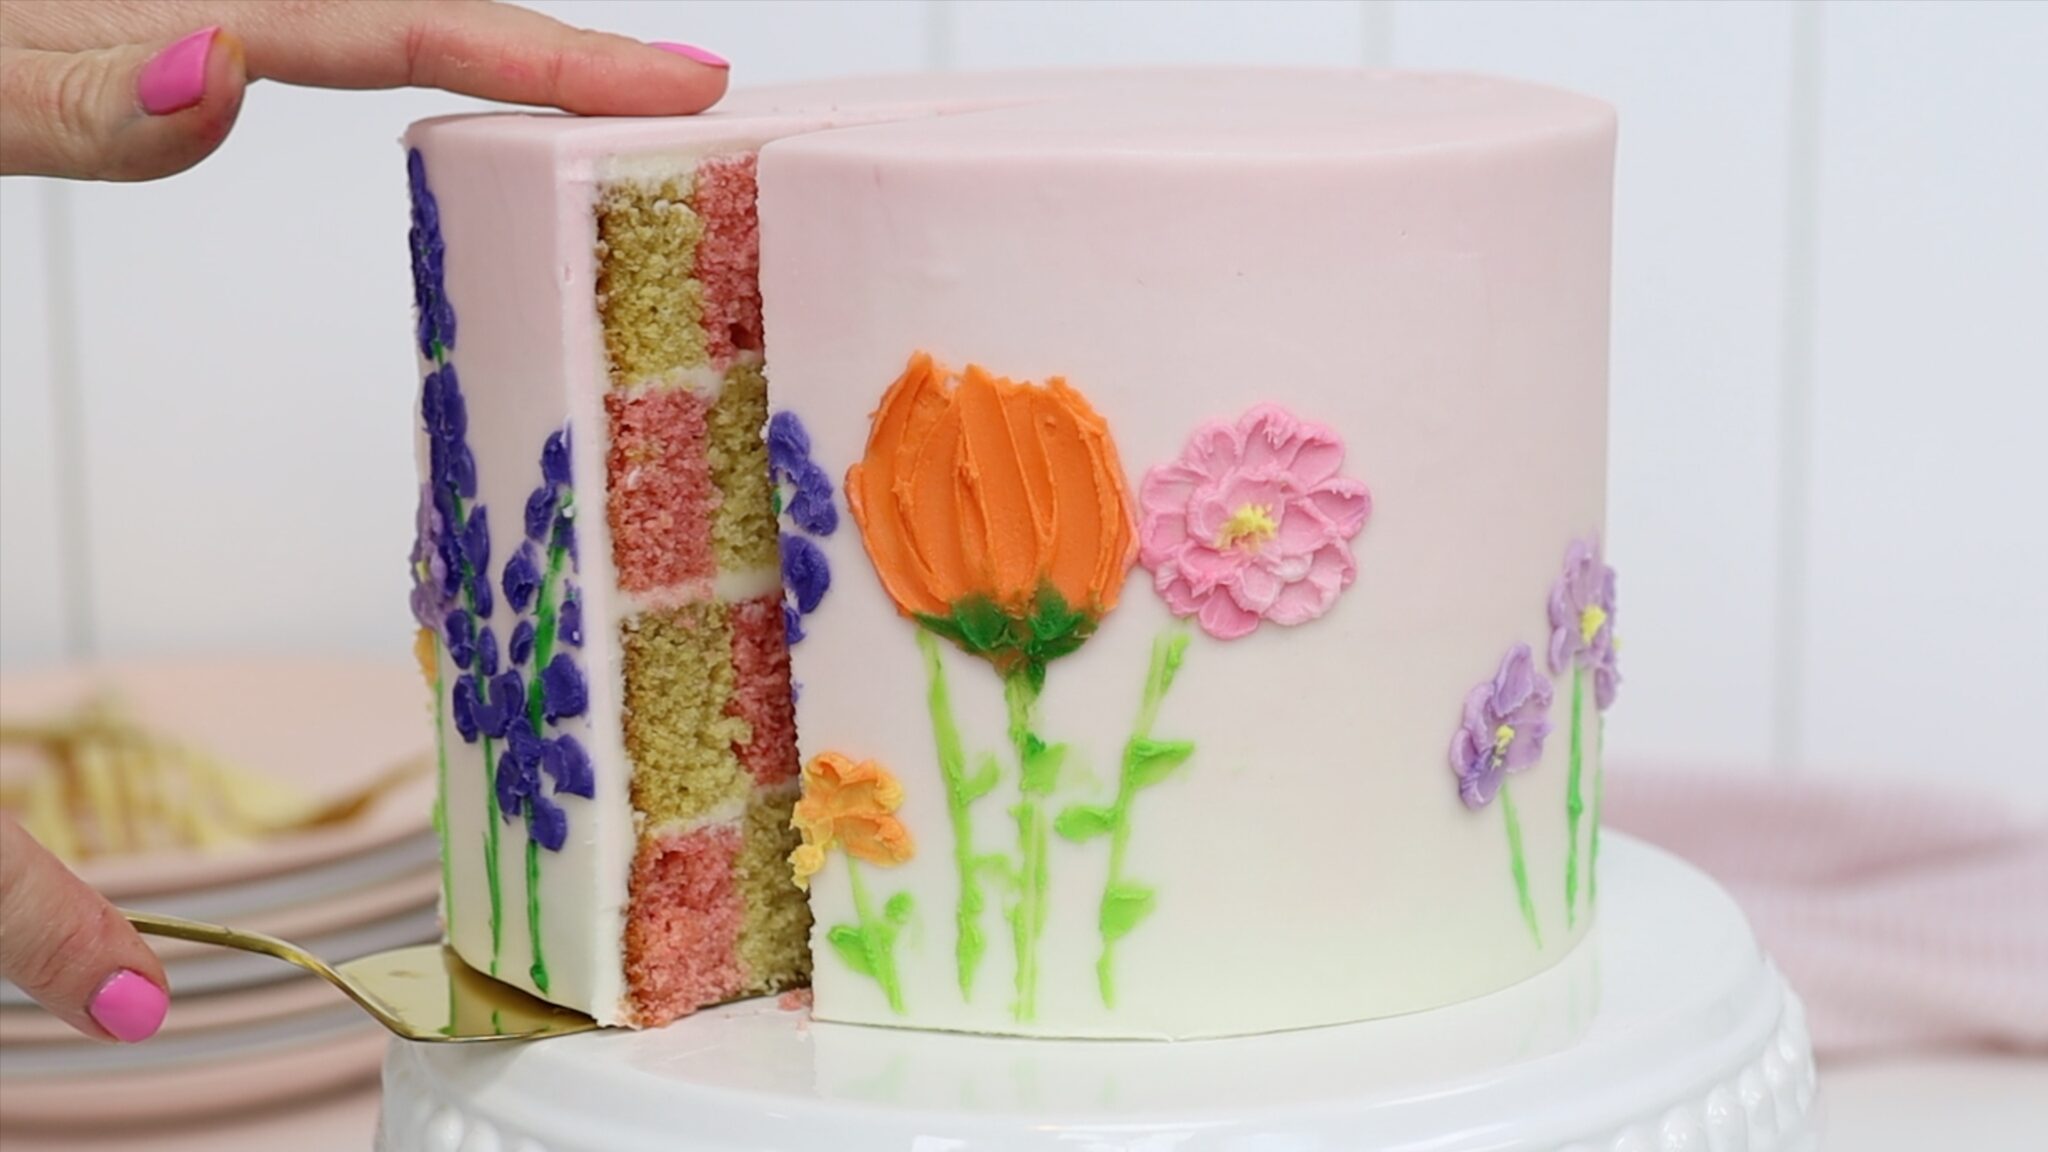
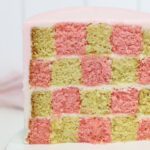
The checkerboard pattern inside the cake is such a fun surprise to cut into!
You can watch a video of this tutorial on how to make a buttercream flower cake without cake decorating tools:
Save this tutorial to Pinterest for later: