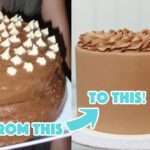
Make a gorgeous ombre cake in four simple steps! This tutorial starts with a crumb coated cake. To learn how to get to this point watch my tutorial on How to Make a Layer Cake.
Step one is to tint your buttercream or any other kind of frosting. I'm using my 4 Minute Buttercream. Strictly speaking, ombre is made by blending different shades of a single colour. But of course you can blend different colours into each other instead! The more colours or shades you make, the more gradual your ombre will be. To make the colours blend into each other in a subtle gradient instead of stripes, tint at least four shades. Another tip is to keep a small different between each shade so the transition isn't too dramatic.

There are two ways to make different shades of a colour. The first method is to start by tinting the darkest shade. Mix that with different amounts of plain white buttercream to make lighter shades.
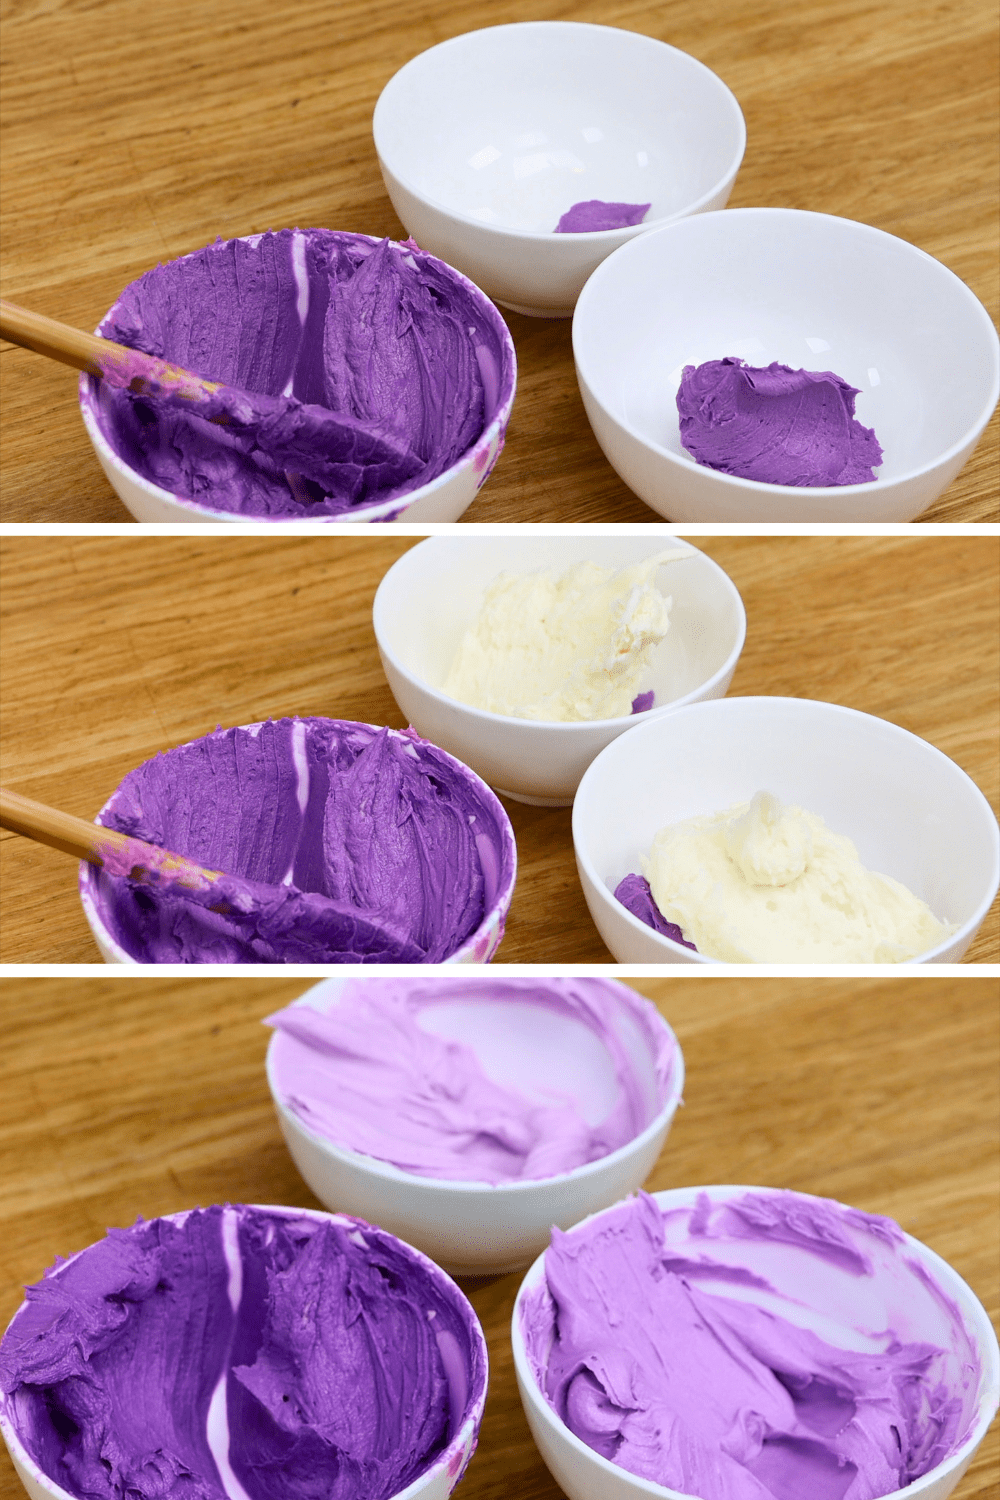
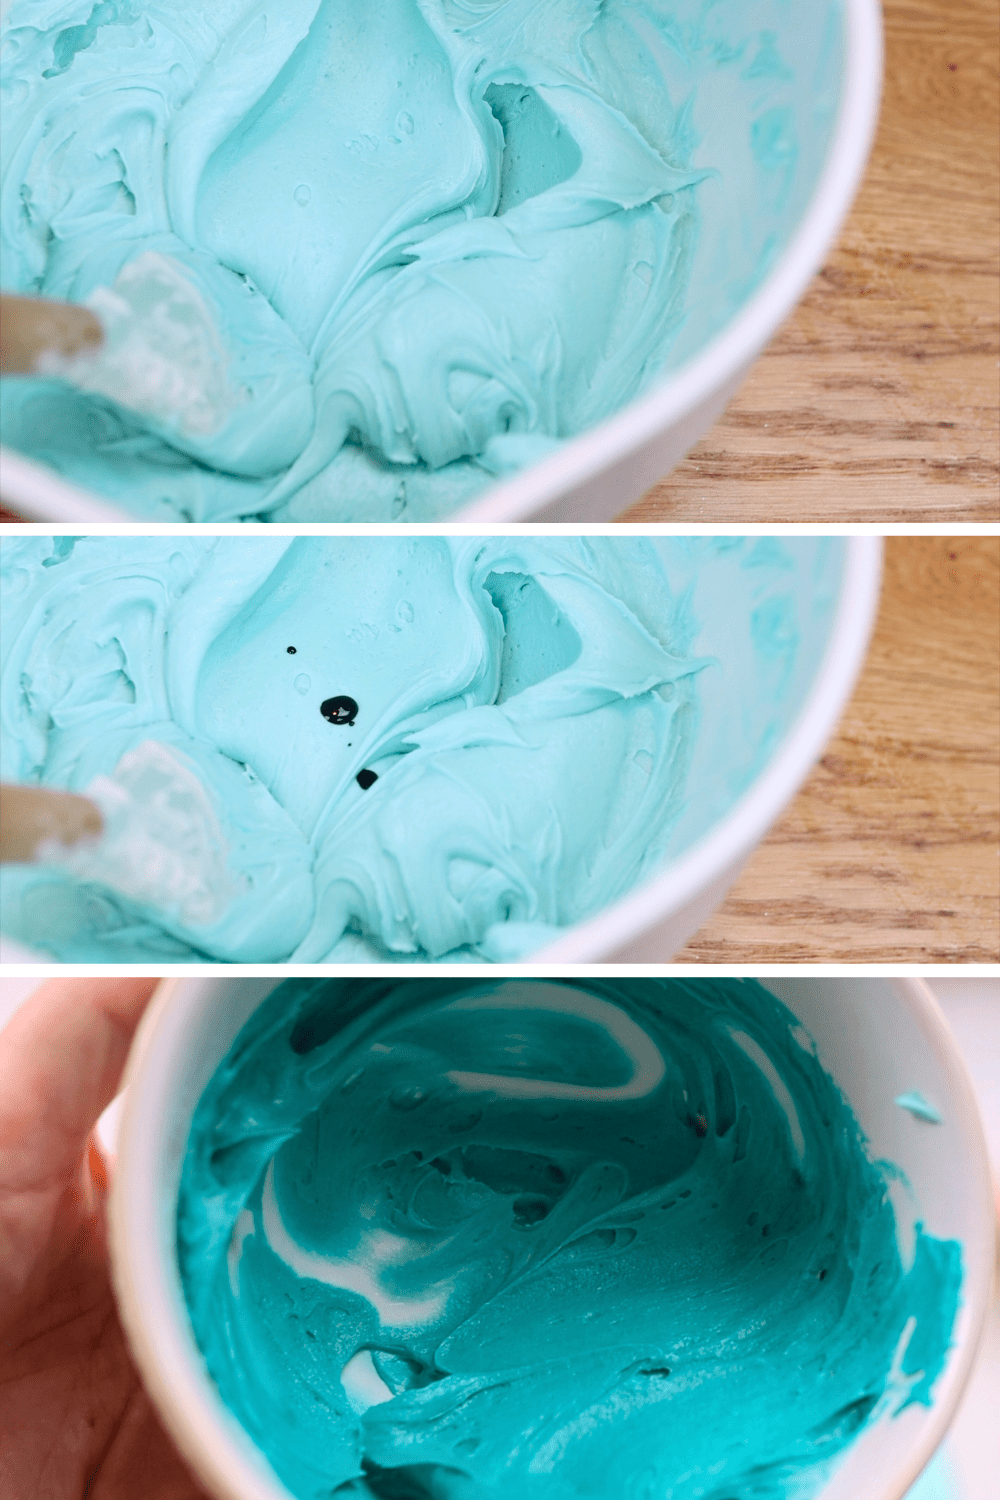
The second method is to start with the lightest shade. Add more and more colouring to make darker shades. Keep the ratio of colours the same, for example one drop of green for every two drops of blue.
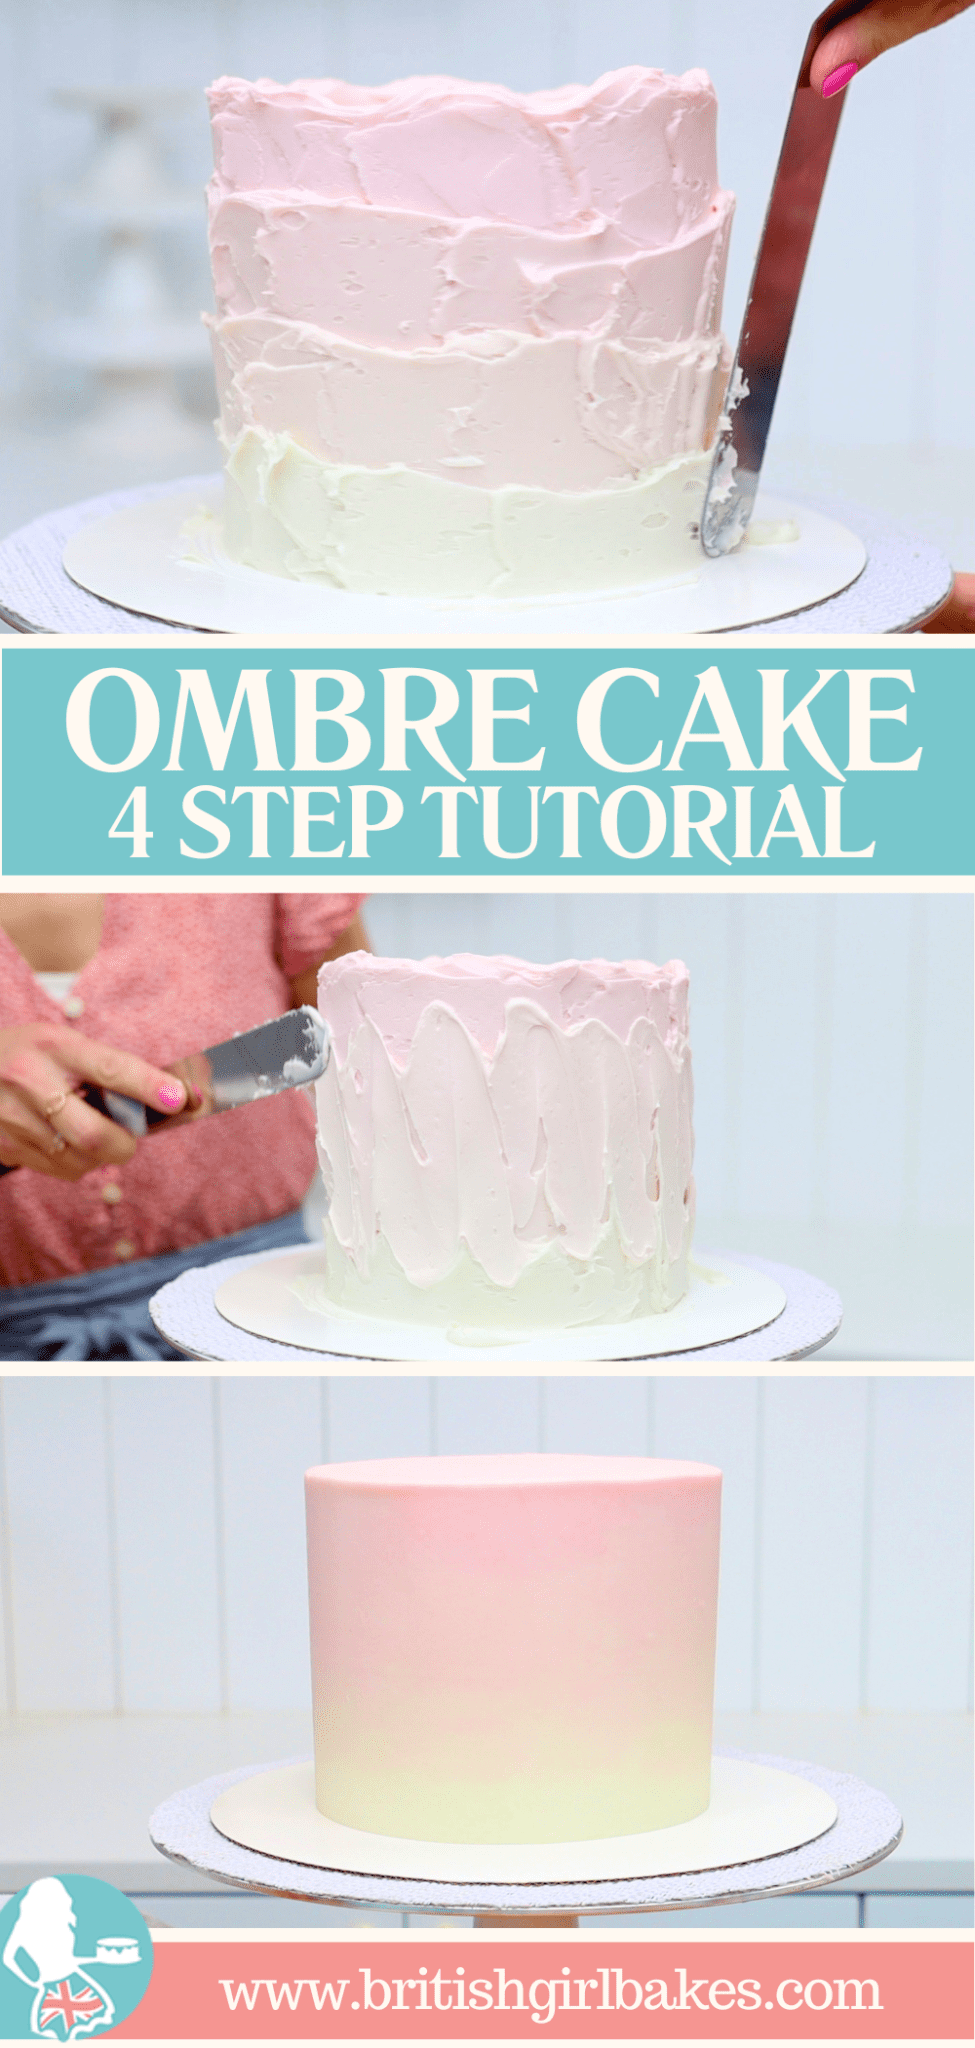
Start by spreading the darkest or lightest shade to cover the top of the cake. You want the frosting to stick out over the edges to make nice sharp angles around the top edge of the cake later. Then spread this same shade around the top of the sides of the cake. If you have three different shades, spread it to cover a third of the cake. Six shades? A sixth of the cake. I have four shades so I'm covering the top quarter of the cake, approximately.
Then use the next shade, spreading it around the cake below the first shade. Since these are going to blend together to make an ombre gradient you don't need an even band of coloured frosting around the cake. It's fine to go down a bit lower in some places and higher up in others. It's also fine to overlap the colour above.
Continue down the cake with all of your shades of buttercream. Go right down to the bottom of the cake board to cover up the very bottom of the cake. There shouldn't be any gaps where you can see the crumb coat.
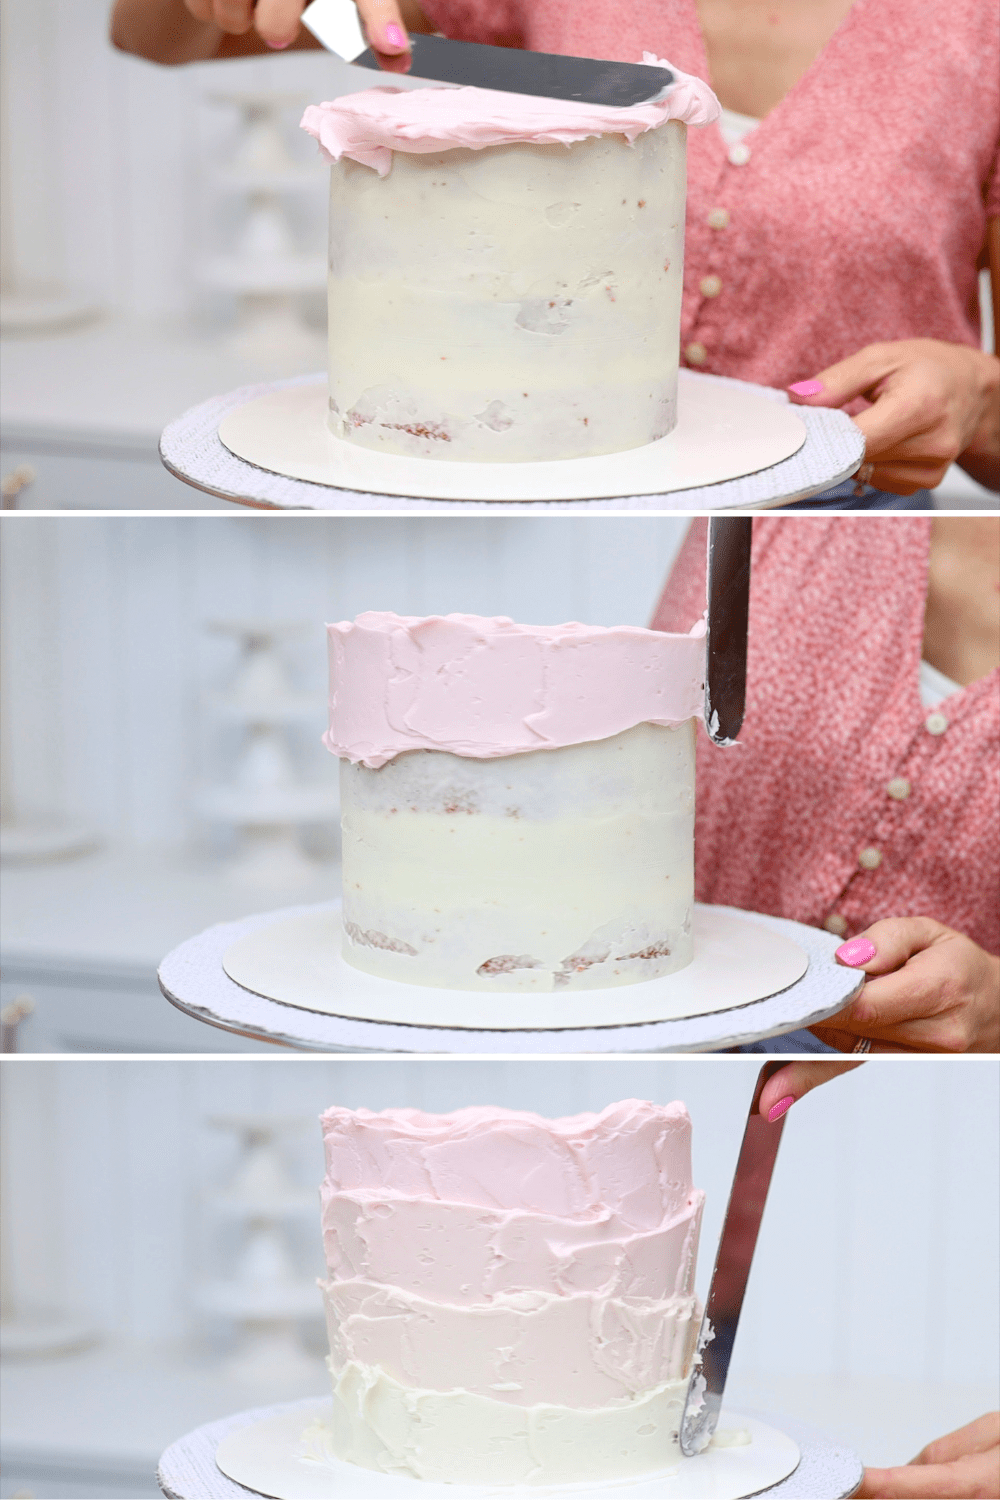
Using the tip of your offset spatula or palette knife, use light pressure to zigzag up and down the buttercream. Do this as you spin the cake on the turntable, which starts the blending of the different shades of buttercream.
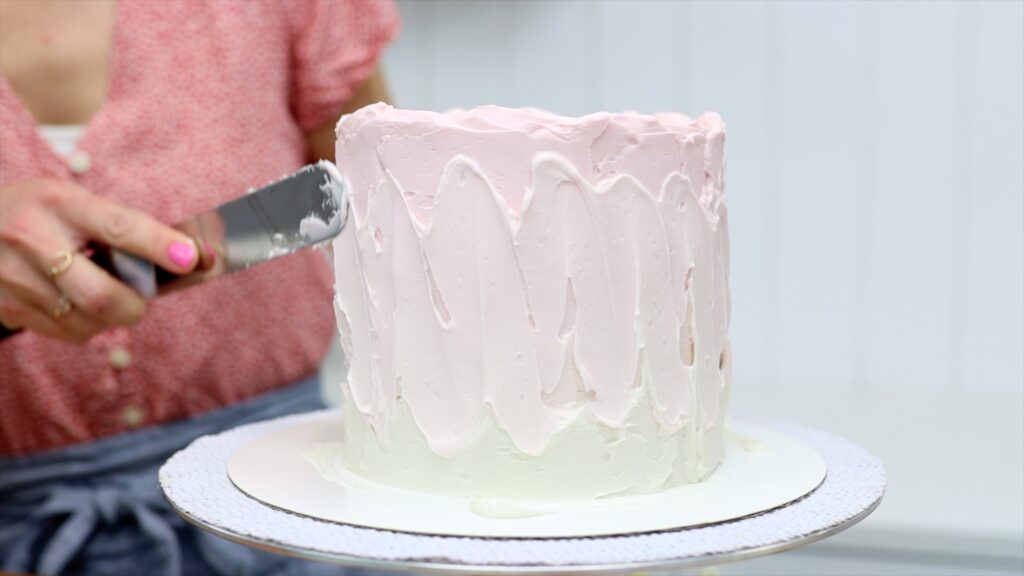
This is the only step that might take some practice. The first three steps are really quite straightforward if you follow this tutorial. To smooth the frosting, rest the bottom of the cake comb down on the cake board. Press gently against the cake as you spin the turntable. When you can't spin any further, swipe the comb away and scrape it clean on the edge of a bowl.
Spread more buttercream over any indents or shallow areas using the same shade that's already on that part of the cake. So if the gap is in the lightest buttercream, use the lightest buttercream to fill it in.
I like to use a metal cake comb because you can heat the edge for the smoothest ombre frosting. I'm using a blow torch but you can use a hair dryer or hot water instead. Let the comb cool down for a second so it's warm, not hot. When you scrape around the cake it will glide over the buttercream, warming it and pulling it effortlessly to fill in any shallow indents in the surface without causing air bubbles or tiny tears in the buttercream.
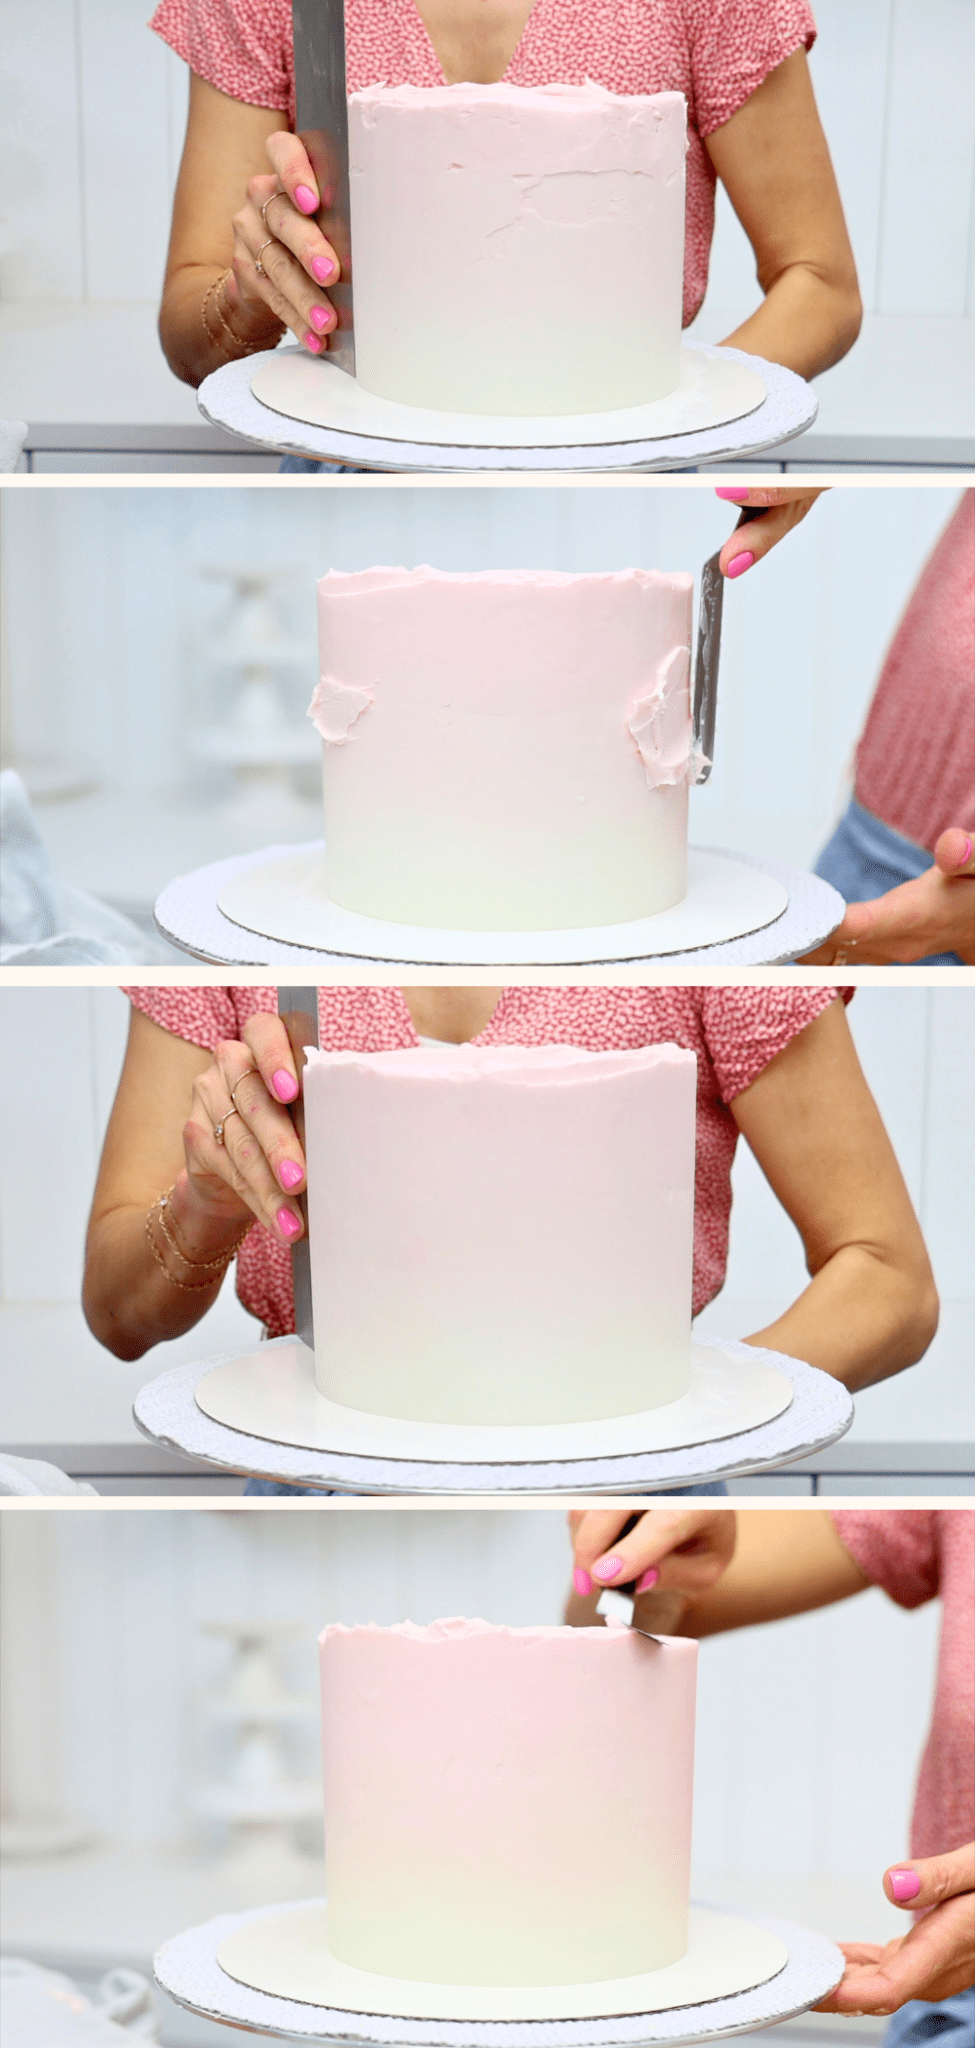
I find holding the comb at a 45° angle against the cake gives the best results. Your cake comb hand is staying still, it's the cake on the turntable that's moving or spinning. Smoothing the frosting takes some practice and some patience! It took me 5 minutes and 52 seconds until I was happy with the results of my ombre frosting.
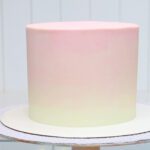
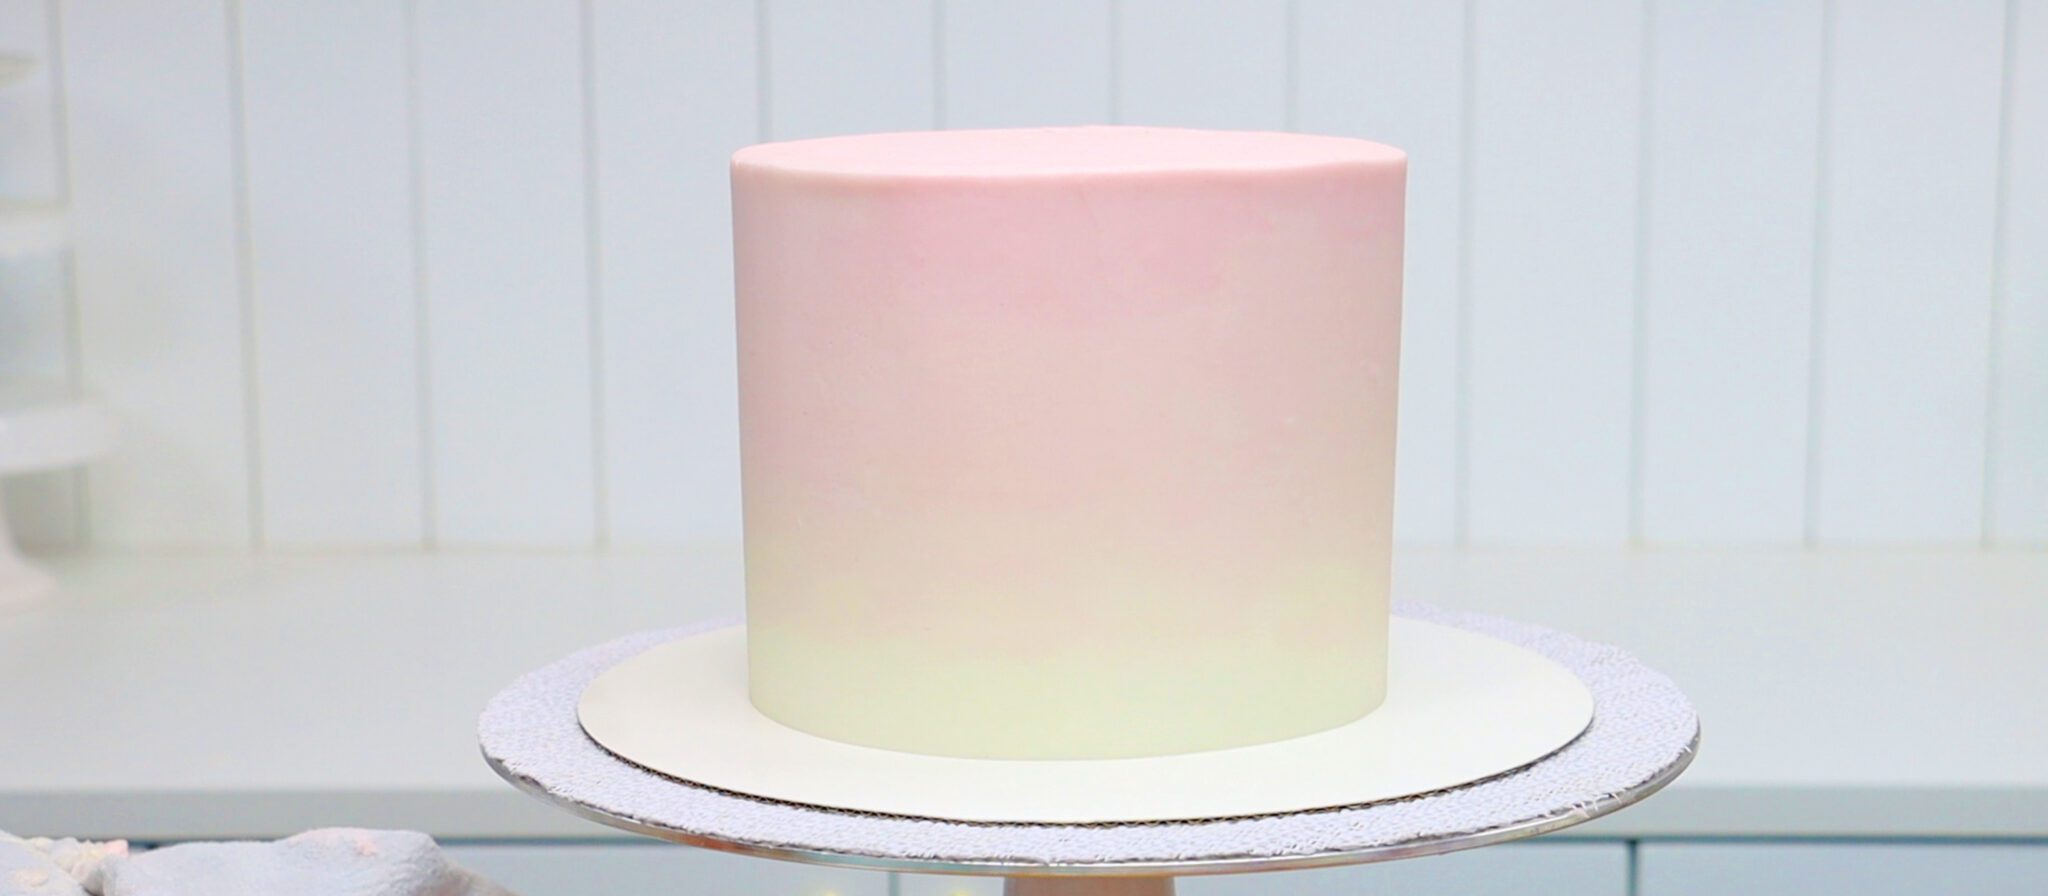
You can leave the top edge of the frosting uneven, which works really well for rustic designs. It looks very dramatic on cakes with simple designs, too. Or you can flatten or level it by swiping sideways with your offset spatula or palette knife. Make sure you're pushing sideways, not down, so that you don't create a bulge of frosting around the top edge. Wipe the blade clean on a towel or paper towel after each swipe so you don't drag buttercream back onto the top edge and leave texture behind.
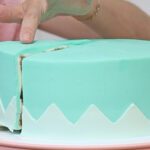
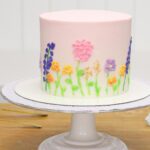
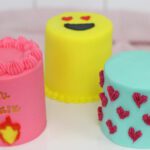
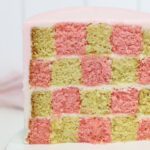
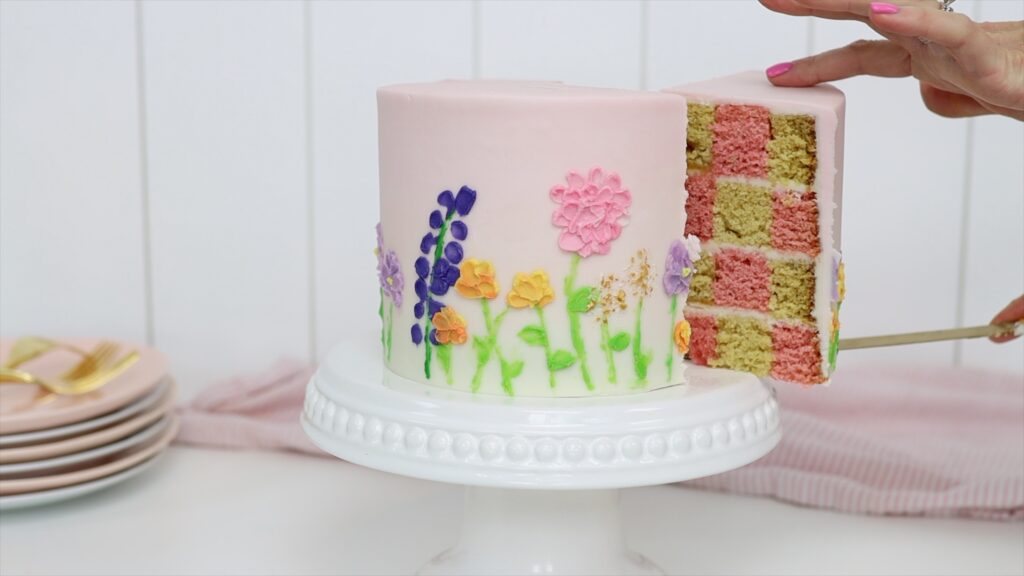
This is how I decorated this ombre cake with a checkerboard cake design inside and painted buttercream flowers on the outside:
So, in four steps that's how I make an ombre cake! I hope this tutorial was useful! Visit my cake school to learn hundreds of other cake decorating techniques and designs, broken down into simple steps, close up videos and easy to follow instructions.
You can also watch a video of this tutorial on 4 step ombre frosting:
Save this tutorial to Pinterest for later: