There are so many tricks with toothpicks for cake decorating! Make neat patterns on cakes, smooth stenciling, stable tier cakes, really white buttercream and more! In this tutorial I'll share 10 ways to use toothpicks for cake decorating.
Toothpicks can guide you as you're piping, showing you where to move your piping bag. Start by cutting a circle of parchment paper that's the same size as your cake. You can use wax paper or baking paper or even normal paper instead. The quickest way to measure the paper is to trace around the cake pan you baked the cake in.
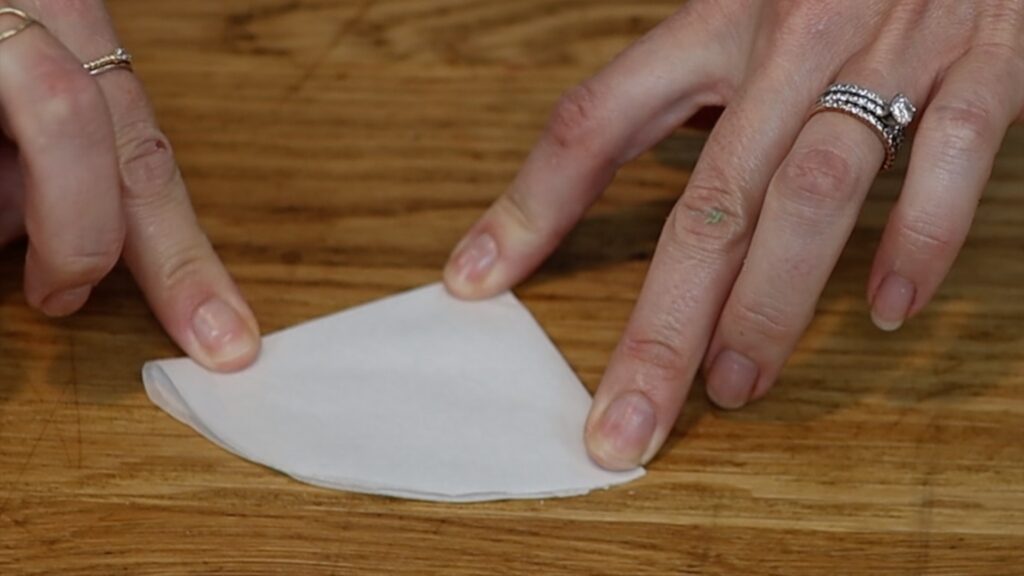
Cut the circle out and fold it in half three or four times or more for really big cakes. Unfold it and place it on top of your cake.
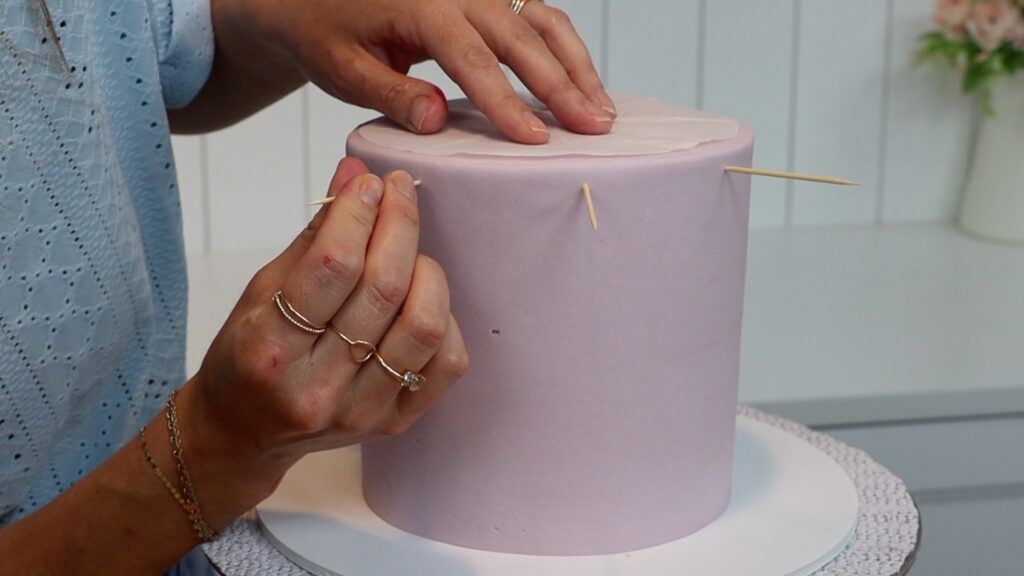
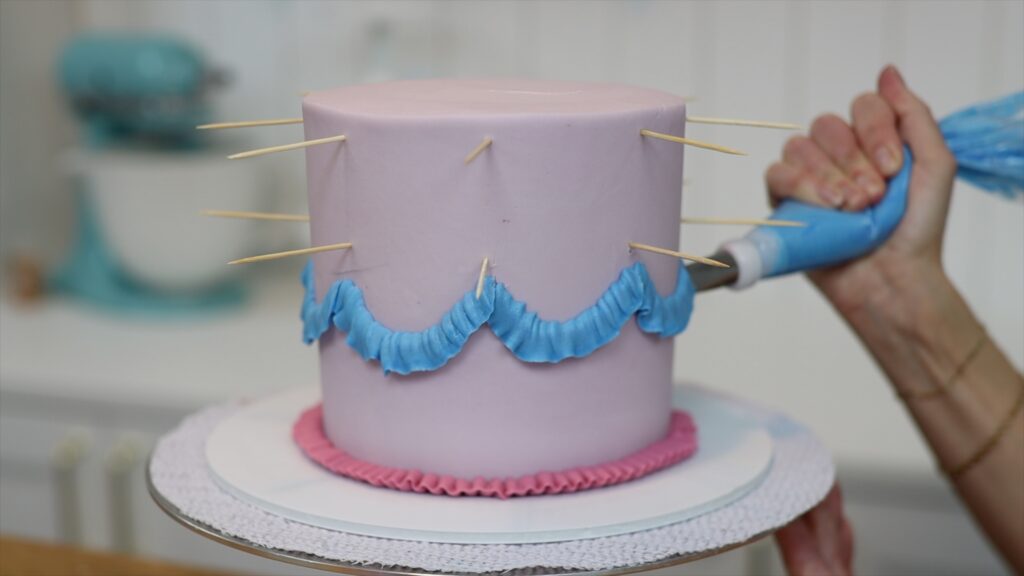
Use the creases in the paper as your guidelines, poking toothpicks into the side of the cake below each crease. Now when you pipe, the toothpicks will keep your designs spaced evenly around the cake.
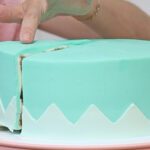
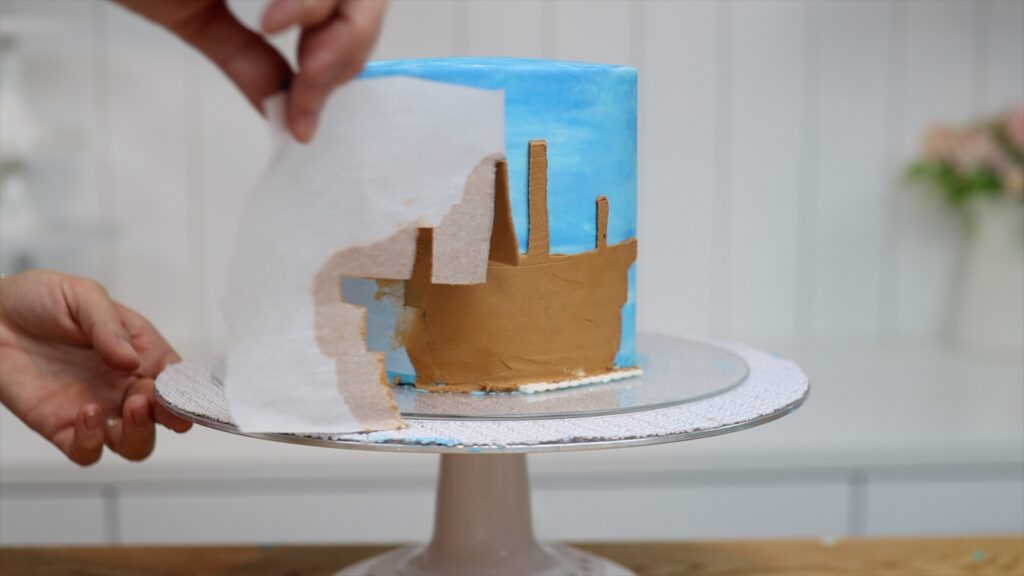
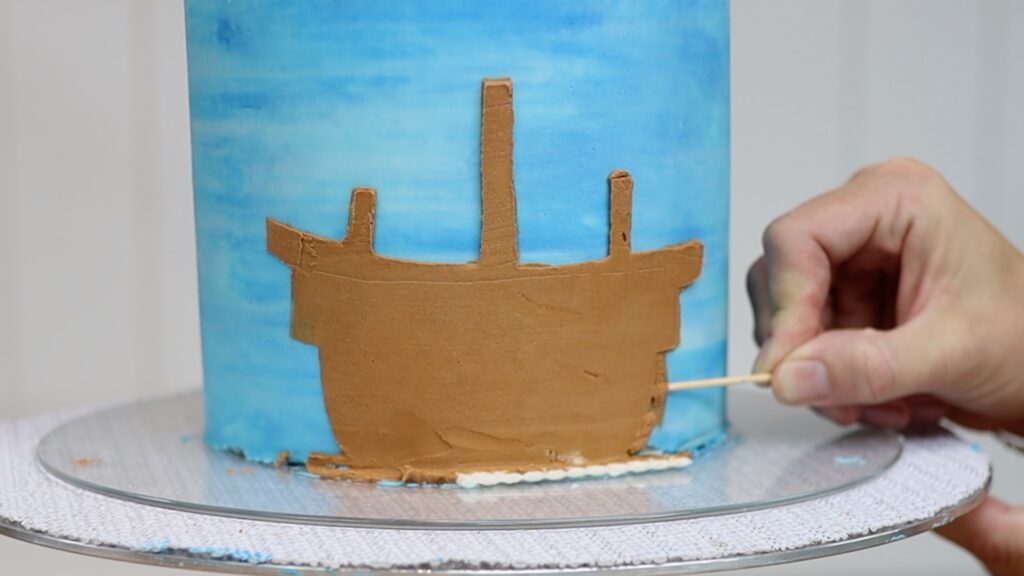
Take this a step further by using toothpicks to create outlines for your cake designs. Score your design onto a frosted cake, drawing freehand or tracing around objects or cut-out paper shapes.
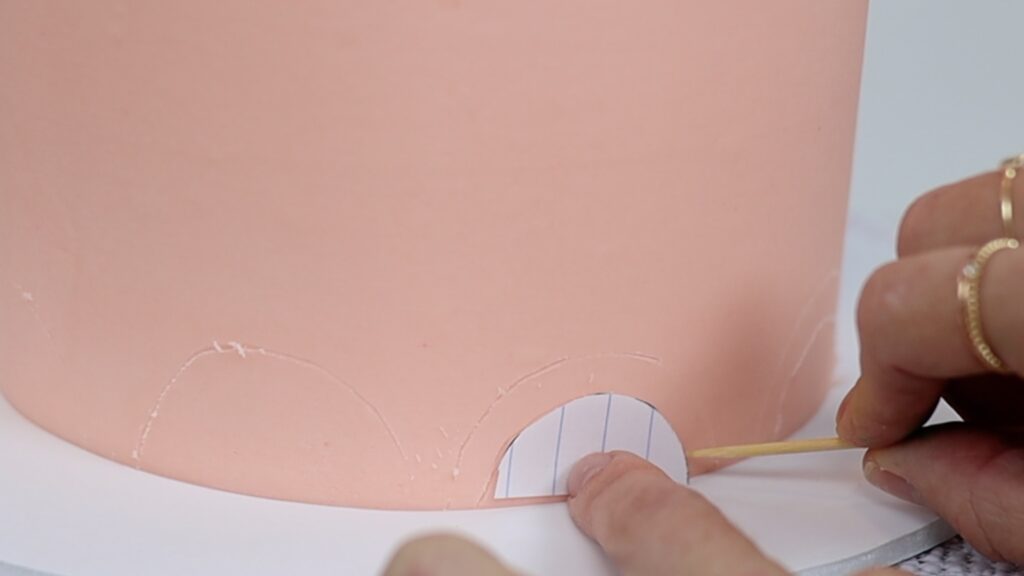
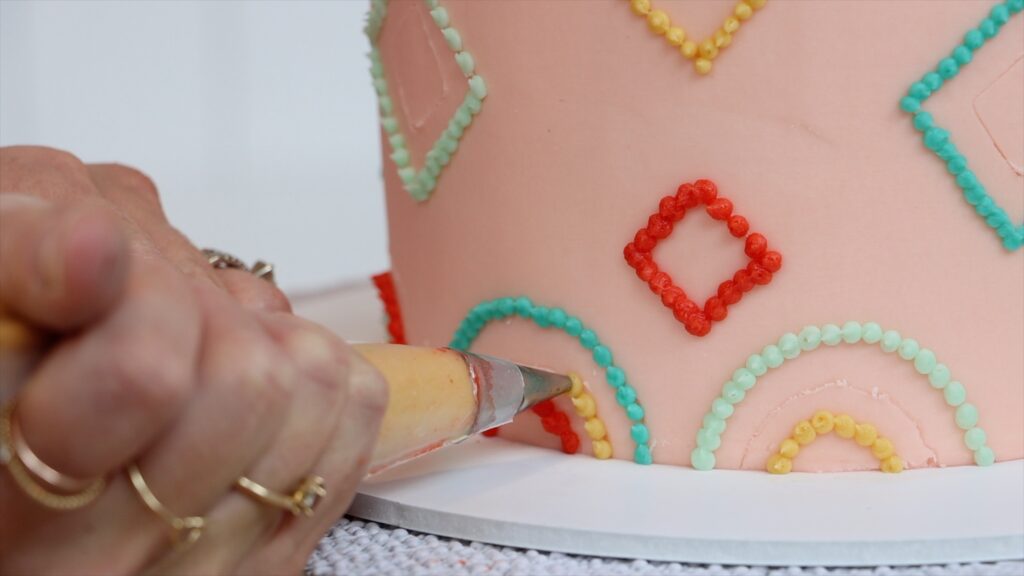
Outlining a shape with a toothpick gives you a subtle guide that helps you create the right proportions.
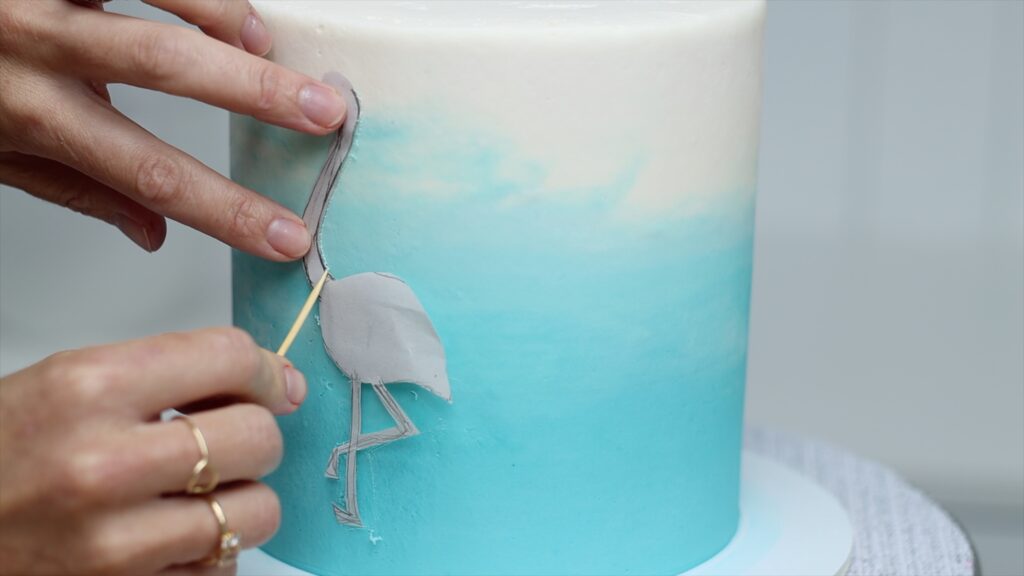
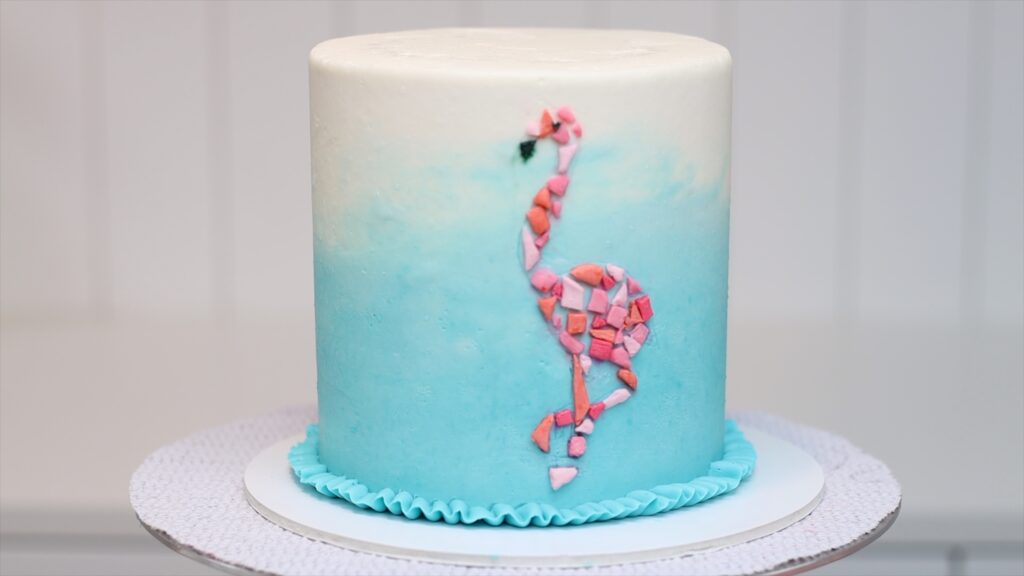
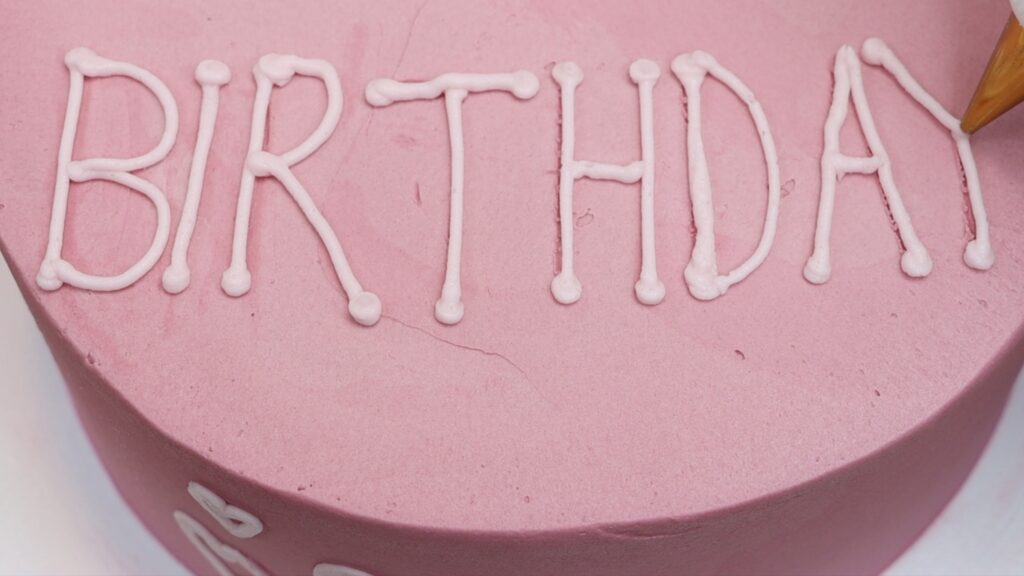
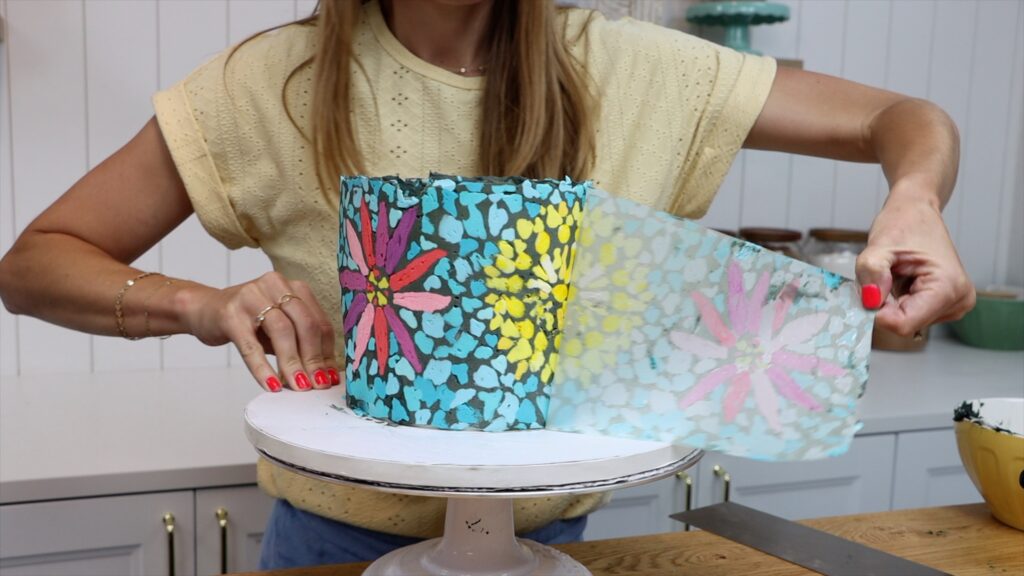
Once it's covered up, in this case with buttercream mosaic tiles, you really don't notice the toothpick outline. You can outline messages, too, to make sure the letters fit before you pipe them.
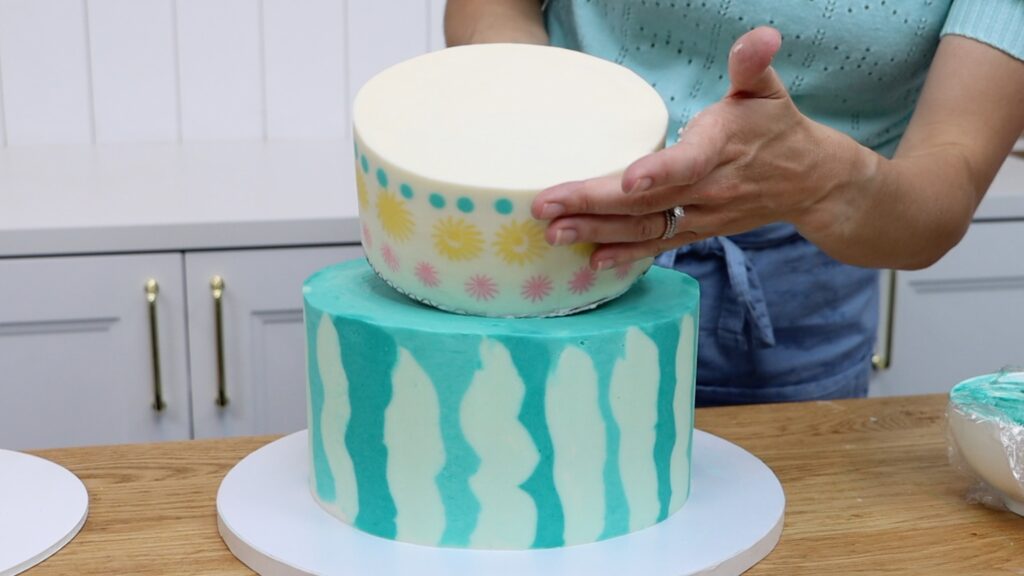
To stack a tier cake, outline where the top tier will go before adding support straws or dowels below. The cakes need to be cold and firm so put them in the fridge for a few hours first.
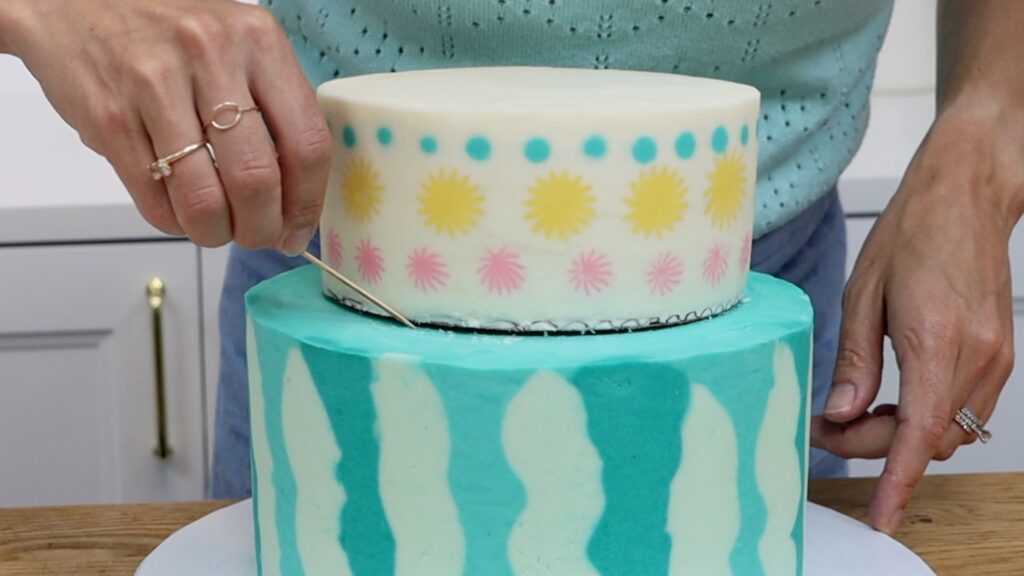
Push support straws or dowels within the circle you scored onto the cake with your toothpick. This way you'll know they'll be positioned underneath the cake above, to support it. Doing this for every tier will make sure your cakes are centered and won't sink.
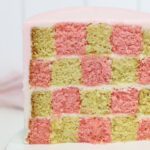
To make marbled cake batter spoon different flavours into a pan, alternating between them. You can do this with different colours instead, spooning or piping them into the pans.
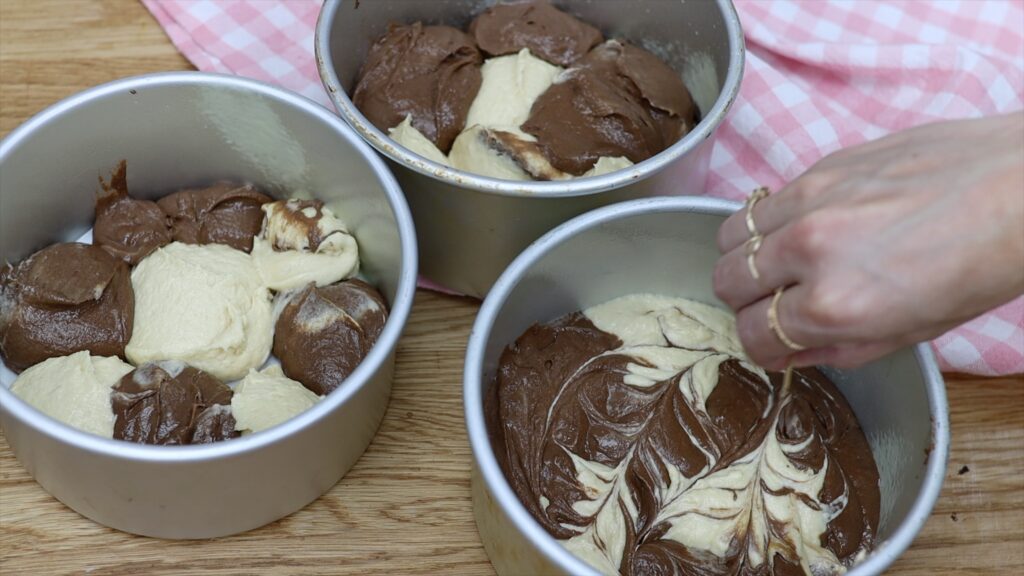
The key to making this marbled is to use a toothpick, dragging it through the cake batter. You'll mix the colours together just enough to create this fun, marbled effect.
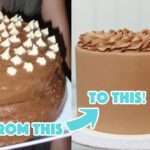
Make designs really smooth with a toothpick when you pipe them to later transfer to a cake. Use dabbing motions to push the buttercream downwards towards the paper or acetate underneath. This will prevent trapped air pockets that later become holes or indents in the surface of the frosting.
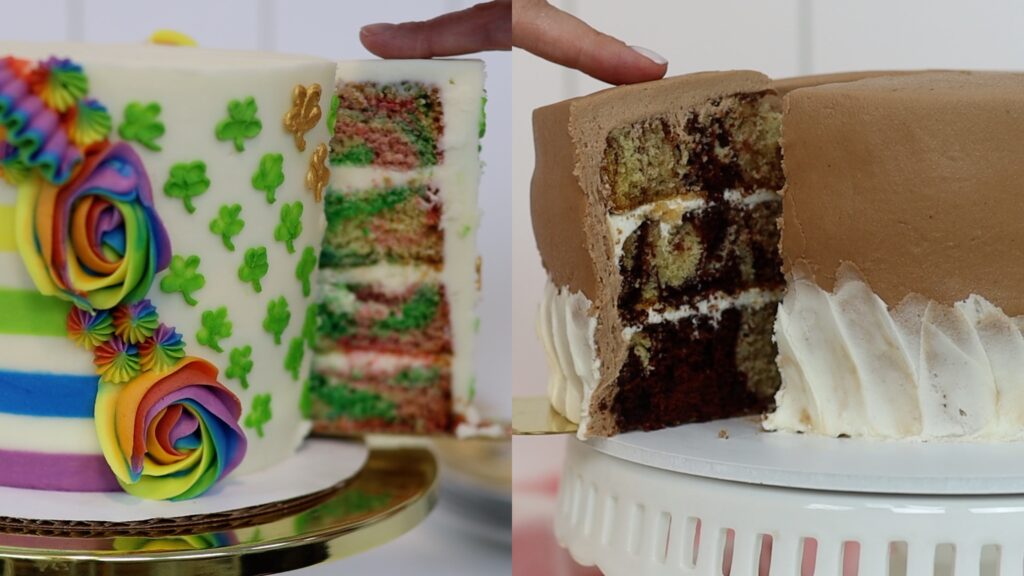
This works for character cakes made with buttercream transfers, like this cake:

It also work for wrapped cakes like the one below. I have a step-by-step tutorial on this mosaic cake technique.
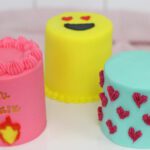
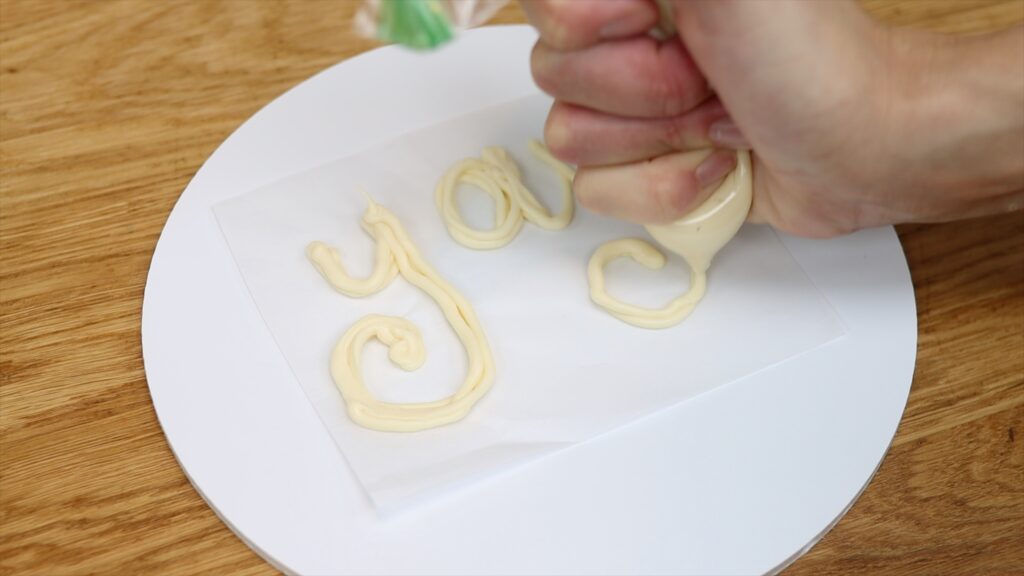
Use toothpicks to create 3D designs on cakes by making your own edible cake toppers. Melt chocolate and spoon it into a sandwich bag, cutting off one of the corners to pipe through. Next, write a message or draw a shape onto parchment or wax or baking paper.
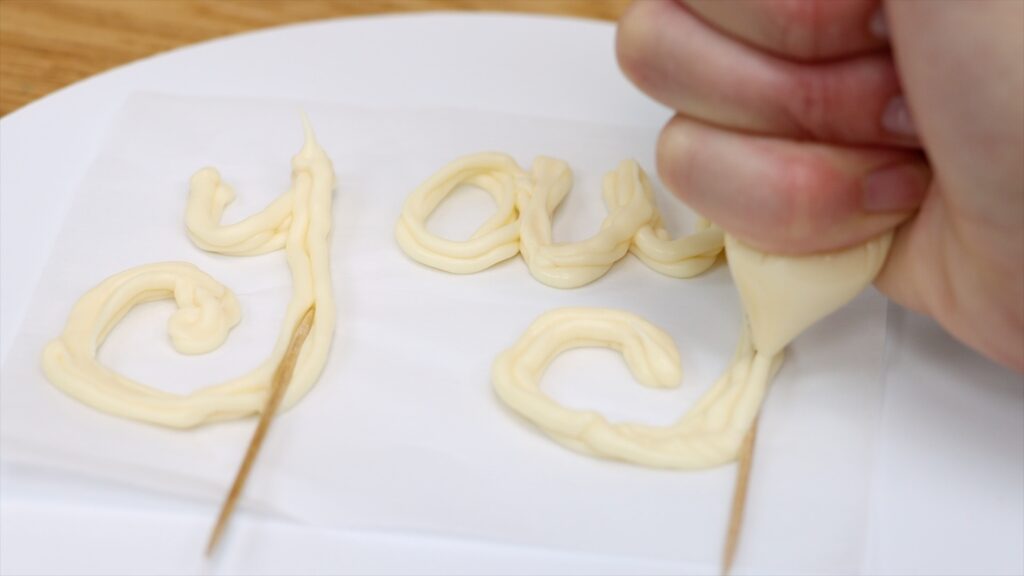
Then push a toothpick into the bottom of each section, piping some more chocolate to cover it up.
Pour sprinkles or coloured sugar on top, pressing it gently into the melted chocolate. The chocolate will set after about an hour at room temperature or 30 minutes in the fridge.
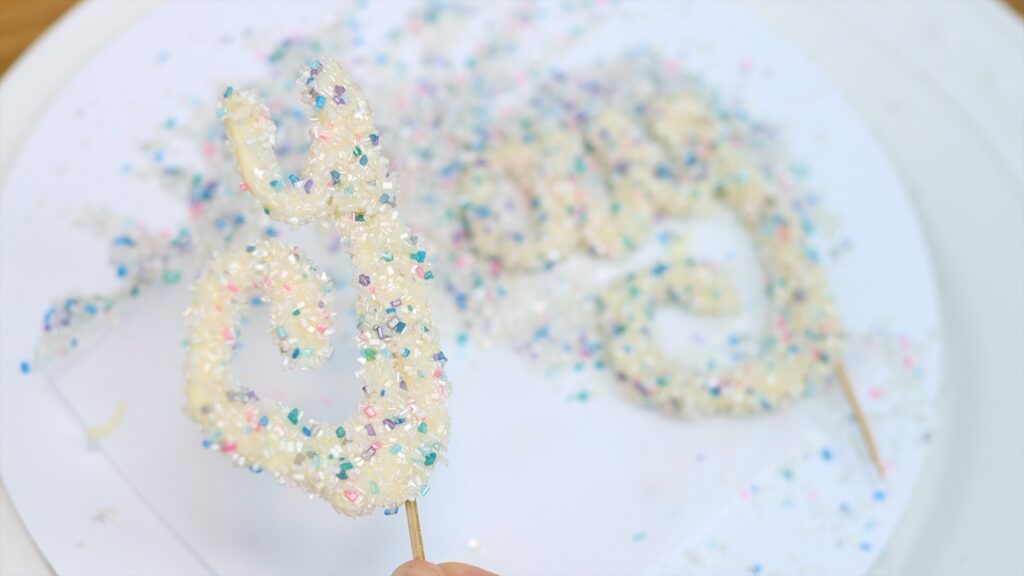
Then you'll be able to pick them up and push them into the cake so that they stand upright. So pretty!

Toothpicks are ideal for tidying up messy frosting. For example, stenciling can be tricky but with a toothpick you can make smooth, neat, stenciled designs.
If the stencil moves while you're spreading and smoothing the frosting over it, you'll have smudges around the outline. A toothpick is perfect for scraping those off.
Also, as you peel a stencil away from your cake the frosting you've just spread over it might try to pull away with it. Nudge it with your toothpick straight away before the frosting sets. With straight, smooth edges around stencil shapes the design will look much neater.
Use toothpicks to tidy up piping, too by taking off any part you don't like.

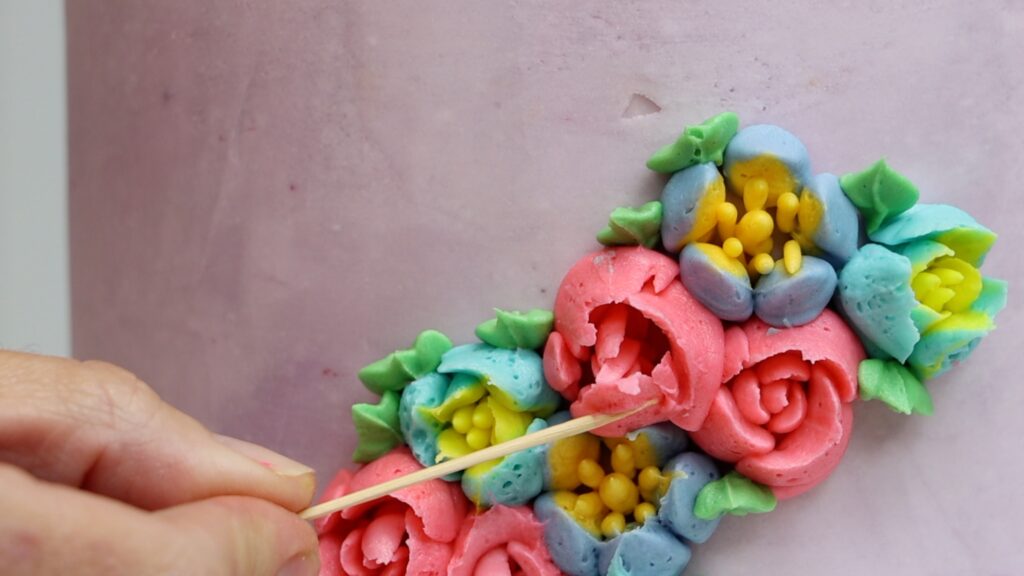
You can also nudge details into the right position with toothpicks to make your piping look much better.
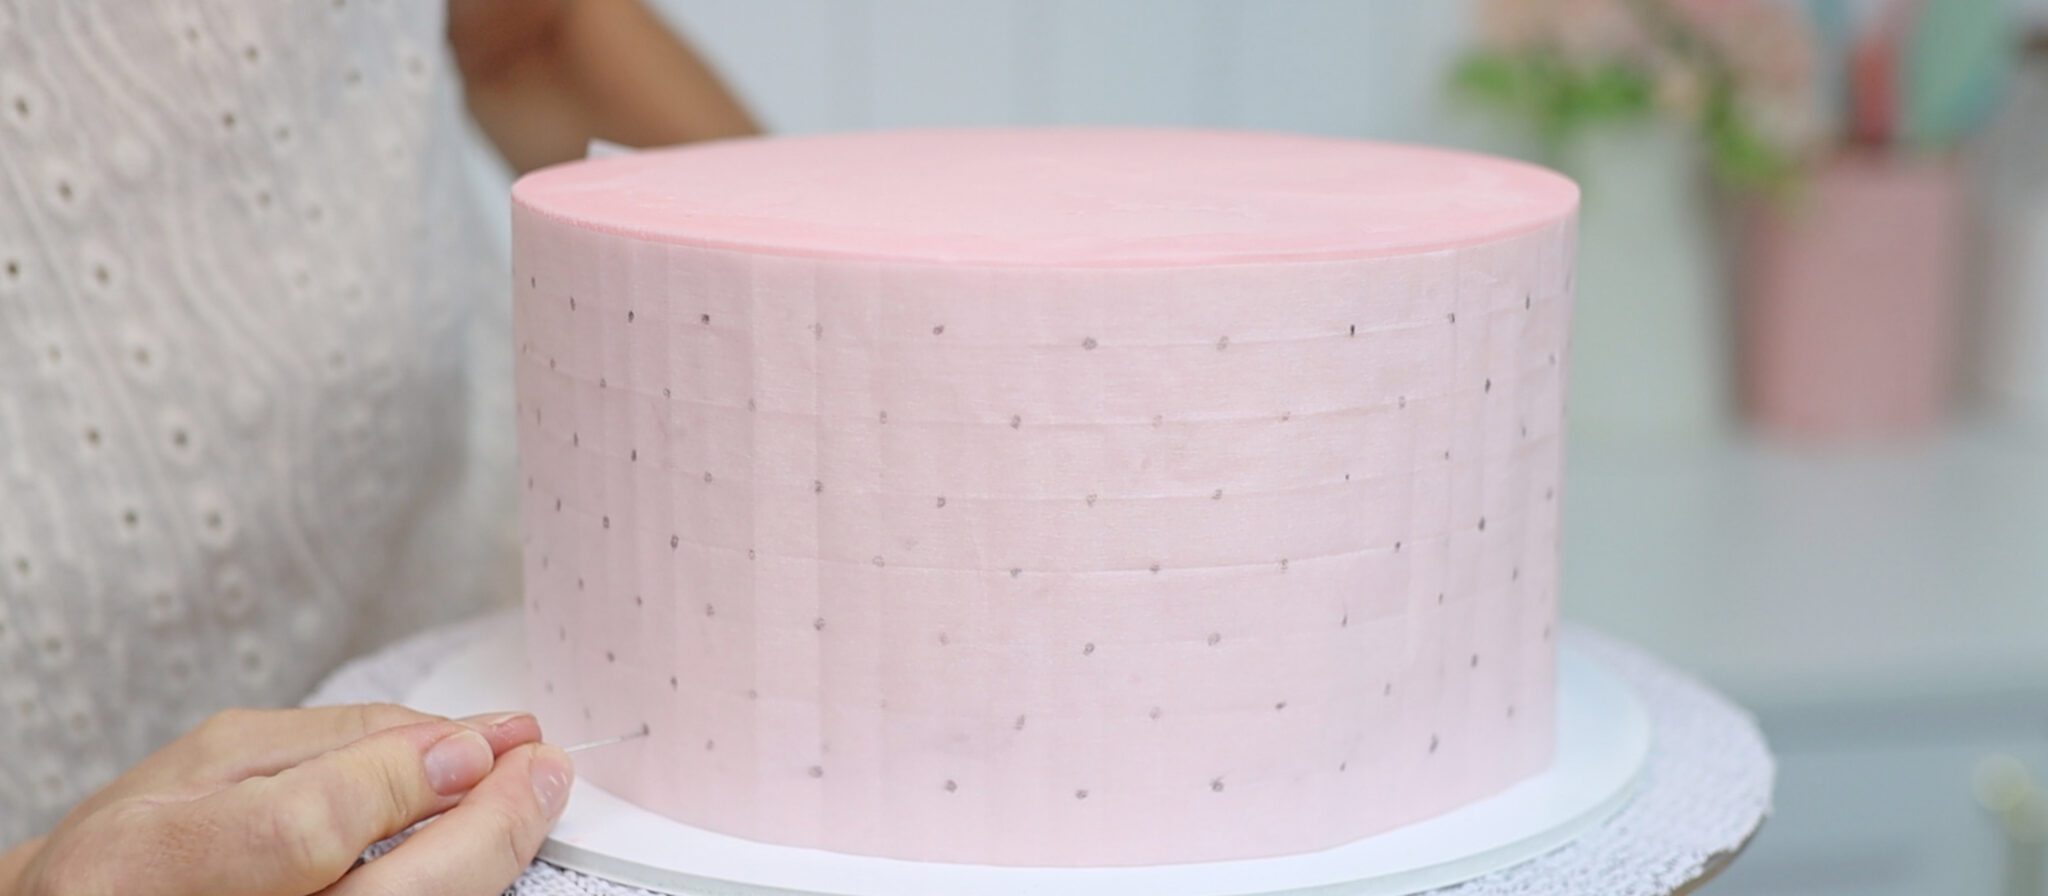
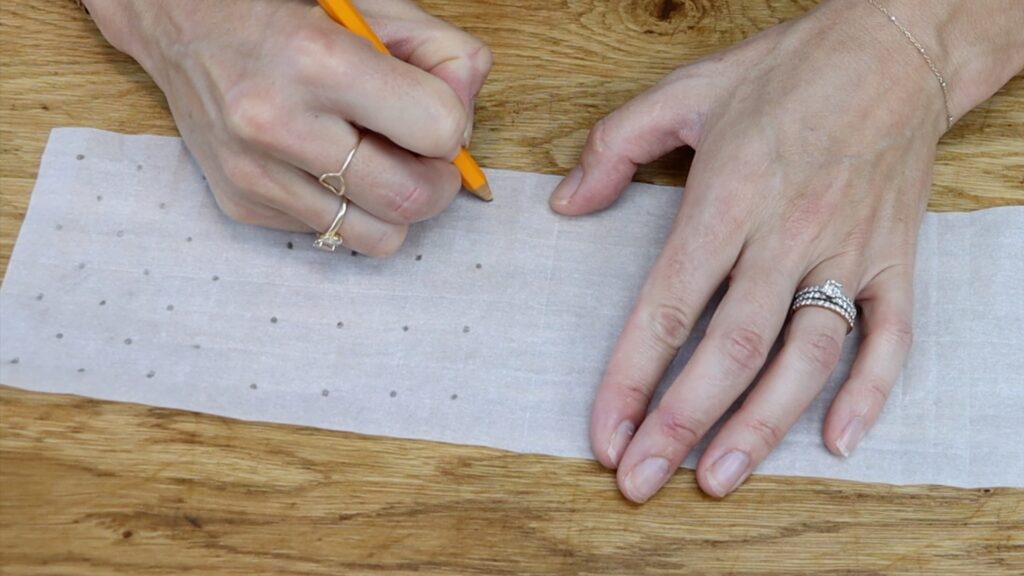
To create a symmetrical pattern, measure a piece of parchment or wax paper so it will wrap around your cake. Then fold it in half and half and half again in both directions if you need a grid. It's useful to mark the places you want to pipe your pattern with a pencil like these polka dots here.
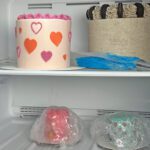
Wrap the grid around your cake and use a toothpick to poke through each point. You'll need to chill the cake first so the frosting has set and it's firm.
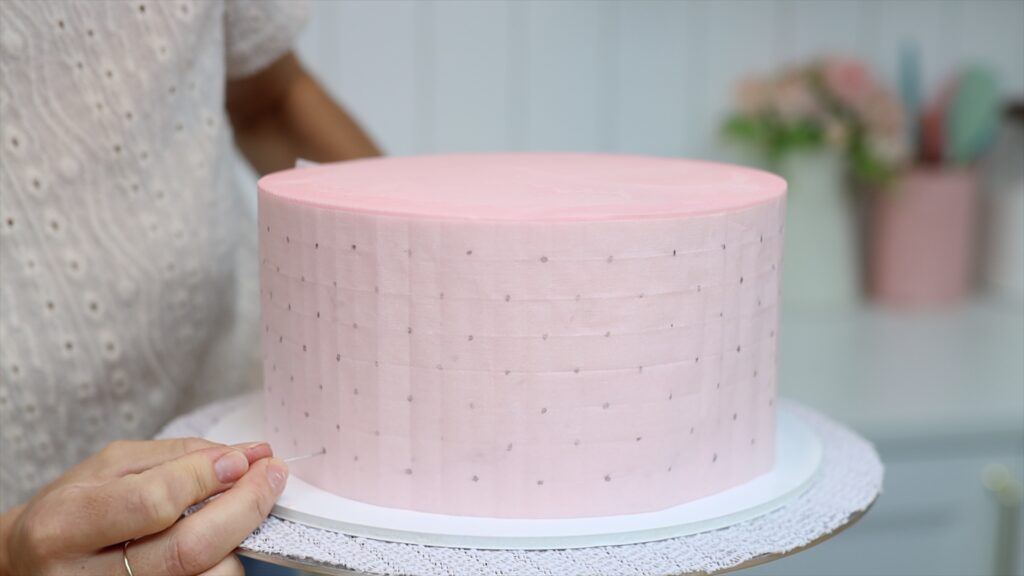
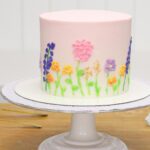
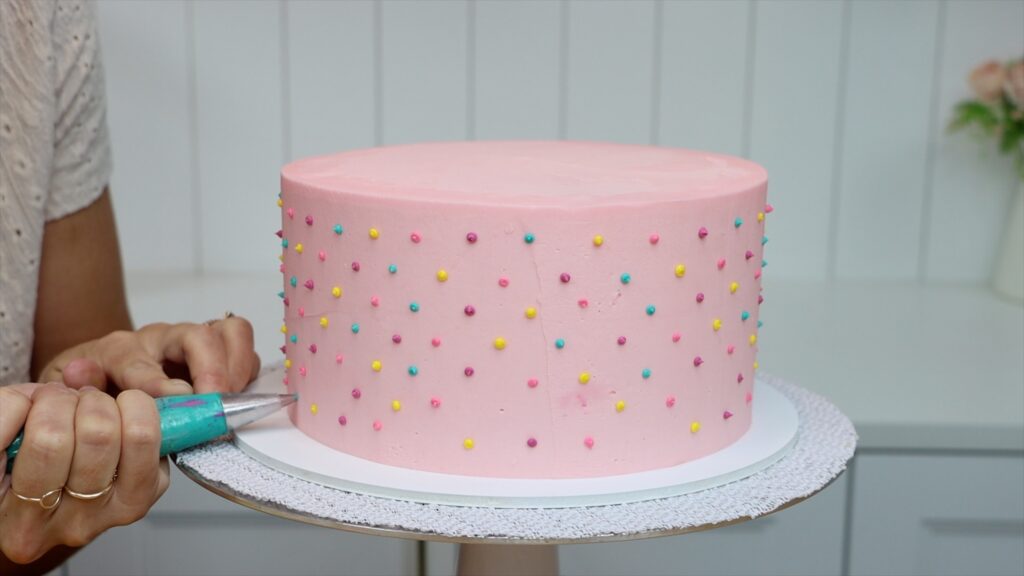
Peel the paper away and then pipe over the points you marked on the cake, making a neat symmetrical pattern.
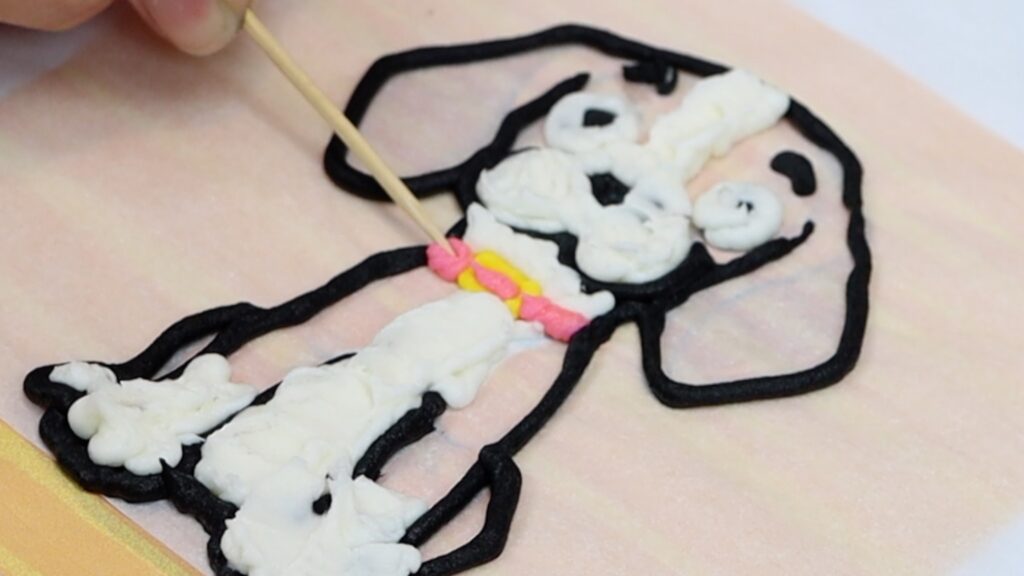
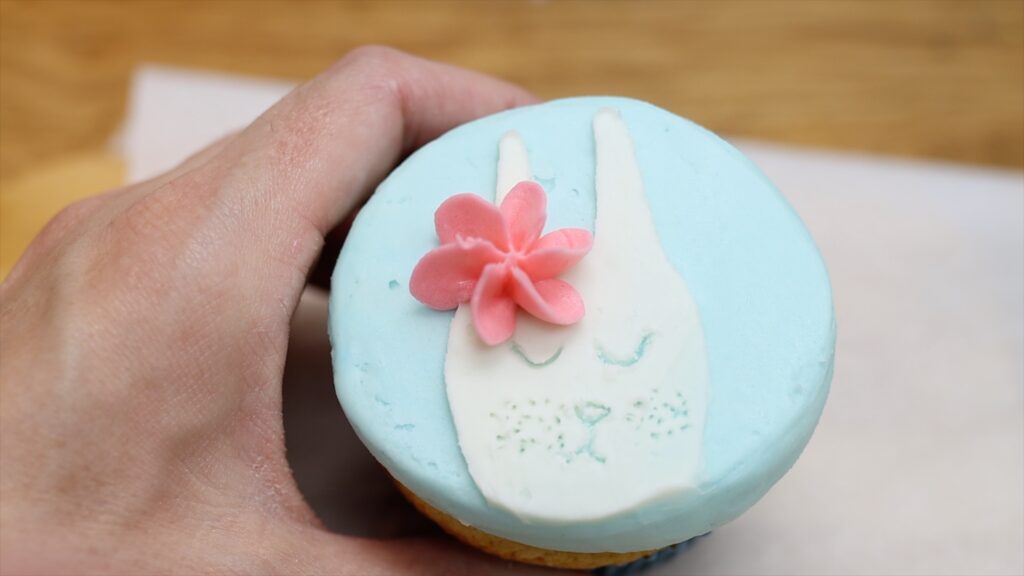
Use toothpicks to add tiny details to designs like facial features that would look messy with thick piping instead. Chill the cupcake or cake before you do this so that the frosting is firm. Your toothpick will carve through the buttercream, leaving neat lines and dots behind.
Toothpicks are a game changer to make really white buttercream even if you're using yellow butter. Dip a toothpick into violet gel so that you can add just a tiny amount to your buttercream. The blueish tint of the violet will offset the yellow in the buttercream to make a brighter white.
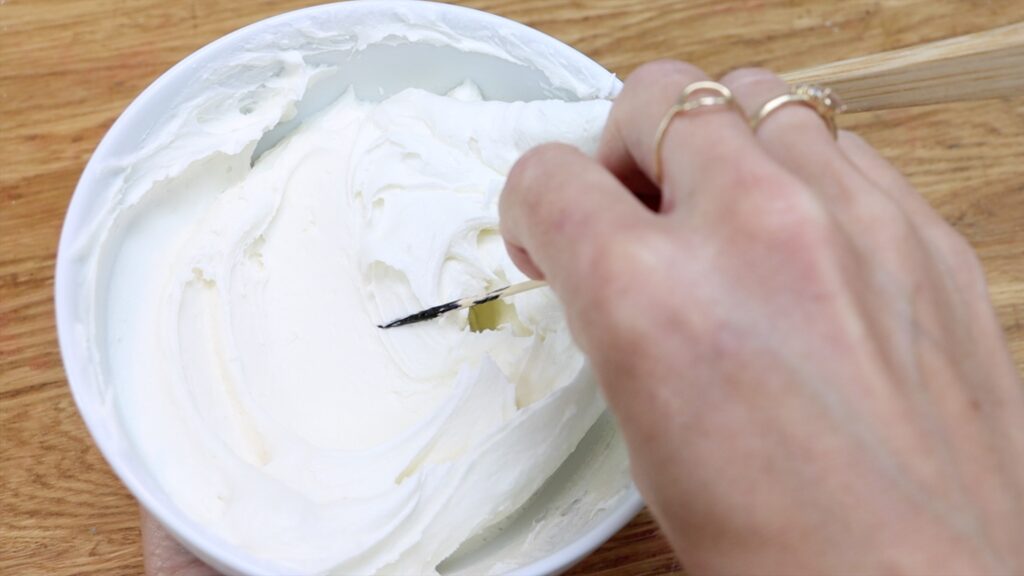
My tutorial on four hacks for white buttercream shares some more tips.
I hope you've seen some tricks you'd like to try! Tell me in the comments which is your favourite and visit my cake school to learn hundreds of cake decorating techniques and designs to make stunning cakes. There's a 7 day FREE trial for my All You Can Cake membership, which includes access to everything on my cake school so you can try it out risk free. I hope to see you there!
You can also watch a video of this tutorial on 10 ways to use toothpicks for cake decorating: