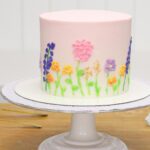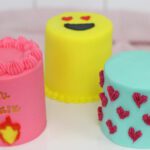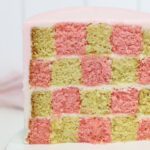
If you struggle with smooth buttercream frosting, you’re not alone! In this tutorial I’ll show you how to prevent and fix the most common problems using five cakes and ten tried-and-tested techniques. These are easy frosting hacks for beginners that will help you troubleshoot, prevent issues, and achieve smooth buttercream frosting - no fancy tools required.
Start by spreading or piping a small dot of buttercream in the middle of your cake board. This acts as glue and holds the first cake layer firmly in place.

If you skip this step, the cake will shift around as soon as you apply any pressure. As you flatten filling bulges or spread frosting, even a light push against the sides will slide the cake across the board. But with that little dot of buttercream anchoring the base, the cake stays centred and steady as you stack and decorate. This small trick is one of the most essential easy frosting hacks for beginners.
To achieve smooth buttercream frosting, your cake needs straight sides. This is possible even if your cake breaks while turning it out of the pan.
Here’s the hack: use buttercream to reattach any broken pieces so that each layer is level and straight. Once the cake is layered and frosted, it will have a clean, tidy shape, ready for finishing touches. This is a great rescue technique!

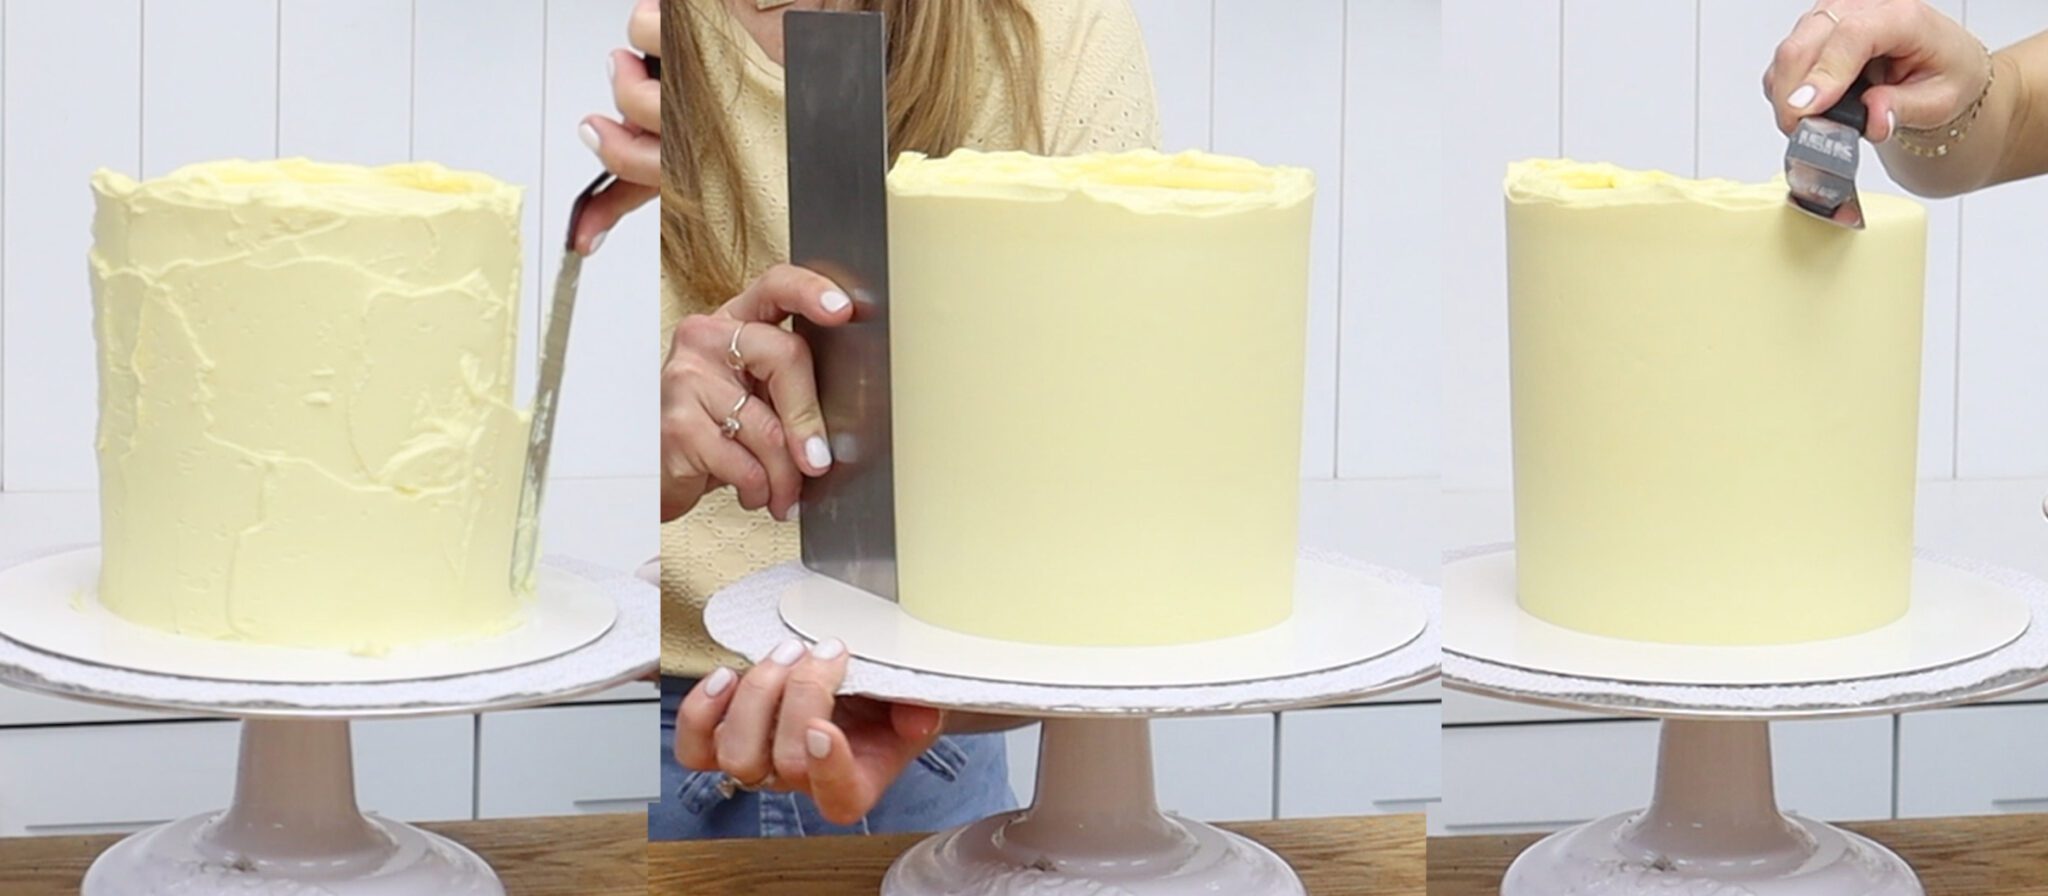
The next step is to chill and crumb coat the cake. Smoothing the frosting comes later—this step is all about preparing the cake.
A crumb coat is a thin layer of buttercream (or any frosting) that completely covers the cake to trap loose crumbs. Chill the cake for at least 30 minutes first for two reasons. First, the buttercream dot underneath becomes firm when cold, anchoring the cake securely to the board. Second, the cake itself becomes firmer and less crumbly, so spreading frosting won’t pull off as many crumbs.
Don’t worry about making this layer perfect because it will soon be covered. It’s fine if you can still see the cake showing through in spots. Scrape the sides a few times so there are no thick frosting bulges and make sure the top is flat. Then put the cake back in the fridge for another 30 minutes.
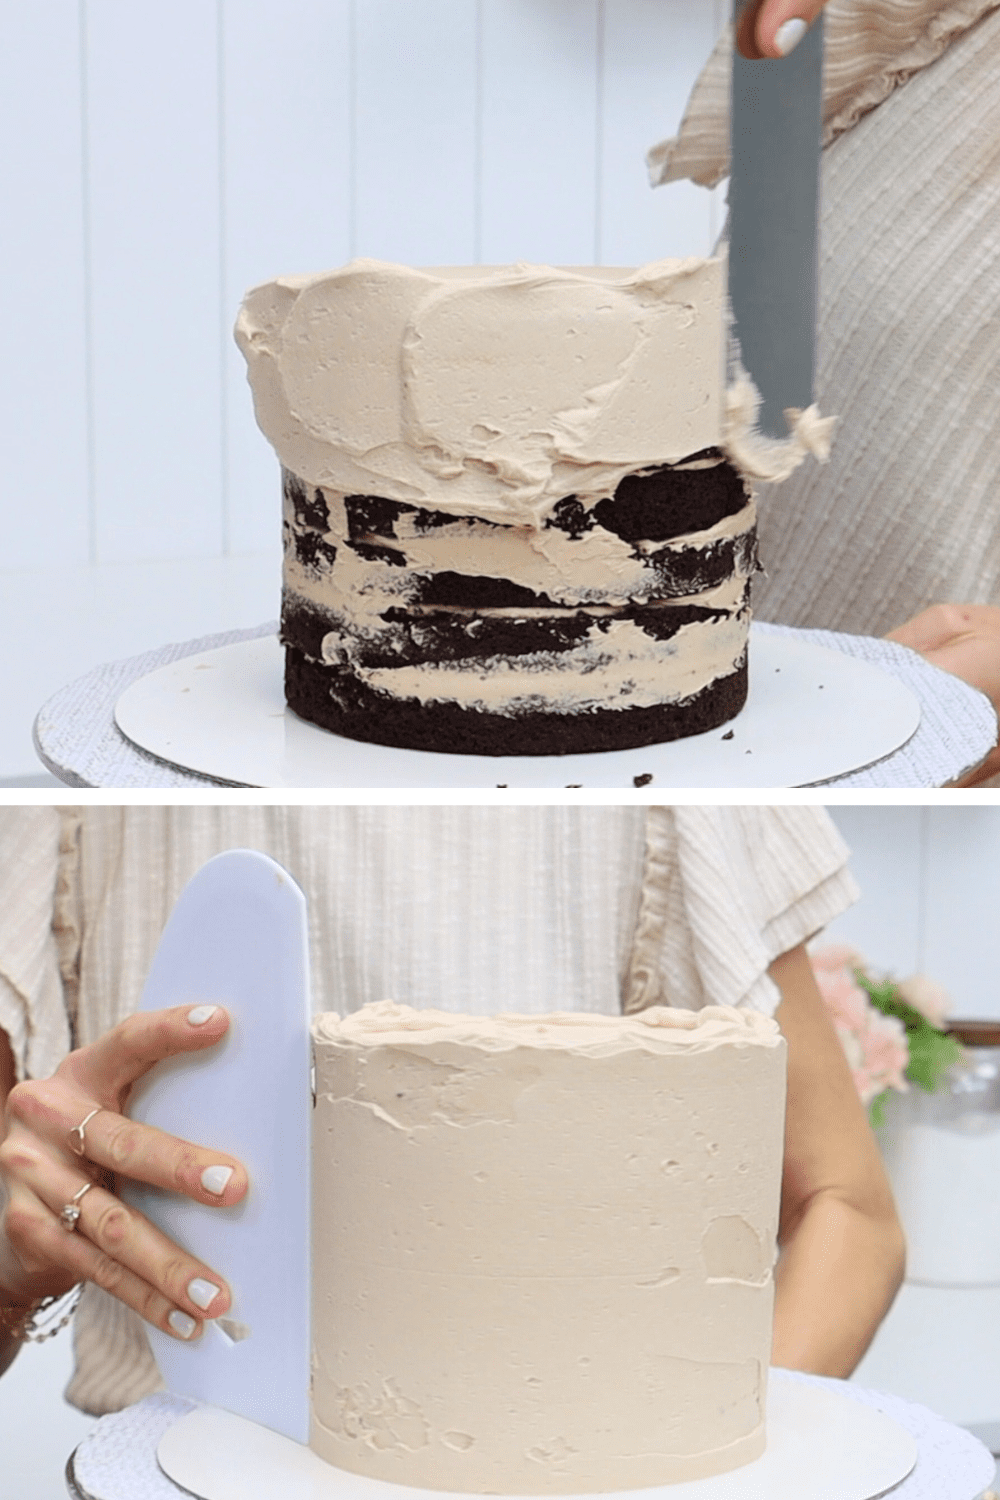
Once the crumb coat is chilled and firm, it’s time for Hack #4. Apply a second layer of frosting and this time focus on creating a wall or “lip” at the top edge of the cake.
After covering the top of the cake, spread the frosting around the sides and push it upwards so it rises slightly above the top edge. This lip helps you create sharp, clean angles around the top of the cake.
Spread frosting all the way down to the cake board and then scrape the sides a few times. If the top lip isn’t as thick as the rest of the frosting, go back and add more. To build it up just scoop up some more buttercream with your offset spatula and push diagonally upwards around the cake. This is one of the most important easy frosting hacks for beginners and will come in handy in Hack #9!
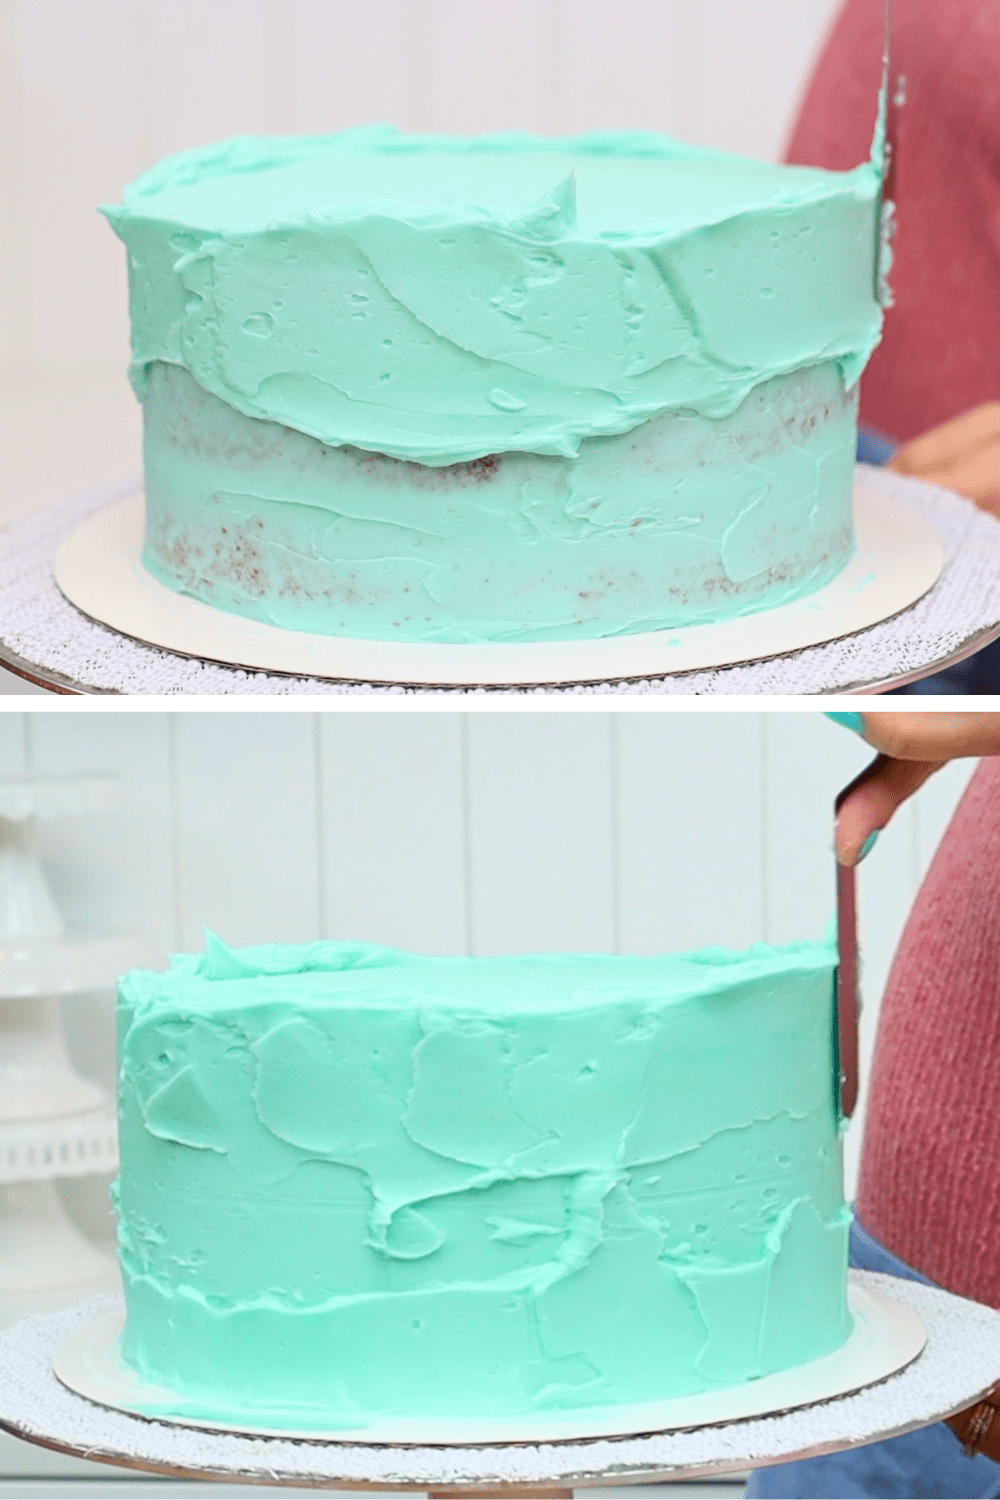
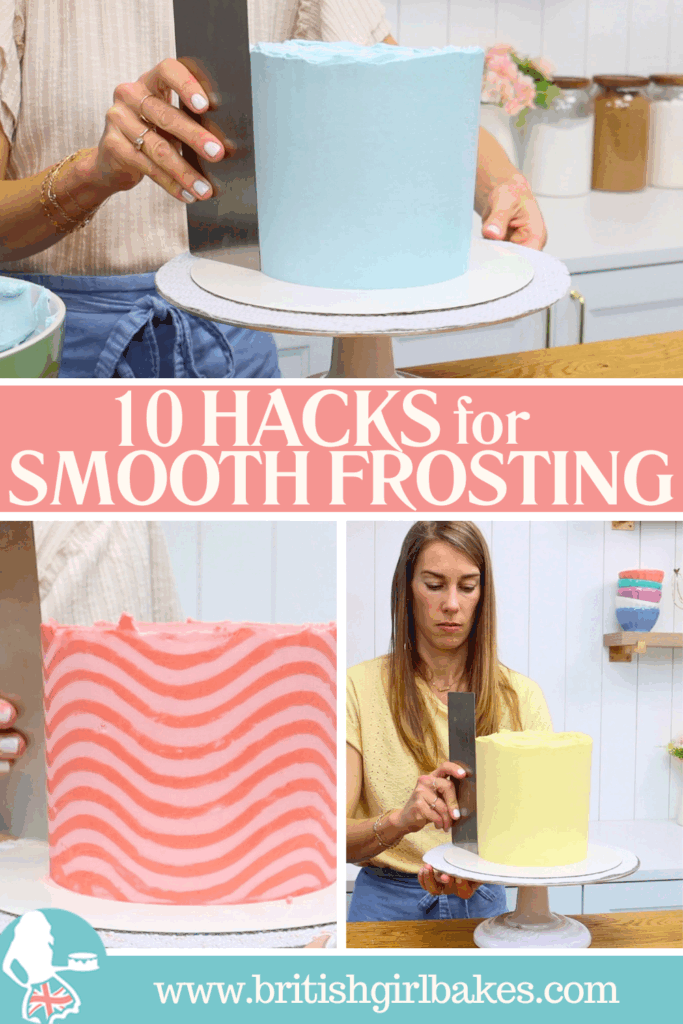
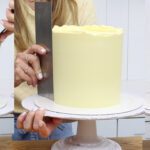
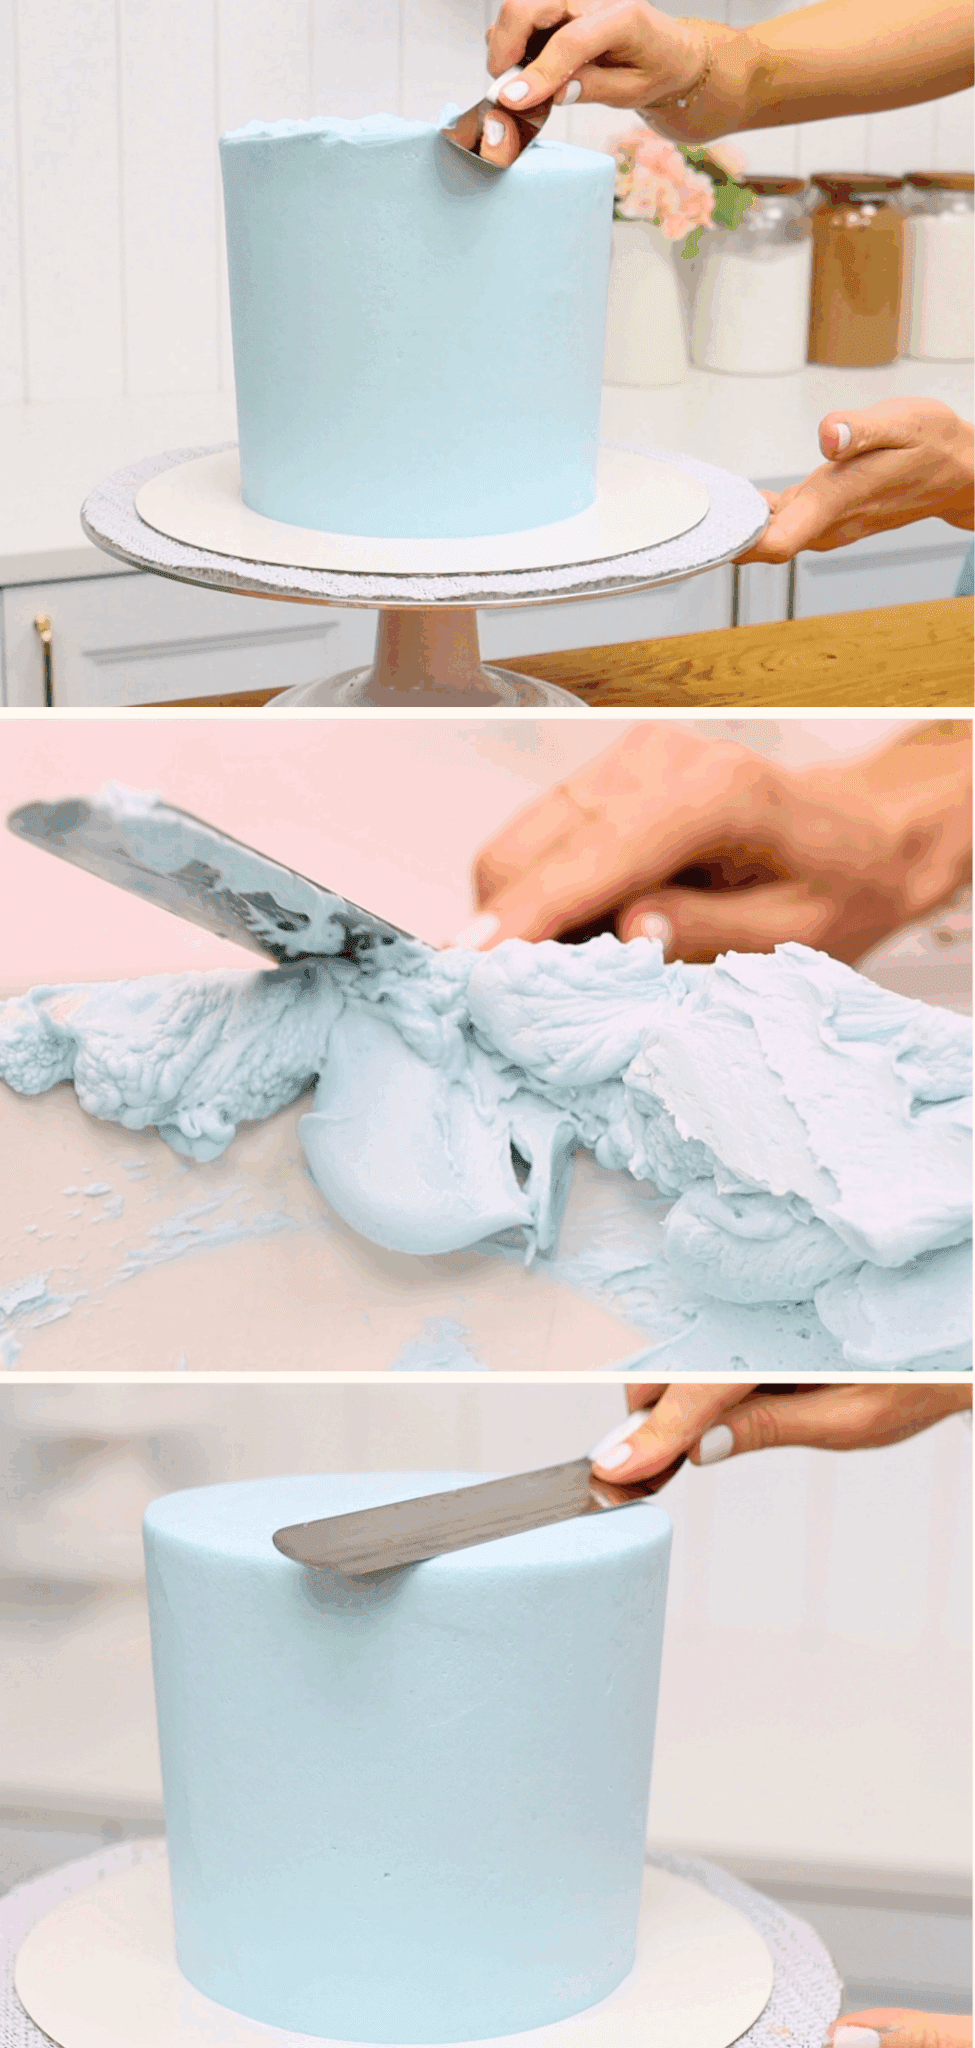
This next hack is really about patience. Think of it as “scrape, spread, repeat.” First, scrape around the cake with a cake comb. Then spread more buttercream over any shallow areas, indents, holes, or gaps. Repeat the process: scrape, spread, and again, scrape and spread.
When scraping, press the cake comb down onto the board to keep it aligned straight against the side of the cake. With your other hand, spin the turntable so the cake rotates while the comb stays still. Press very gently—just enough to smooth the frosting—then swipe the comb away once you’ve gone as far as you can.
Don’t expect a perfect result on the first pass. Keep scraping and filling in the shallow spots until your frosting is beautifully even. Patience really is a game-changer for beginners working towards that perfect, smooth buttercream frosting.
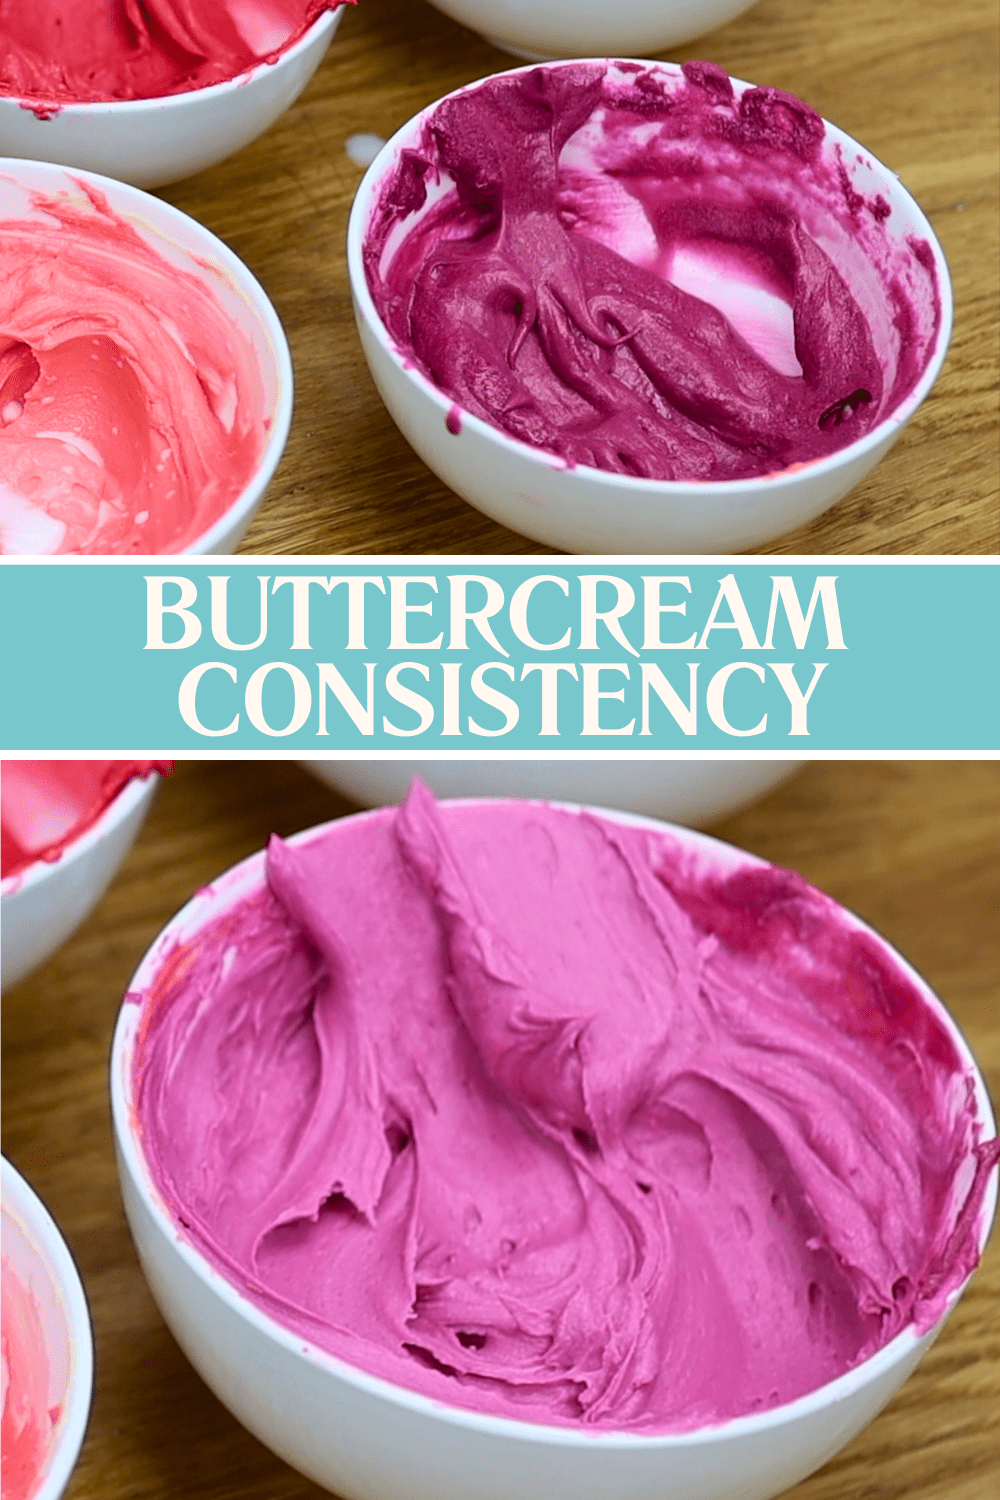
Now for Hack #6: make sure your buttercream is the right consistency.
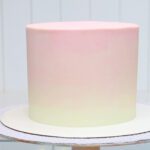
If it’s too stiff, like in the top photo below, you’ll see lots of texture when you stir it. It will look chunky, with air pockets and resistance as your spoon or spatula pulls through it. Add milk a spoonful at a time to loosen it until it stirs and spreads easily. You're looking for soft peaks like in the bottom photo below. Now it will glide smoothly over the cake, helping you get a much neater finish.
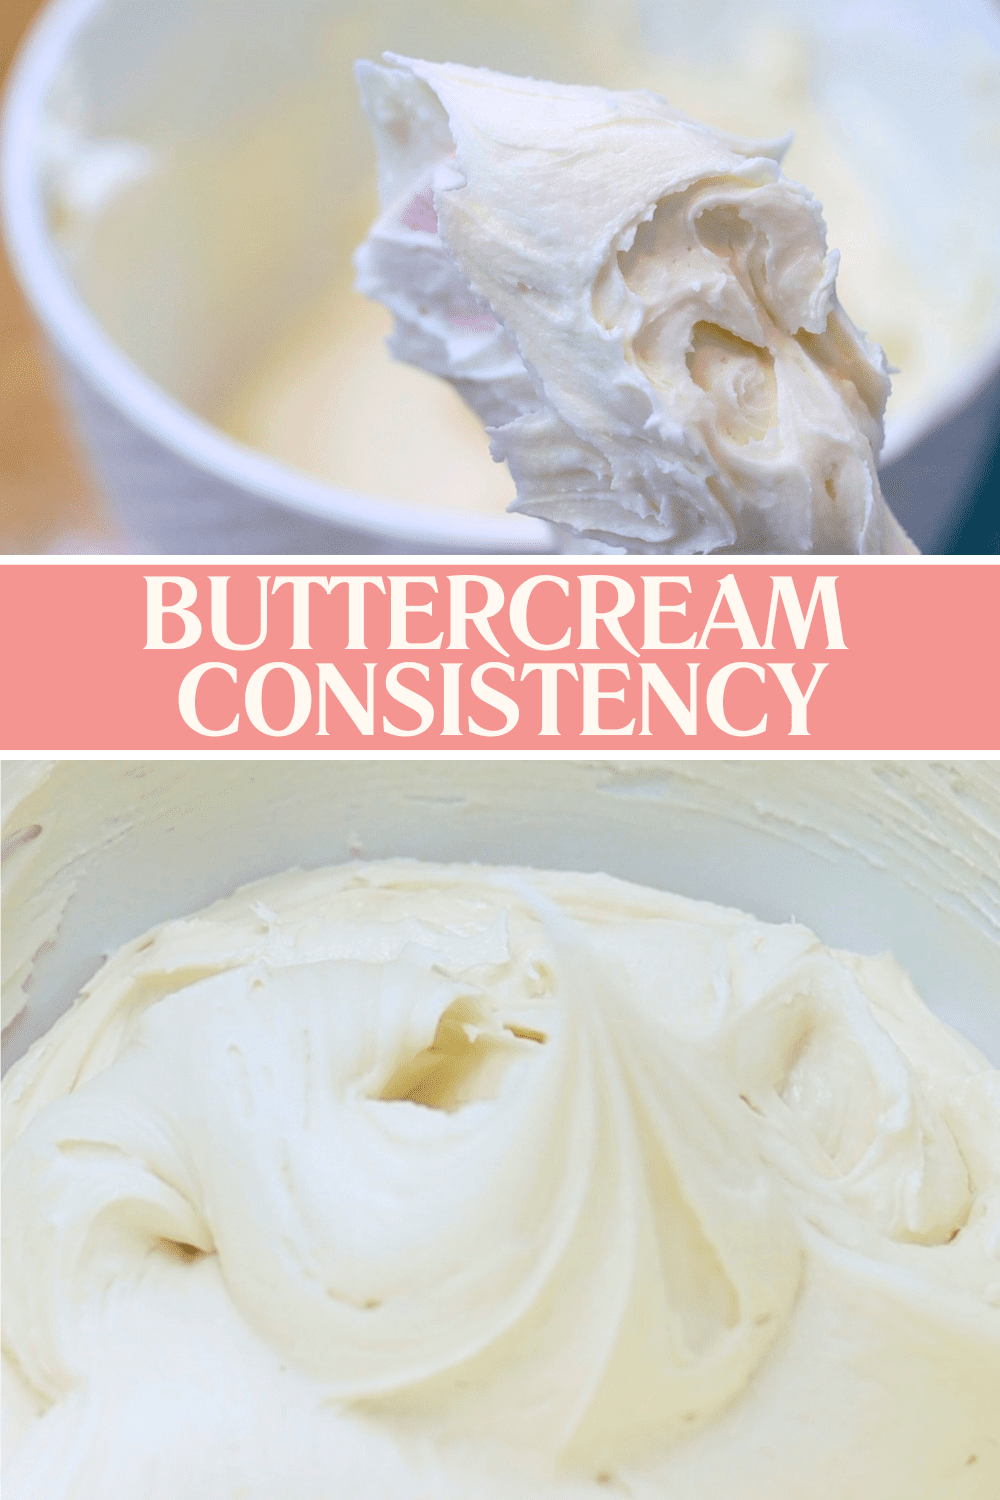
On the other hand, if your buttercream is too runny, it won’t hold its shape and will slump or slide down the cake. Notice how runny the buttercream is in the top photo below. You can thicken it with more sugar but that makes it very sweet. A better option is to mix in some stiffer buttercream until the consistency balances out. You're looking for a consistency like in the bottom photo below.
This is one of the key easy frosting hacks for beginners and experts alike, because consistency makes all the difference in getting a flawless, smooth buttercream frosting.
Air bubbles can appear in your buttercream even when the consistency is right. You’ll often see them when colouring buttercream or when it’s been sitting at room temperature.
To remove them, press and stir the buttercream firmly against the sides of the bowl. You want to push the air out by stirring aggressively—listen for slapping sounds as the spatula knocks the frosting into the bowl. This method forces out air and gives you a smoother, cleaner texture. It’s quick, simple, and ideal for beginners.
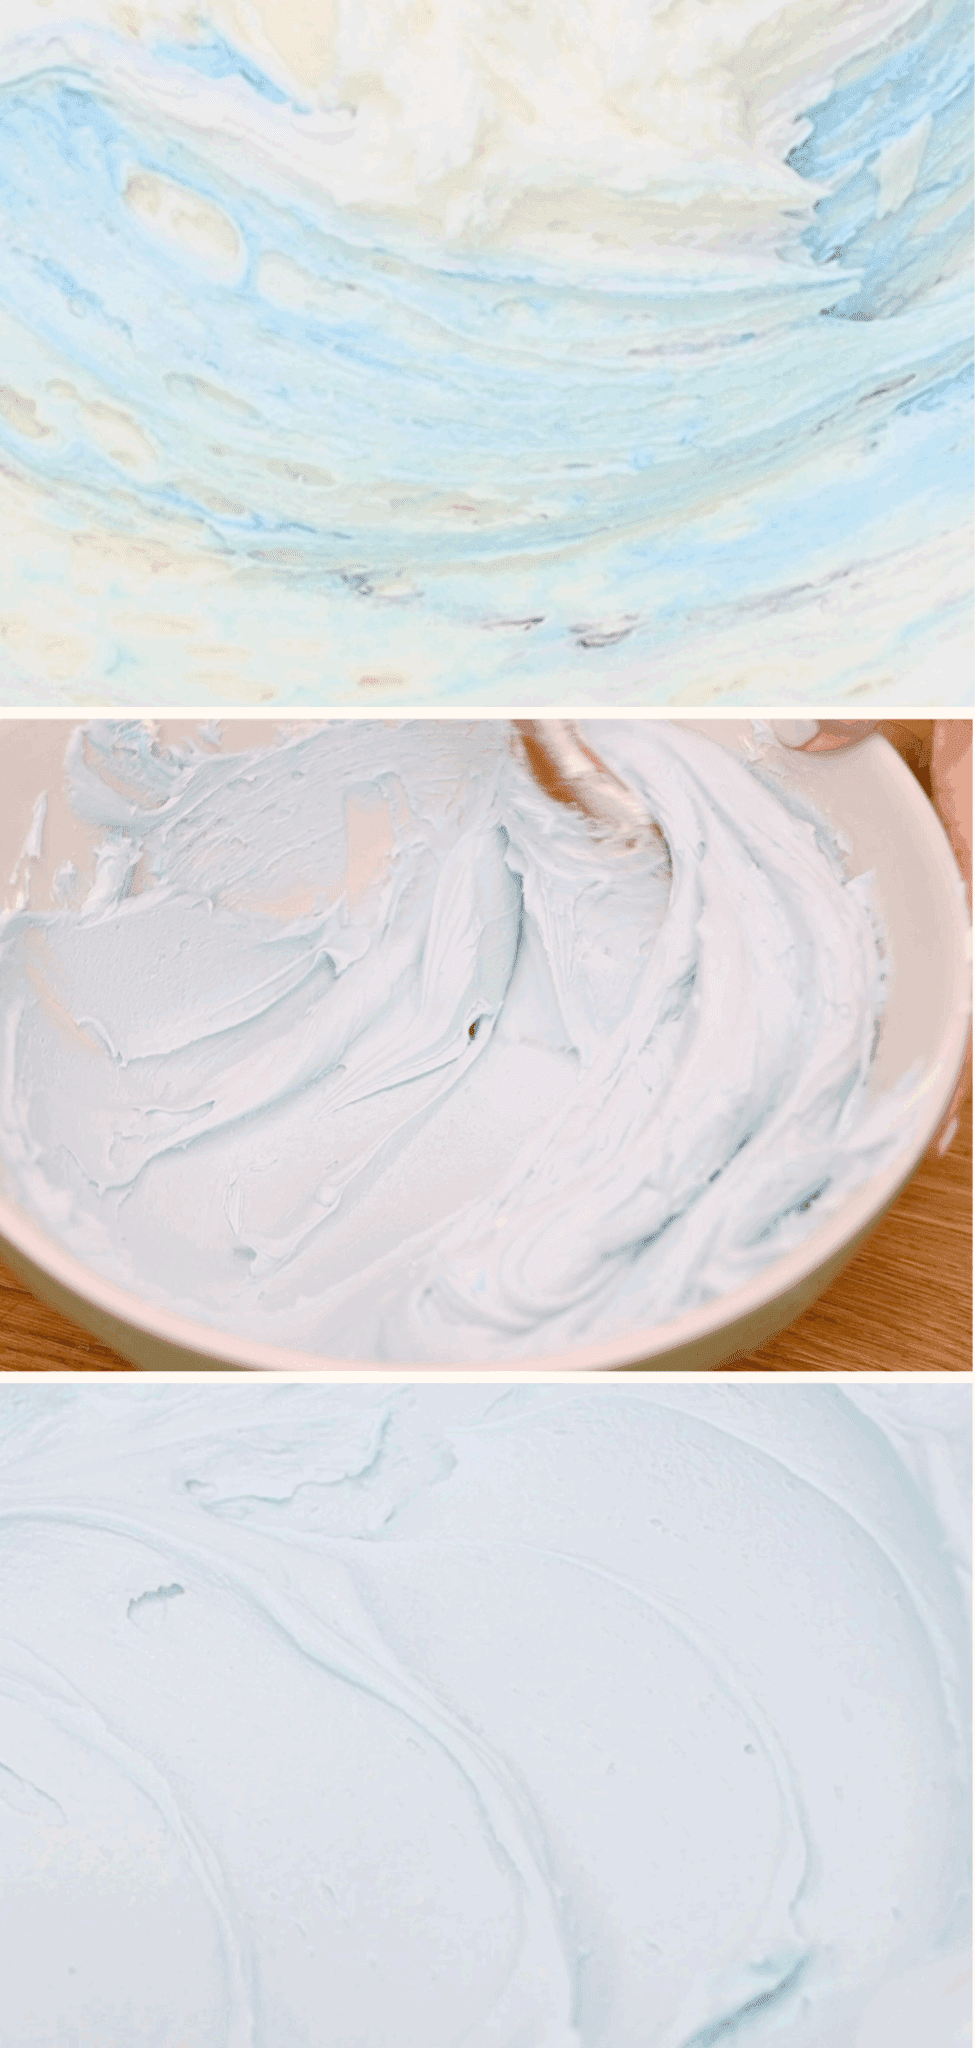
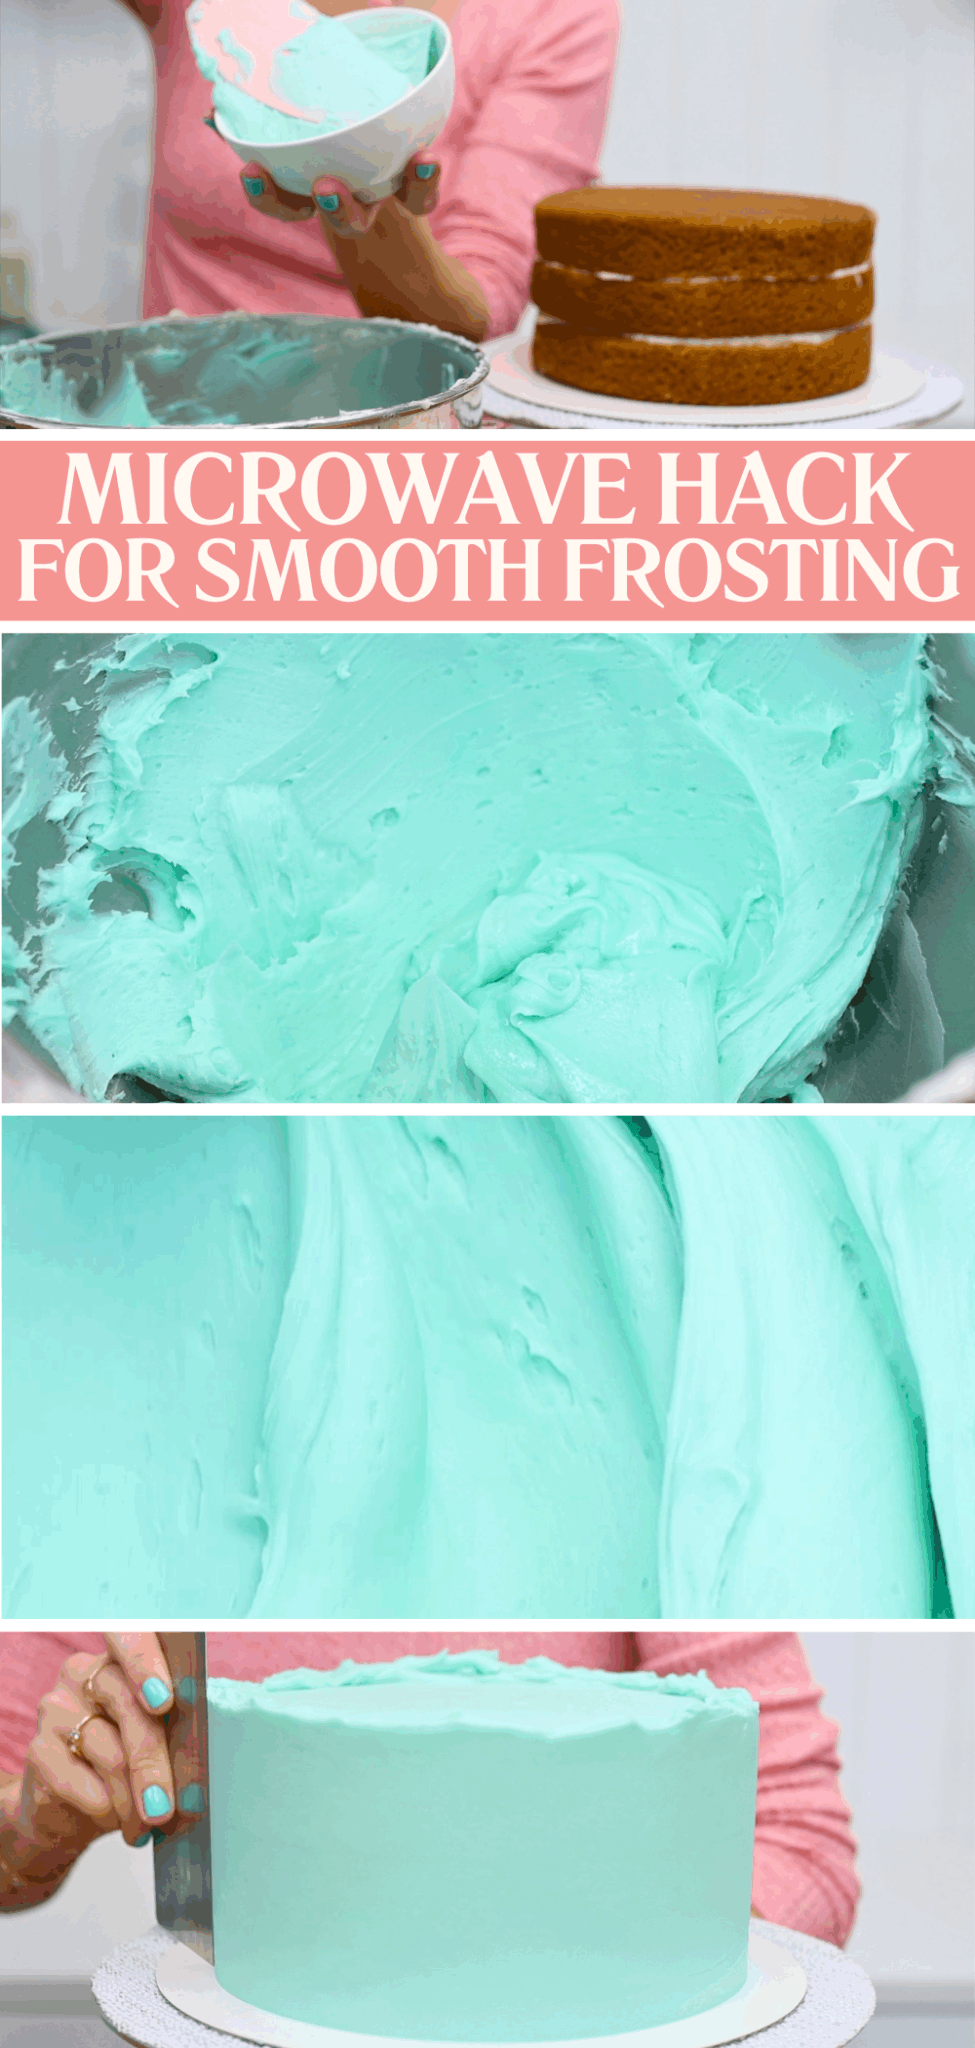
If you’ve still got air bubbles, try using heat. Scoop out about a third of your buttercream into a microwave-safe bowl and heat it for 10 seconds.
It will turn shiny and loose because some of the butter melts. Pour it back into the main bowl and stir well. It might look runny at first but as you mix, the consistency will even out. The combination of heat and mixing eliminates most of the air bubbles, resulting in much smoother frosting.
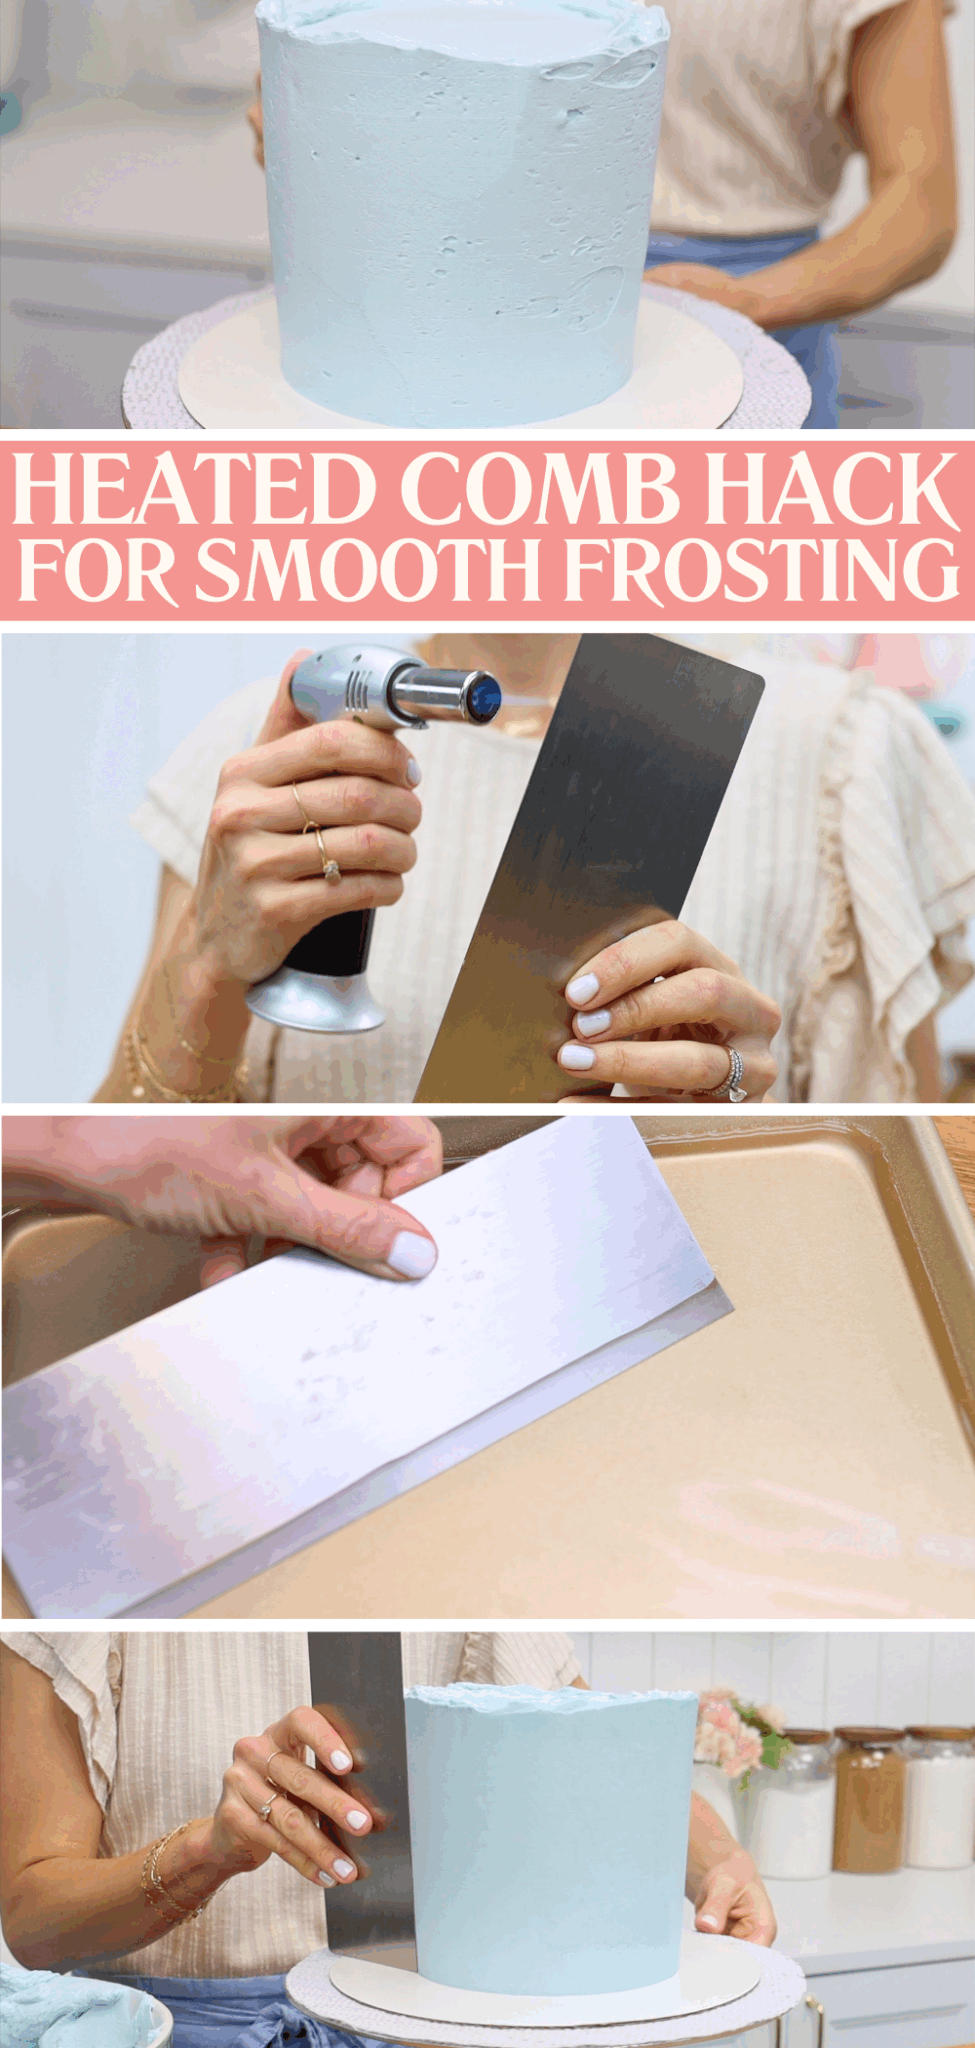
You can also apply heat directly to the cake. Warm a metal cake comb with a blowtorch, hair dryer, or by dipping it in hot water. Rub it with a towel or dowel to remove moisture and reduce the heat slightly—it should be warm, not hot.
Scrape the comb around the cake. The warm edge will soften the very outer layer of buttercream, allowing it to glide more easily and fill in shallow imperfections or bubbles. It leaves behind a beautifully polished finish that looks professional, even for beginners.
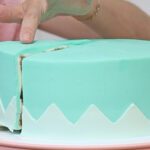
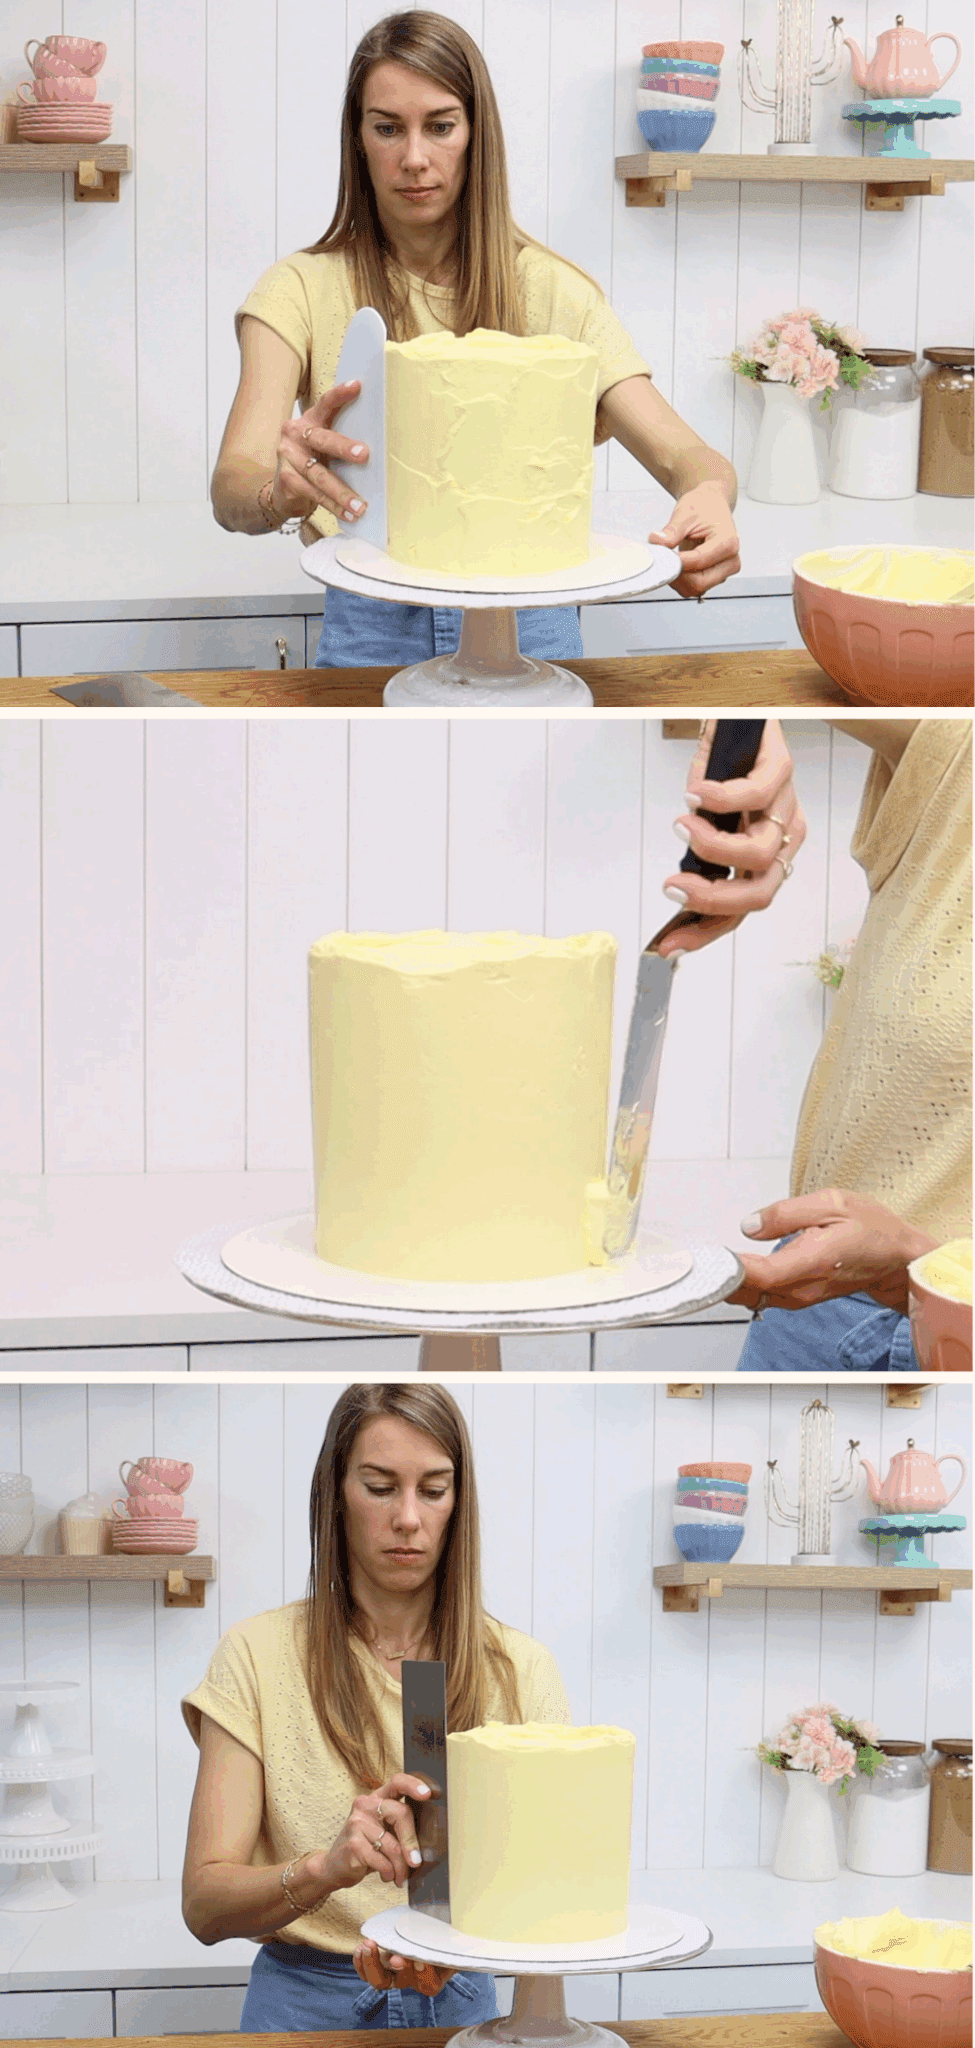
Once the sides are smooth, it’s time to focus on the top edge, which you prepped earlier with that raised lip of buttercream in Hack #4.
Use your offset spatula to push the frosting from the edge inward, not downward. This removes excess buttercream without pushing it out over the sides, which could cause a bulge.
After each swipe, scrape the excess frosting into your bowl and wipe the spatula clean with a towel or paper towel. This prevents smearing or dragging frosting back onto the cake. Repeat all the way around, cleaning the blade each time.
Finally, get down to eye level and spin the cake slowly. Look for any uneven areas and gently smooth them out. This small detail helps achieve those crisp, neat lines that are essential for beautifully smooth buttercream frosting.
After everything you’ve done to get the frosting smooth, don’t ruin it by skipping this final step—chilling the cake.
Refrigerating the cake will set the buttercream so it’s firm. That way, any piped decorations or stencilling won’t damage the surface. It also helps when adding cake toppers because if the frosting is soft, the weight can cause the top to bulge or sink.
This is a must-do finishing step, and one of the simplest frosting hacks for beginners that makes a big difference to your final results.

These 10 easy frosting hacks for beginners will help you solve common issues and achieve a flawless, smooth buttercream frosting finish—whether you’re fixing crumbling layers, smoothing out air bubbles, or prepping for detailed decorations.
Looking for more tips and techniques? Visit my cake school for online courses and memberships to take your cake decorating skills to the next level!
Here's a video of this tutorial on 10 hacks for smooth buttercream frosting on cakes:
Save this tutorial to Pinterest for later!